July 2026 · Patch 7.2a
Tank · Jungle

Hecarim Wild Rift Guide

Hecarim is a Jungle fighter in Wild Rift, a spectral horseman specializing in devastating charges through enemy lines.

★ Jungle Tier S July 2026 · Patch 7.2a tankjungleengage
DMG
UTIL
TANK
DIFF
Win 53.2% #23 · ↑9pt
Pick 7.4% #7
Ban 59.4% #1
§ 01 — Editorial brief

Hecarim remains a high-impact solo queue jungler, but his value heavily depends on his ability to dictate tempo rather than react to it.

By WRC Studio ~ 1 min read Patch 7.2a

Hecarim is a Jungle fighter in Wild Rift, a spectral horseman specializing in devastating charges through enemy lines. His kit revolves around attacks dealing bonus damage as a % of movement damage, a healing zone via Devastating Charge, and a terrifying ghost charge ultimate that scatters enemies. He excels in rapid engage compositions seeking to break enemy formations through speed. In Wild Rift, his movement speed is even more exploitable thanks to the map's open spaces, allowing him to reach engage angles few junglers can replicate.

Hecarim thrives in compositions that follow up on fast engages. He benefits from allies who bring crowd control or amplify chaotic fights. Aggressive teamfight compositions maximize his initiation power.

Hecarim struggles against compositions that can stop his engage. Reliable crowd control, strong peel, or consistent kiting prevent him from reaching the backline. Without momentum, his dive potential drops significantly.

Use your mobility to create constant pressure across the map. Look for unexpected engage angles to reach the enemy backline. In fights, coordinate your entry to create maximum disruption.


Expert note

Expert take

Hecarim is not a champion who wins because he engages, but because he engages at the right moment and from the right angle. His true value lies in forcing disorganized enemy reactions. He is extremely effective against reactive teams but far less so against teams that anticipate his movements. He is not a pick to “go fast,” but to control game tempo. Played well, he dictates fights. Played poorly, he exposes himself and gives away advantage.

Weak point

Hidden weakness

Hecarim heavily depends on the clarity of his entry. Despite what his kit suggests, he cannot effectively improvise fights without preparation. If spotted too early or engaging without built-up speed, he becomes predictable and easily controlled. This reliance on setup makes his mistakes very costly.

§ 02 — Strengths & weaknesses Hecarim Wild Rift strengths and weaknesses

↑ Strengths
  • Long-range engage that is hard to anticipate without deep vision.
  • Ability to punish slow rotations around objectives.
  • Flexible engage/disengage with ultimate depending on the situation.
  • Very strong snowball potential if early-mid tempo is controlled.
↓ Weaknesses
  • Enemy drafts with heavy slows and frontline control.
  • Lack of allied follow-up to convert engages.
  • Enemy vision denying flanking angles.
  • Aggressive early jungle matchups that disrupt your pathing.
Win Rate (30d) 53.15%+1.17 pts
Pick Rate 7.44%
Ban Rate 59.39%

Hecarim's win rate has climbed +1.17 pts over the last 30 days, now at 53.15%. See the full Wild Rift meta trends for more biggest movers.

02

§ 03 — Game planHecarim Wild Rift game plan: early, mid and late game

I Early

Secures carapators and path vision; avoids losing…

Niv. 1 → 6

Secures carapators and path vision; avoids losing duels.

II Mid

Spike 1-2 items: strength of engagement on…

Niv. 7 → 11

Spike 1-2 items: strength of engagement on controlled vision.

III Late

Look for the pick/backline split, then protect…

Niv. 12+

Look for the pick/backline split, then protect your exit.

Data — Stats per levelHecarim Wild Rift base stats per level (1-15)

Movement speed 350Attack range 175Bonus attack speed / lvl +2.5%
Show stats per level
LvlHPADArmorMRManaHP regenRes. regen
1630544636380812
27505851384378.813.1
38706256404949.614.2
499066614255110.415.3
51,11070664460811.216.4
61,2307471466651217.5
71,35078764872212.818.6
81,47082815077913.619.7
91,59086865283614.420.8
101,71090915489315.221.9
111,8309496569501623
121,95098101581,00716.824.1
132,070102106601,06417.625.2
142,190106111621,12118.426.3
152,310110116641,17819.227.4

Base data : wiki.leagueoflegends.com (CC BY-SA 4.0) · 2026-07-09

§ 05 — Recommended buildBest Hecarim Wild Rift build for the current patch

Hecarim prioritizes health, resistances, and sometimes AD depending on his role. His builds strengthen his ability to dive into enemy teams while staying alive. His durability is the core of his teamfight impact.

Core
1 Trinity Force
Trinity Force
2 Dead Man's Plate
Dead Man's Plate
3 Death's Dance
Death's Dance
Boots
Ionian Boots of Lucidity Ionian Boots of Lucidity
/
Mercury's Treads Mercury's Treads
See the full build

§ 06 — The matchup wallHecarim Wild Rift counters and synergies

Hard Unfav. Skill Fav. Synergy
Poppy
Hard
Poppy
Olaf
Unfav.
Olaf
Kha'Zix
Skill
Kha'Zix
Master Yi
Fav.
Master Yi
Orianna
Ideal
Orianna
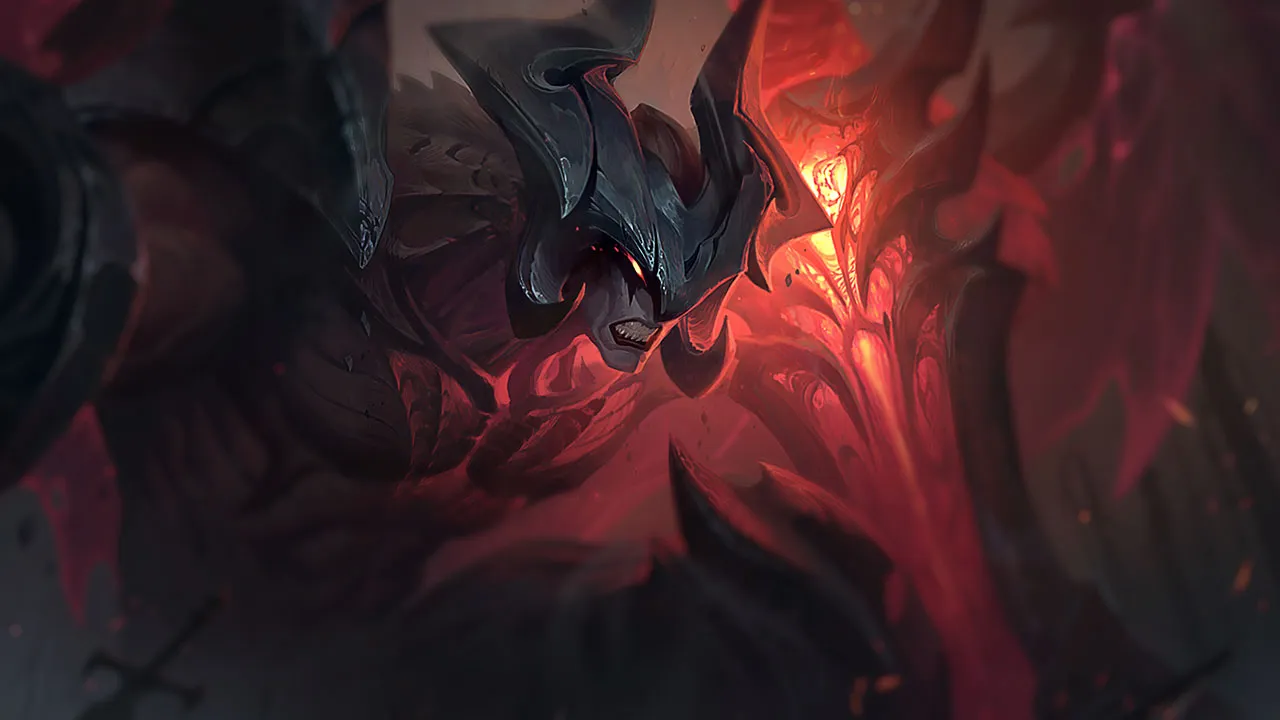
Hecarim's Onslaught of Shadows makes the enemy backline flee directly toward Orianna's ball positioned in the back — feared targets literally run into the Shockwave. The 1-second fear combined with Shockwave's 1.5-second cluster creates uninterrupted CC for 2.5 seconds on targets who ran toward their death. Hecarim charges from jungle at full speed (Devastating Charge amplifies damage proportional to distance traveled), Orianna waits in the natural exit zone of fleeing enemies, and the combo closes without any complex coordination.
Yasuo
Ideal
Yasuo
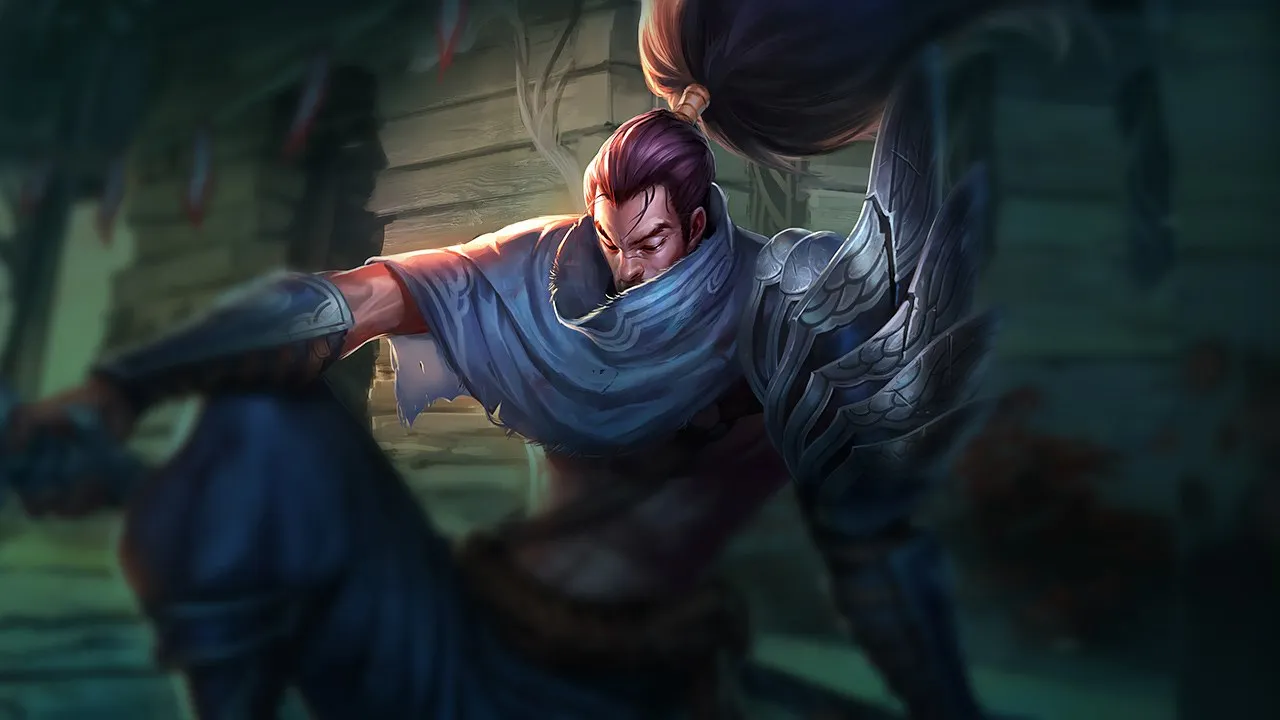
Hecarim's Devastating Charge knocks back the target — this is a displacement that allows Yasuo to trigger Last Breath on the projectile target. Hecarim enters first at maximum speed accumulated from jungle (Devastating Charge damage = distance traveled), knocks back the target toward waiting Yasuo, and Last Breath suspends the target for the final burst. Hecarim's speed during Devastating Charge makes him nearly impossible to kite or flee from, forcing enemies into Yasuo's arms.
Miss Fortune
Strong
Miss Fortune
Onslaught of Shadows forces enemies to flee in a predictable direction — MF positions Bullet Time in the flee axis so feared enemies run straight into her shots. The combination is particularly devastating against compositions that tend to cluster: fear further groups fleeing targets together, and Bullet Time hits all those in the axis. MF must position Bullet Time before Hecarim's fear as Bullet Time is a channel: predict the enemy flee direction.
Lulu
Strong
Lulu

§ 07b — Advanced MechanicsHecarim: combos & tips Wild Rift

Engage gank combo
1 E E
2 passer derri
3 knockback ve
4 W W
5 Q Q
6 AA

Make sure you’re behind the enemy to knock them back in the right direction, W for sustain, spam Q.

Teamfight initiation combo
1 E E
2 R R
3 W W
4 Q Q

E to sprint in, R for the AoE fear upon landing in the group, W for sustain, Q for DPS.

Optimal engage combo
1 E E
2 R R
3 W W
4 Q Q
5 AA
6 Q Q
7 AA
8 Q Q

Use R for the initial fear after the E dash.

Jungle poke
1 Q Q
2 Q Q
3 Q Q

In the jungle, stack Rampage up to 2x for bonus damage and reduced cooldown.

Mechanical Tips

  • Warpath (passive): movement speed bonus = AD bonus. The faster Hecarim runs, the harder he hits — always carry movement speed items (Trinity Force, Boots). E temporarily amplifies this bonus.
  • Rampage (Q): AoE cleave; cooldown reduced and damage increased if at least one enemy is hit. Spam Q in combat for consistent DPS.
  • Spirit of Dread (W): AoE magic damage + a heal proportional to the damage dealt by everyone in the area. Ensure allies are also attacking enemies within the W’s area for maximum healing.
  • Devastating Charge (E): passive movement speed bonus; active sprint + knockback. Move behind the target to knock them back towards your team.
  • Onslaught of Shadows (R): Long-range charge that passes through walls. Land in the middle of the group for maximum AoE fear.

Common Mistakes

  • Knock the target back in the wrong direction (towards the enemy tower instead of their own team) — always position yourself behind them.
  • Not maximising movement speed — losing the passive AD bonus.
  • Use W too early, before the damage has been dealt — the heal is proportional to the damage in the area.

Notable Interactions

  • E: Wall-jump — use this to gank from unexpected angles.
  • R: Fear AoE = one of the most powerful teamfight initiations in the game.
  • Hecarim is one of the best champions for fights around objectives.

Patch 7.2 build — computed

Spear of ShojinBlack CleaverSterak's GageGuardian AngelDivine Sunderer Full variants, runes & power spikes →

§ 07 — PreceptsHecarim Wild Rift tips for ranked

Tip · 01

Don't force without a closed angle: use walls/diagonals to guarantee the bump.

Codex
Tip · 02

Stack MS (E, items, runes, Glorious) before entering to maximize Warpath.

Codex

§ 08 — DialoguesHecarim Wild Rift FAQ

Q.01 Is Hecarim a good blind pick? +

Hecarim can be blind picked, but it’s not a reliable option in all situations. He heavily depends on enemy composition and his team’s ability to follow up on engages. If the enemy draft includes heavy slows or peel, his impact drops significantly. He is better picked when you can control angles and dictate tempo.

Q.02 Why are my Hecarim engages failing? +

In most cases, the issue comes from angle and timing. Frontal engages are often too predictable. Hecarim needs to flank, build speed, and surprise. If you engage too early or without setup, the enemy will always have time to react. Improving your pathing and patience drastically changes your impact.

Q.03 Is Hecarim strong in late game? +

Hecarim remains relevant in late game, but his role shifts. He can no longer blindly engage since teams have more tools to control him. He must play smarter around angles, enemy cooldowns, and positioning. His impact then depends on his ability to create controlled chaos.

Q.04 What is Hecarim’s biggest weakness? +

His main weakness is his reliance on proper engage setup. Without built-up speed or a good angle, he becomes predictable and easy to control. This means that every misread or mistimed engage can instantly turn into a disadvantage for his team.

§ 09 — EchoesHecarim Wild Rift related guides

01
Key mechanic

Drake and Baron Objectives in Wild Rift: how to decide fast without throwing

Learn when to contest Drake, when to start Baron, when to give an objective, and how to avoid objective throws in Wild Rift.

Read
02
Key mechanic

Wild Rift jungle pathing: how to choose your first route without playing randomly

Learn Wild Rift jungle pathing: routes, ganks, river control, objectives and the early mistakes that ruin your tempo.

Read
03
Key mechanic

Understanding Macro in Wild Rift: The Real Difference Between Playing and Winning

Understand macro in Wild Rift: objectives, rotations, tempo, vision and decisions that help you win more ranked games.

Read
04
Key mechanic

Rotations

Learn how to manage rotations in Wild Rift: wave state, tempo, objectives, vision, and macro decisions so you stop moving randomly.

Read
Interactive tool

Try Hecarim in the Draft Simulator

Build your team around Hecarim, analyze enemy counters in real time and get pick recommendations aligned with the current patch meta.

Launch the Draft Simulator →