
June 2026 · Patch 7.1g
Support · SUPPORT · JUNGLE

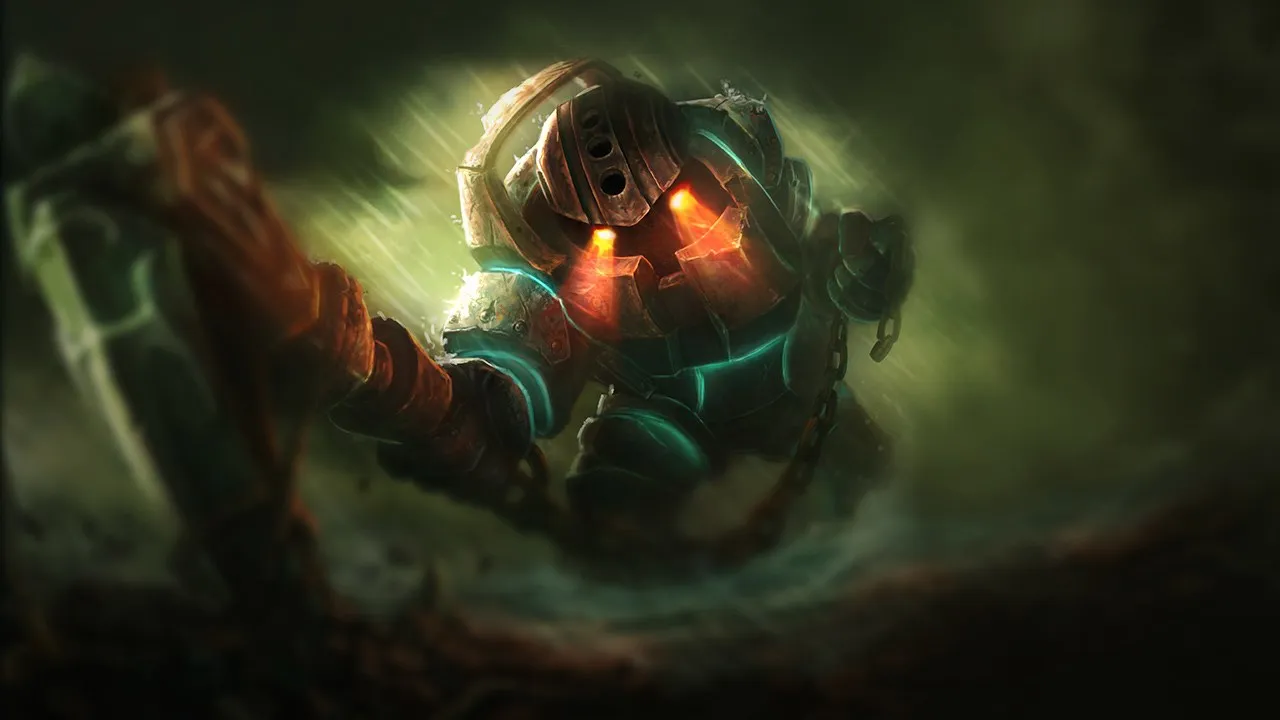
Nautilus Wild Rift Expert Guide

With Nautilus, prioritize anchor precision over frequency — a missed anchor in combat is a lost window. Chain Q → AA → E → R to maximize total CC duration on a target. In teamfights, target the enemy carry rather than the frontline to maximize impact.

★ SUPPORT · JUNGLE Tier S+
DMG
UTIL
TANK
DIFF
Win 50.2% #33 · ↑4pt
Pick 4.8% #16
Ban 10.3% #22

Nautilus Wild Rift Expert Guide

Strengths & Weaknesses

Strengths

  • Reliable engagement and long chain of controls.

Weaknesses

  • Flash and vision-dependent for clean angles.
  • Little clean damage: requires rapid team follow-up.

Quick read

Core identity

Nautilus is mainly played as Support. Its clearest strength is reliable engagement and long chain of controls..

First priority in lane

Bush control, trade court with W/E; engages on summoners down.

Main punishment pattern

Nautilus becomes easier to punish when flash and vision-dependent for clean angles.. From the opposite side, the page also highlights this answer: Punish his missed Qs: his threat window goes dark for several seconds.

Gameplay notes

Micro decisions

  • Decide between hook engage or peel based on threat.
  • Activate shield before impact to absorb return damage.
  • Reposition after engaging to block skillshots.
  • Wait for enemy cooldowns before committing.

Common mistakes

  • Engaging without checking ally positioning.
  • Forcing predictable frontal hooks.
  • Ignoring vision before engaging.
  • Failing to adapt between engage and peel roles.
  • Underestimating enemy cooldowns.

Level 5 spike

Unlocking ultimate turns every engage into a guaranteed threat on a priority target.

Mid game objectives

Around dragons and Herald, he becomes extremely threatening due to tight angles.

Game Plan

Early

Bush control, trade court with W/E; engages on summoners down.

Mid

Roams mid and lens entry control; Flash-Q for a clean 5v4.

Late

Frontline and peel: choose which to fix with R according to the draft.

Power Spikes

Level 5 (Depth Charge)

Threat of global engagement and powerful re-engagement.

How to Play

  • Play the angles: a Q from the fog is worth more than three frontal Qs.
  • Activate W before the impact of your hook to absorb the return damage.
  • After entry, reposition yourself to block opposing skillshots and hold space.

Playing Against

  • Stay behind your minions to reduce the hook threat.
  • Buy tenacity/cleanse (Mercs/Quicksilver/Stasis Enchant) and don't group in chokes where their R knocks over several targets.

§ 07b — Advanced MechanicsNautilus: combos & tips Wild Rift

Flash-first combo
1 Flash Flash
2 Q Q
3 AA
4 R R
5 AA
6 W W
7 E E
8 AA

Use Flash to close an unexpected gap, guaranteed hook, then a point-and-click ultimate for total lockdown

Ultimate-first combo
1 R R
2 Flash Flash
3 Q Q
4 AA
5 E E
6 W W
7 AA

Useful when the target is out of hook range; Flash closes the gap after the ultimate has been cast

Riptide engage combo
1 E E
2 Flash Flash
3 AA
4 Q Q
5 R R
6 AA
7 W W
8 AA

Less common, useful for applying the area-of-effect slow first

Mechanical Tips

  • Staggering Blow (Passive): Triggers the passive root on every enemy hit (cooldown per target). Always auto-attack between skills to maximise chained CC
  • Titan’s Wrath = auto-attack reset: the 2 key acts as an auto-attack animation cancel, reducing the delay between hits — activate just before the next auto-attack
  • Dredge Line on terrain: if the hook hits a wall, 50% of the cooldown and mana are refunded — use against walls to escape or reduce the cooldown in combat
  • Depth Charge (Ult): a point-and-click ability that cannot be dodged except by Stasis or Spell Shield — always available to guarantee lockdown even on moving targets

Common Mistakes

  • Hook blocked by minions: the wave of minions absorbs the Dredge Line — position yourself so there are no minions in front of the target, or make use of the terrain
  • Ult wasted on targets already under CC: the Depth Charge travels beneath allies — use it early on isolated targets rather than as a finisher when the target might die before impact
  • Forgetting to trigger the passive: between each ability, always intersperse an auto-attack to activate Staggering Blow on adjacent targets
  • Poor positioning before the hook: move slightly towards your desired position BEFORE casting the hook — the target moves towards Nautilus, not the other way round

Notable Interactions

  • Works exceptionally well with ADCs that deal burst damage (Jhin, Miss Fortune), who benefit from the prolonged lockdown
  • Depth Charge passes through allies and can stop several enemies in its path before reaching the main target (knocking up enemies it passes through)
  • With Locket of the Iron Solari or Knight’s Vow, Titan’s Wrath becomes even more durable in teamfights

FAQ

How should I play Nautilus in Wild Rift?

Nautilus is generally played as Support. The first objective is to bush control, trade court with w/e; engages on summoners down.. Its biggest edge comes from reliable engagement and long chain of controls..

When is Nautilus strongest?

This page highlights the moments where Nautilus can force clean trades, rotations, or objective setups. In practice, the champion is strongest when its cooldown cycle is respected and the fight starts on its own terms.

How do I punish Nautilus?

Nautilus can be punished when flash and vision-dependent for clean angles.. A practical answer listed here is: Punish his missed Qs: his threat window goes dark for several seconds.