
June 2026 · Patch 7.1g
Mage · MID · SUPPORT

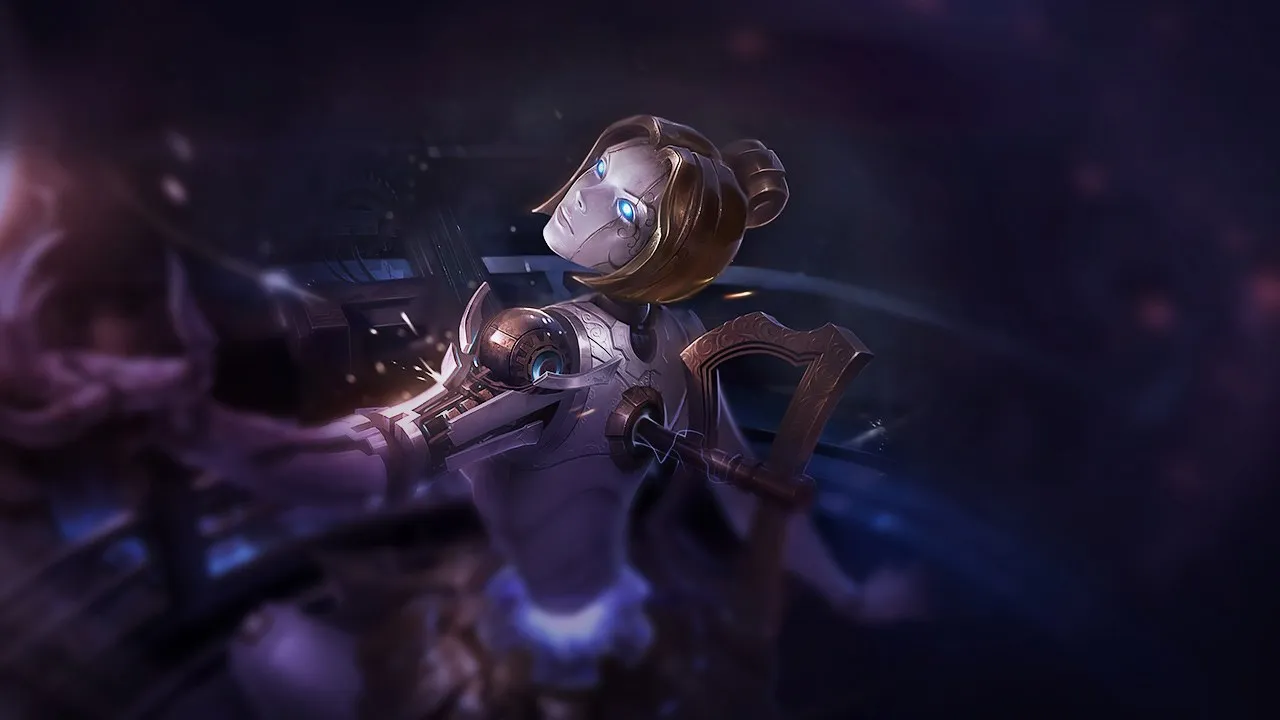
Orianna Wild Rift Expert Guide

With Orianna, managing your ball is your priority — its constant placement creates threats the opponent must address. Coordinate your ultimate with your team: a missed engage without follow-up is a wasted opportunity. In lane, keep your ball between you and the enemy to maximize trades.

★ MID · SUPPORT Tier S
DMG
UTIL
TANK
DIFF
Win 50.6% #42 · ↓7pt
Pick 3.3% #22
Ban 0.1% #122

Orianna Wild Rift Expert Guide

Strengths & Weaknesses

Strengths

  • Elite zone control and teamfights won on a single ulti.
  • Correct peel via E/W and good pick options from fog.

Weaknesses

  • Dependent on Flash and ball positioning.
  • Less effective sideways or without vision: needs a prepared frame.

Quick read

Core identity

Orianna is mainly played as Mid. Its clearest strength is elite zone control and teamfights won on a single ulti..

First priority in lane

Short trades Q→AA (passive); clean recall after plate if possible.

Main punishment pattern

Orianna becomes easier to punish when dependent on flash and ball positioning.. From the opposite side, the page also highlights this answer: Punish his empty Qs: without a well-placed ball, his threat collapses in a matter of seconds.

Gameplay notes

Micro decisions

  • Before an objective, place the ball in the corridor enemies must cross, not necessarily on yourself: the threat of Shockwave already wins space.
  • Do not automatically cast W after every Q: keep it for moments where the slow or speed-up actually changes the trade, disengage, or allied engage.
  • Use E on the ally who is about to enter, but read their path: if that ally backs off or gets controlled, your ball leaves the right angle at the wrong time.
  • Against assassins, keep a distance where your Q can punish their entry, but where your Barrier and Flash are not forced before their real commit.

Common mistakes

  • Holding Shockwave too long while waiting for the perfect highlight, when an ultimate on two key targets would already win dragon or remove the enemy carry.
  • Keeping the ball only on herself, which reduces her threat area and forces Orianna to expose herself to create pressure.
  • Using W for poke without thinking, then lacking the slow or speed-up when engage or peel becomes decisive.
  • Walking into river without vision while the ball is too far behind, turning Orianna into an immobile mage instead of a zone threat.
  • Playing every fight as forced engage, when Orianna sometimes needs to keep Shockwave to protect a carry from enemy dive.

Level 5 - Shockwave unlocked

Level 5 is Orianna’s first real status change. Before that, she mostly controls lane through Q, passive, and short trades; after Shockwave, every river movement becomes dangerous. The key is not only having R available, but already preparing the space: ball in the choke, ally ready to move forward, Flash kept if possible.

Luden's Echo completed

With Luden's Echo, her Q becomes more than a positioning tool: it starts dealing enough poke to create pick windows. At this point, Orianna should play around mid waves and river entrances, because one good poke before dragon can force enemies to give the objective or enter a bad fight.

Rabadon's Deathcap spike

Rabadon's Deathcap gives Orianna real fight-turning threat even when the setup is not perfect. She can punish two targets instead of waiting for five, especially if the enemy carry is hit. It is also the point where her shield and damage become heavier: Orianna is no longer only controlling space, she can decide the fight.

Game Plan

Early

Short trades Q→AA (passive); clean recall after plate if possible.

Mid

Roams mid→bot on R/Flash timers; trap chokes with ball.

Power Spikes

Level 5 (Shockwave)

Global engagement/counter-engagement threat: every Flash becomes an opportunity.

How to Play

  • Position the ball BEFORE the target: the threat counts as much as the activation.
  • Don't waste W unnecessarily: it's your tool for engaging, peeling and zoning.
  • Announce your R timers and prepare an angle (Flash/E on ally) before pressing.

Playing Against

  • Spread out around the targets: Shockwave punishes tight packs.
  • Banshee/Stasis Enchant/Mercs greatly reduce its pick window; challenge side vision to remove their angles.

§ 07b — Advanced MechanicsOrianna: combos & tips Wild Rift

Poke lane combo
1 Q Q
2 W W
3 AA
4 E E

Fire the ball, slow with ability 2, auto-attack whilst under the speed bonus, recall the ball with ability 3 if under threat

All-in combo
1 Q Q
2 R R
3 W W
4 AA
5 E E

Send the ball into the middle of the enemies, use your ultimate to pull them in, apply an immediate slow with ability 2 (enemies cannot flee), then auto-attack

Surprise combo with an ally
1 E E
2 W W
3
4 R R
5 Q Q
6 W W
7 E E

Attach the ball to an allied tank who is engaging, trigger the ultimate in the middle of the enemies for a full pull

Mechanical Tips

  • Ball positioning on an ally: use Command: Protect to place the ball on an ally who is engaging (Jarvan, Malphite) — enemies cannot see the ball and are caught off guard by the ultimate
  • Independent Command: Dissonance: Ability 2 can be activated on the ball even if Orianna is out of range — useful for ganking or zoning from a safe distance
  • Ball = projectile: Command: Attack deals damage to enemies it passes through before reaching its target — place the target behind the enemy to guarantee a hit as it passes through
  • Ult after the pull: after Shockwave, immediately activate Command: Dissonance — pulled enemies are grouped together and the slow prevents them from scattering

Common Mistakes

  • Ball positioned incorrectly for the ultimate: Command: Shockwave only pulls enemies close to the ball, not Orianna — always check that the ball is in the centre of the enemy group BEFORE using your ultimate
  • Positioning yourself in the front line: Orianna has no escape mechanism — stay in the back line and control the ball from a distance
  • Forgetting that Command: Dissonance boosts Orianna’s speed: Ability 2 grants a speed boost when the ball is on you — use it to escape or reposition quickly

Notable Interactions

  • Shockwave → Dissonance is the most effective damage combo, as the second ability targets the ball, where all the pulled enemies end up
  • Orianna synergises well with Malphite (simultaneous ultimates), Jarvan IV and Hecarim — all of whom are engage-type champions who draw enemies towards the ball
  • Command: Protect (3) grants a shield to an ally — use it defensively on the enemy ADC with low HP to help them survive a burst

FAQ

How should I play Orianna in Wild Rift?

Orianna is generally played as Mid. The first objective is to short trades q→aa (passive); clean recall after plate if possible.. Its biggest edge comes from elite zone control and teamfights won on a single ulti..

When is Orianna strongest?

This page highlights the moments where Orianna can force clean trades, rotations, or objective setups. In practice, the champion is strongest when its cooldown cycle is respected and the fight starts on its own terms.

How do I punish Orianna?

Orianna can be punished when dependent on flash and ball positioning.. A practical answer listed here is: Punish his empty Qs: without a well-placed ball, his threat collapses in a matter of seconds.