July 2026 · Patch 7.2a
Marksman · Dragon Lane

Tristana Wild Rift Guide

Marksman

★ Dragon Lane Tier A July 2026 · Patch 7.2a
DMG
UTIL
TANK
DIFF
Win 48.8% #59 · ↑2pt
Pick 4.4% #17
Ban 0% #136
§ 01 — Editorial brief

Tristana remains a very valuable Dragon lane pick when the game gives her enough time to turn a stable lane into objective pressure.

By WRC Studio ~ 1 min read Patch 7.2a
Expert note

Expert take

Tristana is an excellent choice if you want an ADC who can decide the game through conversion, not only raw DPS. She rewards players who recognize the right moment: when the wave allows a plate, when a target can be finished, when an objective can fall before the enemy responds. Her difficulty is not purely mechanical, but decision-based: the same Rocket Jump can be a decisive reset or a free death. If your draft gives you crowd control and at least some protection, she becomes a very reliable turret and teamfight threat. If you must create the opening alone, she loses a large part of her value.

Weak point

Hidden weakness

Tristana’s hidden weakness is not only her fragile early game: it is her dependence on clean conversion. Many of her actions look strong because they create movement, but a jump without reset, an Explosive Charge placed on a target that leaves range, or Rapid Fire used on a wave with no objective behind it leaves a long window where she has no leverage. She can therefore lose a game not because she lacks damage, but because she spends her tools before the real fight decision arrives.

§ 02 — Strengths & weaknesses Tristana Wild Rift strengths and weaknesses

↑ Strengths
  • She punishes teams that defend turrets poorly: one uncontested Explosive Charge can turn a neutral wave into plating, a turret, or dragon priority.
  • Her scaling range lets her move from a cautious lane phase into a real backline threat, especially once Magnetic Blaster gives her safer auto-attack windows.
  • With Bloodthirster and Navori Quickblades, she can play longer fights without relying on a single burst, as long as Rocket Jump remains available for reset or repositioning.
  • She brings real objective threat: dragon, Herald, Baron, and turrets fall quickly if her team secures a few seconds of free DPS.
↓ Weaknesses
  • Avoid Tristana if the enemy bot lane can force you to suffer from levels 1-3 with heavy burst or short trades you cannot answer.
  • Avoid her if your team has no reliable crowd control to prepare your resets: without a locked target, your offensive Rocket Jump becomes too risky.
  • Avoid her in drafts where you are the only damage source without frontline, because you will have to survive, deal DPS, and create the opening at the same time.
  • Avoid her if the game requires an ADC who is immediately strong in lane against already confirmed range or poke pressure.
02

§ 03 — Game planTristana Wild Rift game plan: early, mid and late game

I Early

Farm safe, short exchanges around E + 2-3 autos

Niv. 1 → 6

Farm safe, short exchanges around E + 2-3 autos. Respects engages and keeps W to exit.

II Mid

Spike 2 items: looking for 2v2 with engage…

Niv. 7 → 11

Spike 2 items: looking for 2v2 with engage support and converted to dragons/plates.

III Late

Disciplined front-to-back: play the distance,…

Niv. 12+

Disciplined front-to-back: play the distance, keep R to finish or save your W reset.

Data — Stats per levelTristana Wild Rift base stats per level (1-15)

Movement speed 335Attack range 545Bonus attack speed / lvl +3.2%
Show stats per level
LvlHPADArmorMRManaHP regenRes. regen
16305435303007.512
2758603931.43418.212.7
3886664332.83828.913.4
41,014724734.24239.514.1
51,142785135.646410.214.8
61,27084553750510.915.5
71,398905938.454611.616.2
81,526966339.858712.316.9
91,6541026741.262812.917.6
101,7821087142.666913.618.3
111,910114754471014.319
122,0381207945.47511519.7
132,1661268346.879215.720.4
142,2941328748.283316.321.1
152,4221389149.68741721.8

Base data : wiki.leagueoflegends.com (CC BY-SA 4.0) · 2026-07-09

§ 05 — Recommended buildBest Tristana Wild Rift build for the current patch

Tristana remains a very valuable Dragon lane pick when the game gives her enough time to turn a stable lane into objective pressure. Her value does not only come from her scaling range: it mostly comes from her ability to convert small windows into towers, dragons, or fight resets through Explosive Charge and Rocket Jump. In the current environment, she works well when positioning mistakes can be punished and when her team can help her survive the first minutes. She is not the best choice if the enemy bot lane dictates the pace too early through poke or burst, but she becomes very hard to stop once she reaches Bloodthirster, Navori Quickblades, and Magnetic Blaster. Her real strength is her curve: fragile when forced too early, but explosive once she can play behind frontline or reliable engage.

Core
1 Bloodthirster
Bloodthirster
2 Navori Quickblades
Navori Quickblades
3 Magnetic Blaster
Magnetic Blaster
Boots
Berserker's Greaves Berserker's Greaves
/
Gluttonous Greaves Gluttonous Greaves
See the full build

§ 06 — The matchup wallTristana Wild Rift counters and synergies

Hard Unfav. Skill Fav. Synergy
Draven
Hard
Draven
Jinx
Unfav.
Jinx
Kai'Sa
Skill
Kai'Sa
Vayne
Fav.
Vayne
Leona
Ideal
Leona
Leona gives Tristana an extremely clear all-in window, which perfectly matches her explosive burst and jump reset pattern. The execution is direct: Leona starts with her control combo, Tristana instantly jumps in to stack Explosive Charge, then often gets Rocket Jump back after the kill to continue or disengage. This pair is deadly against fragile lanes or any duo that poorly respects level 2, 3, and 5 spikes.
Alistar
Ideal
Alistar
Alistar gives Tristana highly reliable setup and excellent space control after first contact. The execution works beautifully: Headbutt + Pulverize puts the target airborne, Tristana has time to jump, stack her bomb, and finish before the enemy regains footing. This synergy is especially strong against low-mobility lanes and in skirmishes where a single Tristana reset can snowball instantly.
Nautilus
Strong
Nautilus
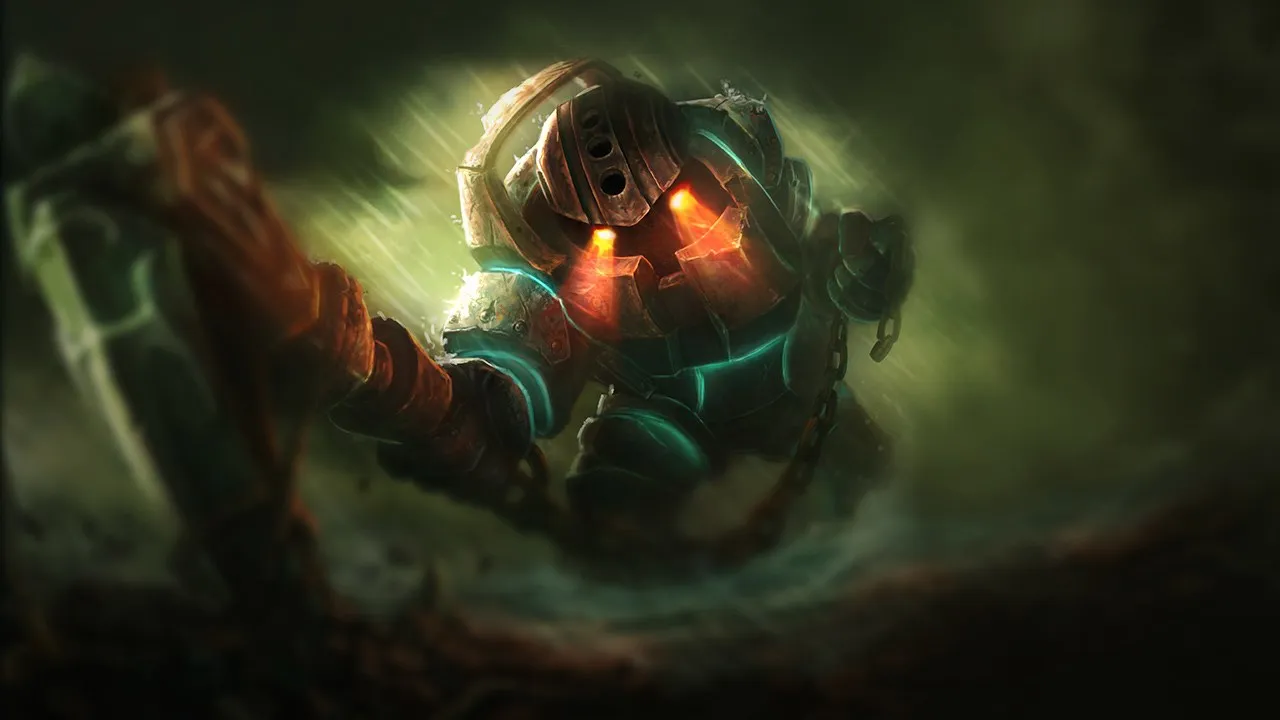
Nautilus gives Tristana a very safe all-in through long crowd control duration and the ability to engage even without a perfect angle. The execution is disciplined: hook or ultimate starts the play, Tristana follows while staying focused on bomb timing, then Buster Shot can finish or peel away a second threat. This pair is excellent when the plan is to kill one target quickly and exit before the full enemy response arrives.
Jarvan IV
Strong
Jarvan IV
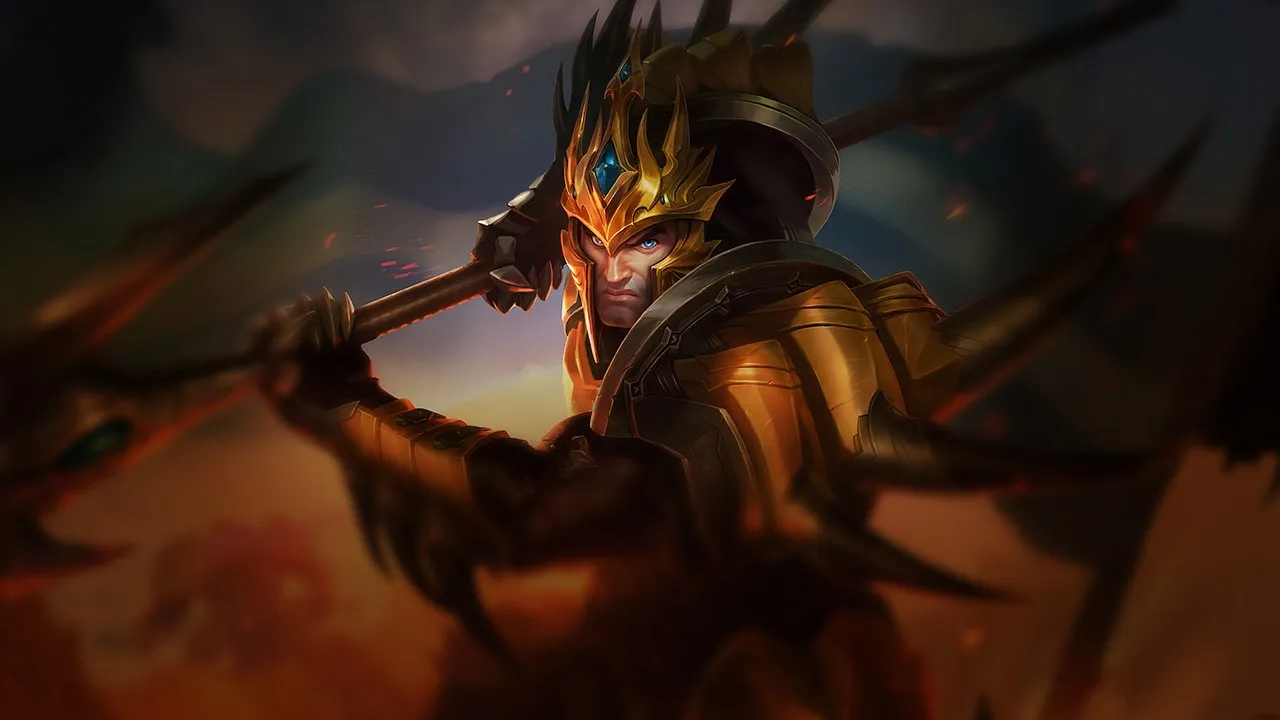
Jarvan IV complements Tristana very well because he fixes targets in place and lets her choose aggressive jumps without creating everything by herself. The execution is strong when Jarvan starts on a key target, then Tristana jumps in to stack her charge while Cataclysm drastically reduces kiting space. This synergy is especially good against immobile carries and teams that misplay fragmented fights.

§ 07b — Mecánica avanzadaTristana: combos & tips Wild Rift

Combo inicial (nivel 2)
1 E E
2 AA
3 W W
4 AA
5 AA

Coloca la bomba, AA para apilar, salta para acortar distancia, continúa con AAs para detonar

Combo todo incluido (nivel 5)
1 Q Q
2 W W
3 E E
4 AA
5 R R
6 AA
7 W W

Activa AS, salta, planta la bomba mientras saltas, usa la ultimate para empujar o como remate, reinicia Rocket Jump si consigues una baja

Combo de poke sin iniciar pelea
1 E E
2 AA
3 AA
4 AA
5 AA

Planta la bomba y apila con auto-ataques a distancia sin usar Rocket Jump para mantenerte a salvo

Consejos mecánicos

  • Apilado de Explosive Charge (3): la bomba se apila con CADA auto-ataque (y ciertas habilidades) — 4 apilados = detonación máxima; en un combo de burst, apila usando Rapid Fire (1) para acelerar las cosas
  • Reinicio de enfriamiento de Rocket Jump por baja: Rocket Jump reinicia su enfriamiento al conseguir una baja o asistencia — en teamfights con múltiples bajas potenciales, la movilidad de Tristana se vuelve virtualmente ilimitada
  • Explosive Charge durante el salto: es posible colocar el tercer apilado en el objetivo MIENTRAS realizas Rocket Jump (en el aire) — esto ahorra ~0.5s en el tiempo de la bomba
  • Dirección de Buster Shot (Ulti): la ultimate empuja al objetivo en la dirección que apuntas — empújalos contra una pared para aturdirlos, o sácalos de un área protegida (bajo torreta, hacia tu equipo)
  • Apuntar y Disparar (pasiva): el alcance de AA y habilidades aumenta con cada nivel — en el late game, Tristana tiene el alcance de un francotirador; ajusta tu posicionamiento acorde

Errores comunes

  • Rocket Jump para poke: Rocket Jump tiene un enfriamiento y es el principal mecanismo de escape de Tristana — no la desperdicies en un engage a medias sin potencial de baja
  • Buster Shot en el momento equivocado: sacar a un objetivo del alcance de tus aliados ayuda al enemigo a escapar — úsala solo para rematar a un enemigo o para enviarlo a una mala posición
  • Ignorando el alcance creciente: Tristana tiene un alcance masivo en el late game — no te acerques demasiado a los enemigos; usa su alcance para kitear de forma segura

Interacciones notables

  • Explosive Charge (3) se puede colocar en torretas — útil para destrozar rápidamente una torreta (apílala golpeando la torreta con auto-ataques normales)
  • El reinicio de Rocket Jump también puede ser activado por asistencias — protege a un aliado mientras mantienes la movilidad
  • Con Filo Infinito + Bailarín Espectral, detonar Explosive Charge mientras está completamente apilado con golpes críticos puede one-shotear carries en el late game

§ 07 — PreceptsTristana Wild Rift tips for ranked

Tip · 01

Play the distance: your range increases by levels, abuse safe auto-attacks before going all-in.

Codex
Tip · 02

Put down E then activate Q to speed up stacks; don't waste Q on visionless push.

Codex

§ 08 — DialoguesTristana Wild Rift FAQ

Q.01 Is Tristana a good blind pick in Dragon lane? +

She can be blind picked, but not under every condition. Tristana is acceptable blind if your team can later add crowd control or frontline, because she needs some structure to stack Explosive Charge and play around resets. If you blind her into an already fragile composition, the enemy can answer with poke, range, or early all-in and prevent you from reaching your windows. The pick is reliable only if the draft around her stays coherent.

Q.02 Should Tristana play aggressively from lane phase? +

Not automatically. Tristana can punish hard, but her aggression must come from a clear condition: support engaged, target controlled, Explosive Charge already placed, enemy jungler visible, or favorable wave. If you jump only because you see a damage window, you may lose your only defensive tool. In lane, the best Tristana alternates between patience, turret pressure, and calculated all-ins. She does not need to force an early kill to become dangerous.

Q.03 Why does Tristana take turrets so quickly? +

Explosive Charge applies direct pressure to structures, and Rapid Fire increases the number of attacks needed to detonate it quickly. This means a simple crashed wave can become a real plate or turret threat if the enemy is not in position to answer. This is also why vision is essential: when Tristana hits a turret, she often naturally steps into a zone where ganks become very dangerous.

Q.04 What is the biggest mistake to avoid with Rocket Jump? +

The biggest mistake is treating Rocket Jump like free engage. The spell is powerful because it can reset, not because it makes Tristana invincible. Before jumping, you need to know what enables the next step: likely kill, Explosive Charge ready to detonate, allied crowd control, or enemy defensive spell already used. If none of that is present, the jump often turns a decent position into an isolated death.

§ 09 — EchoesTristana Wild Rift related guides

01
Key mechanic

Wave Management in Wild Rift: the expert skill that wins objectives

Master Wild Rift wave management to create tempo, secure objectives, and win more games without forcing bad fights.

Read
02
Role guide

Yunara Wild Rift Guide: Master the Hybrid Marksman of Patch 7.2

Yunara Wild Rift guide: build, counters, skill order, Transcendence management and concrete tips to master the hybrid AD/AP marksman of patch 7.2.

Read
03
Key mechanic

Understanding Macro in Wild Rift: The Real Difference Between Playing and Winning

Understand macro in Wild Rift: objectives, rotations, tempo, vision and decisions that help you win more ranked games.

Read
04
Key mechanic

Drake and Baron Objectives in Wild Rift: how to decide fast without throwing

Learn when to contest Drake, when to start Baron, when to give an objective, and how to avoid objective throws in Wild Rift.

Read