
Counter açısı
Support ve Swain sayaçları, Nevermove’u engellemez, E yeteneğinin menzilinin dışına çıkmaz veya ultisini sıfırlamaz.

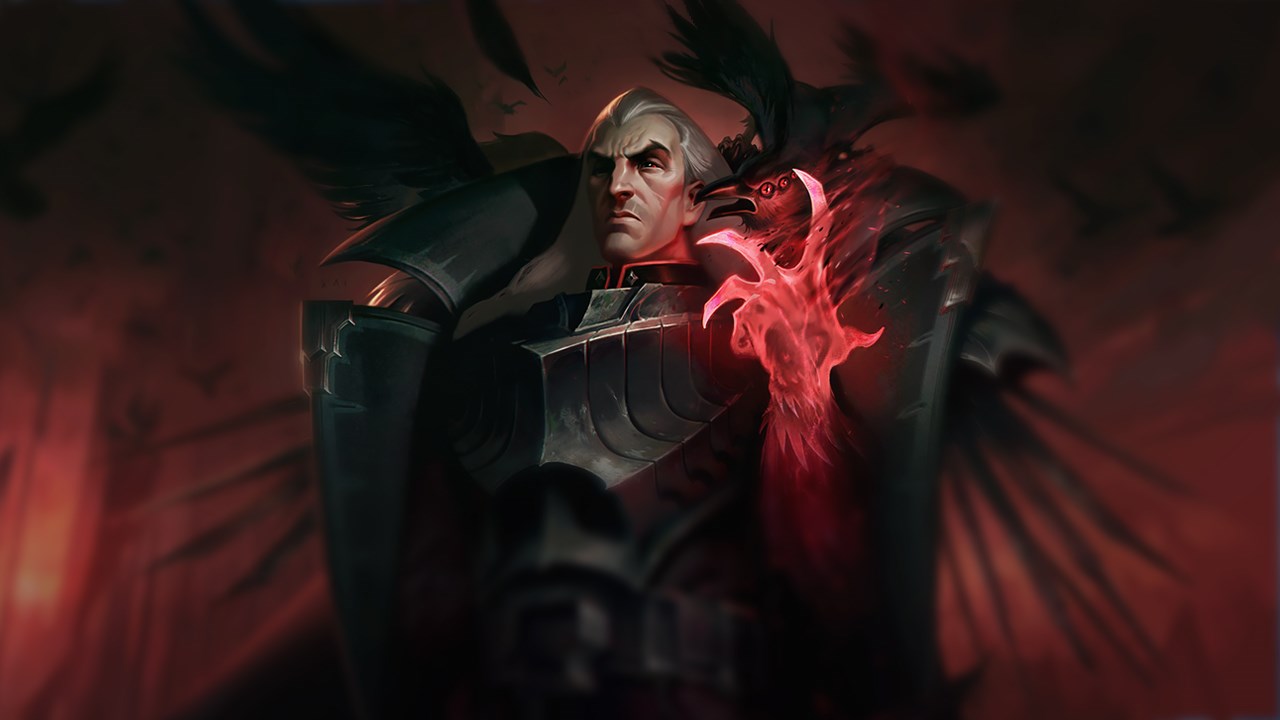
Swain, gücü büyülerinde ve uzun menzilli alan kontrolünde yatan bir Support mage'dir. Bu, onu özellikle sert CC'ye sahip şampiyonlar (susturma, suppression)'a karşı zayıf kılar. Buna karşılık, temposuna ayak uyduramayan yavaş makro profilleri'a karşı parlar.
Morgana breaks Swain support’s identity because she disables a core part of what makes your trades profitable: CC chaining + pull that buys you time to stack damage and heal. Black Shield doesn’t need to be perfect to ruin you—protecting the right target at the right moment turns your all-in into a soft entry where you stay in range without the control that usually wins the trade.
In lane, your kill pressure drops hard: whenever you threaten E, Morgana can pre-shield and make your engage unconvertible. She can also play range poke, forcing you to choose between stepping up (risking bind) or backing off (losing pressure). Around objectives, she also has an easy tool to deny river picks: shield + bind on the entry.
Positioning: play diagonals and short flank angles instead of a readable front-to-back all-in, forcing Morgana to shield early and opening a window afterward. Timing: punish Black Shield cooldown—when it’s down, your win condition returns for a few seconds, so prep the move before (wave ready, ADC ready). Decision: if shield is up and lane is stable, shift plan into vision control + wave pressure, then look for catch on the other target or a mid roam instead of forcing into a blocked engage.
Janna is a functional hard counter: she doesn’t stop you from hitting, she stops you from staying. Swain wants to stick, drain, and turn fights into long zones where your ult becomes a no-go area. Janna presses buttons that break that plan—knockups, knockback, resets. Your ult often becomes an investment that gets “refunded” by disengage.
In lane, she shrinks your all-in windows and protects her ADC with low exposure. You can catch once, but she breaks the follow-up, leaving you in the middle of lane without winning the trade. Midgame, she protects rotations: Swain walking straight into backline gets pushed off, and your teamfight loses its anchor point.
Positioning: find angles where Janna can’t knock you back toward her turret (short flank, side bush), reducing disengage value. Timing: at level 5, don’t ult too early—bait a cooldown (tornado/ult) first, then R when the fight truly commits. Decision: if Janna plays full disengage, win via objectives: vision setup, force enemies to walk into your zone, punish oversteps instead of chasing targets that will be reset.
Lulu is hard because she turns your engage into shadowboxing. Swain support often wants to catch, press R, and force a long fight. Lulu cuts tempo: polymorph on you when you want to drain, shield + ult on her target to absorb, and your power window gets spent without a kill.
In lane, when you land E, Lulu has a response that breaks conversion: she removes her ADC’s ability to die and removes your ability to stick. The result is you can burn cooldowns for nothing, then become vulnerable to ganks or counter-trades.
Positioning: don’t dive in just because you hit E—first check polymorph cooldown and enemy flash. Timing: your best moment is often after Lulu used polymorph for low value (poke/mini trade)—then you can all-in with R. Decision: if Lulu is protecting a hypercarry, shift to zone-control play: hold space, peel your backline with slows/CC, and only commit offensive ult onto an isolated target.
Pyke is hard because he isn’t playing the same game: he doesn’t want to trade, he wants to finish. Swain thrives in long fights where you drain and zone, but Pyke looks for a pick, then an execute, then exits. If he forces you to engage late or press R defensively, your biggest strength becomes a survival button instead of a domination button.
In lane, he threatens from mobile angles and constantly pressures wards. Step up to hold wave and you can get hooked; back off and you lose prio and let Pyke roam. Midgame, he punishes late rotations: Swain arriving after his team is exactly the target Pyke loves to delete.
Positioning: avoid straight lines and always keep an exit (don’t hug walls where hook becomes binary). Timing: at level 5, hold R to absorb the first impact then flip when Pyke spends mobility cooldowns. Decision: if Pyke disappears, don’t chase solo—ping, shove/secure vision with jungler, take cross-map value rather than walking into fog without certainty.
Senna is hard in practice because she forces you to play at range while you want to play in range. She chips you down, forces resource spending to survive, and can back off the moment you threaten E. You can kill her if you catch her, but the matchup often comes down to one thing: she controls when trades start.
In lane, she chips you while you try to hold wave, and you reach level 5 with less room to operate. If you lose prio, you can’t place aggressive wards, opening roams and picks. In teamfights, she adds poke and zone control that makes your entries harder.
Positioning: play diagonally behind your wave and only threaten E when she’s actually stepped up (not when she’s already far). Timing: punish her auto windows for stacking—that’s when she’s most exposed. Decision: if you can’t force, choose the objective plan: control vision, arrive early to fights, and use R to make enemy entry a danger zone instead of chasing Senna.
Brand makes your trades riskier because he punishes stacking. Swain likes to stand in the middle, press R, and hold a zone. Brand loves that: he burns you and your ADC together and can deal more damage in seconds than your drain compensates, especially early/mid.
In lane, engaging without a clear edge can get flipped by stun + burst, forcing you to retreat with melted HP. Midgame, his AoE turns objective corridors (dragon pit, river) into death zones—exactly where Swain wants tight fights.
Positioning: stagger with your ADC to reduce double hits and force Brand to pick a target. Timing: press R after Brand has spent part of his burst or when stun isn’t ready; otherwise you get bursted out before drain matters. Decision: if lane is too explosive, shift into vision + controlled pick: catch Brand when he lacks vision/range, rather than fighting him in a closed corridor.
Lux taxes your approach: long-range poke and one landed bind can stop your entry before your drain even starts. Swain is strong when he reaches contact with resources intact; Lux tries to make you enter already chipped, then finish with clean burst.
In lane, she can keep you out of range and force desperation engages instead of real windows. Miss your E and you eat a poke cycle and lose prio. Midgame, she can defend vision lines with spells—crossing river without info becomes risky.
Positioning: approach diagonally and use the wave to block bind lines instead of walking straight. Timing: look for windows after a missed bind—then you can step up, threaten E, and force flash. Decision: if Lux plays full poke, don’t tunnel on catching her in open ground; set up objectives, force her to step forward, then engage when she must.
Karma prevents you from setting pace: speed + shield + poke removes your ability to stick to a target. Swain often wins by forcing long fights; Karma does the opposite—keeps ADC safe and makes you waste time chasing.
In lane, you can get pushed and poked without a real engage window. If you go too early, she kites and you take a losing trade. Midgame, she often reaches objectives earlier thanks to prio and speed, putting you in reactive mode.
Positioning: don’t reveal too early—if Karma sees you, she shields and walks out; instead look for short angles from a warded bush. Timing: level 5 can be a pivot, but only after Karma spent a speed shield; otherwise you catch nobody. Decision: if you lack prio, play setup: reset earlier, arrive first, place vision, become the team waiting rather than the team chasing.
Alistar is unfavorable because he can reformat fights: knock you away, separate you from targets, and break your ult zone right when you want to cash it in. Swain wants stable melee; Alistar wants chaotic resets.
In lane, he can threaten all-in onto your ADC, and if you step up to help, you risk a combo that pushes you out of drain range. In fights, he can peel perfectly: you press R to enter, he bumps you off and you lose contact, so your ult feels far less oppressive.
Positioning: keep distance so you’re not an easy combo target, and lean more on E catches than frontal all-ins. Timing: press R when the fight is already sticky (after Alistar spent part of combo), not at first contact. Decision: if Alistar is holding combo, play fights in two beats: poke/threaten, force cooldown, then commit when he can’t reset you.
Into Thresh, it’s all about reads and tempo: he wants a pick to break lane, you want a catch that opens a long fight. Kits answer each other, and the matchup often hinges on who forces the other to spend the main tool first (hook vs Swain E).
In lane, bushes and wave state decide the geometry: Thresh wants hook angles, Swain wants pull angles. If you get hooked you can get bursted; if Thresh gets caught he may lantern out. Trades aren’t pure—you must account for ADC and jungle follow-up.
Positioning: play second line while hooks are up, step forward only when wave/wards cut angles. Timing: punish missed hooks—that’s your clearest window to step up, E, and force summoners. Decision: if Thresh is holding lantern to save, sometimes target the other champion: catching ADC or cutting escape routes is higher value than catching Thresh himself.
Rakan is skill because you can punish him… but he can also waste your time. If you land E as he commits, you can trap him and force a long favorable fight. If you miss or pull too early, he dances in/out and your ult gets pressed into nothing.
In lane, Rakan plays timings: fast engage, then exit. Your goal is to turn hit-and-run into hit-and-stuck. Midgame, he threatens flanks and charms; you want structured fights where you can see entry coming.
Positioning: keep enough spacing to react to his dash (don’t stand glued to ADC) to avoid him hitting both. Timing: save E for real commit (after first animation), not on feints. Decision: if Rakan is flanking, win via vision—deeper wards, bush control, force him to engage frontally where your kit is easier to execute.
Nami is skill because bubble can break your entry, but if you establish a long fight, Swain often brings higher raw value in the brawl. The matchup is about tempo: Nami prefers short clean trades; Swain prefers trades that stretch and become unmanageable.
In lane, you must respect bubble on every step forward: getting CC’d at the wrong moment removes your ability to ult properly. But Nami exposes more than some enchanters when she pokes/autos, giving you catch windows if you read wave state well.
Positioning: approach diagonally with micro side steps to reduce bubble predictability. Timing: level 5 is a real swing if you force a fight on a favorable wave, because Nami hates long fights without reset. Decision: if you missed an engage, don’t panic re-commit—reset, rebuild vision, then re-enter when bubble is used or when Nami must step up.
Leona can be favorable for Swain because her engages are often one-way commits. While some supports kite and make you chase, Leona frequently gives you what you want: contact fights. If you survive the first impact and time R well, you turn her all-in into a long fight where drain and zone take over.
In lane, if she engages too early without wave/jungle advantage, you can flip the trade: E to hold, R to sustain, extend the fight. Midgame, she forces tight objective fights—Swain loves those spaces if your team follows.
Positioning: don’t give free engage onto your ADC, but stay close enough to instantly answer her commit. Timing: level 5 is key—hold R until she has invested CC so your ult pays off over time. Decision: if she engages and enemy ADC is out of reach, don’t tunnel—hold space, protect carries, win by attrition.
Braum is often favorable because he doesn’t shut down your plan with instant picks. He protects and slows, but struggles to stop you from establishing a fight zone. Swain gains value in slow tight brawls; Braum excels at protecting one target, not at pushing you out of the fight.
In lane, you can find E windows when Braum steps up to apply passive or protect. Since he doesn’t threaten one-shot picks as much, you can manage wave/vision more calmly. In fights, if you press R in the brawl, Braum lacks a simple reset button like disengage supports have.
Positioning: still respect enemy ADC all-in, but punish Braum when he must show to protect. Timing: around level 5/dragon, force fights in tight areas where R shines. Decision: if Braum is glued to his ADC, don’t waste everything trying to kill—take space, zone, and win the objective while he’s busy bodyguarding.
Yuumi often gives you time and space, and Swain loves that: you can push a wave, take position, and force fights where enemies must walk into you. Yuumi scales, but her lane presence is weaker; if you convert that into tempo advantage, you reach midgame with a control zone Yuumi can’t easily break.
In lane, you can more often control bushes and roam timings, especially if your ADC can hold wave. Yuumi relies on her host to defend, so threatening E on a mispositioned ADC can force flash/heal. In fights, your R is great at stopping enemies from simply walking forward behind Yuumi sustain.
Positioning: play aggressive but disciplined—step up with wave and vision, back off when jungle info is missing. Timing: level 5 is a pivot to force tight dragon fights before Yuumi becomes too valuable on a carry. Decision: if Yuumi sits on a fed champion, the winning call is often punishing objective positioning (zone + slow) rather than chasing in open ground.
Buy these items to reduce this champion's effectiveness in your games.
Support ve Swain sayaçları, Nevermove’u engellemez, E yeteneğinin menzilinin dışına çıkmaz veya ultisini sıfırlamaz.
Swain, düşmanlar bir koridora girmek zorunda kaldıklarında kazanır; düşmanlar onun enerji emme alanının içinde kalmadan saldırı yaparsa, kalkan kullanırsa veya geri çekilirse kaybeder.
Nevermove geri çekilmesini reddediyorlar, bu nedenle Swain işlem tetikleyicisini kaybediyor.
Şampiyon nasıl uyum sağlamalı. E tuşuna basmadan önce W tuşuna veya ADC tuşlarına basarak kalkanı etkinleştirin.
Swain, tehdit etmek için bir adım ileri atmak zorunda olduğundan, menzile ulaşmadan önce HP kaybeder.
Şampiyon nasıl uyum sağlamalı. Fırça/sis stratejisiyle oyna ve Rylai's'e kadar daha yavaş bir koridor temposu kabul et.
E'yi Kara Kalkan'a harcamayın: Kalkanı zorlayın, geri çekilin, ardından bir sonraki pencerede hamlenizi yapın.