Burst and entry punishment
This matchup type works against Yasuo because it forces him to respect every entry. Yasuo often wants to move through the wave, stack Q, and use Wind Wall to control the enemy response. Burst champions punish that exact moment: if he dashes too far, loses his passive shield before the trade, or uses Wind Wall on the wrong spell, he can die before applying his DPS. The issue for Yasuo is not only the damage taken, but the fact that he does not always have time to set up Q3 or convert Last Breath cleanly.
How the champion adapts. Yasuo must shorten trades, keep the wave closer to himself, and avoid deep dashes without jungle information. Wind Wall should be saved for the spell that truly locks the trade, not for winning a small exchange.
Hard crowd control and direct engage
Yasuo is mobile, but his mobility means little if he is locked down at the moment he wants to extend the fight. Hard crowd control breaks his main logic: dash to reposition, Q to maintain pressure, Wind Wall to neutralize a response, then Last Breath on a window. When the control lands after his entry or when his shield is down, Yasuo can no longer turn mechanics into damage. These matchups are dangerous because they do not always need to chase him: they often just wait for him to come in himself.
How the champion adapts. Yasuo should play more as a second-wave threat. He must wait for the key crowd control to be used or for his team to force the opening, then enter with Q3 or Last Breath instead of being the first contact point.
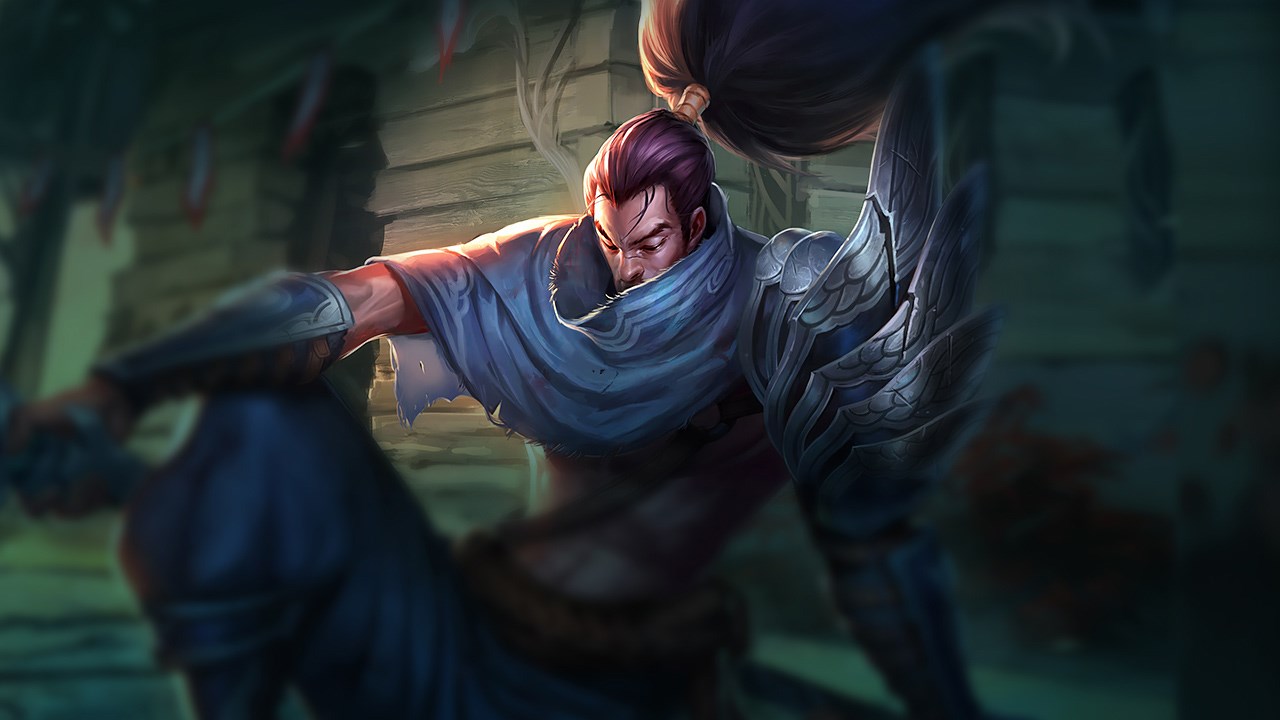
Mobility and angles hard to wall
Yasuo likes when the fight happens on a clear line: he can then place Wind Wall, read distance, and prepare his tornado. Mobile champions break that read by changing angles, forcing his defensive E, or making him use Wind Wall without certainty that it blocks the decisive spell. Akali, Diana, or Ahri can create situations where Yasuo must choose between holding wall, dashing to follow, or backing off to preserve shield. The more he hesitates, the more his Q3 loses pressure and the easier his all-in becomes to predict.
How the champion adapts. Yasuo should avoid chasing every enemy dash. He must play around the wave, keep Q3 as zoning pressure, and wait for the opponent to spend their repositioning tool before committing.