S+
September 2026 · Patch 7.2d
Assassin · Mid Lane

Zed Wild Rift — Tier, Stats & Overview

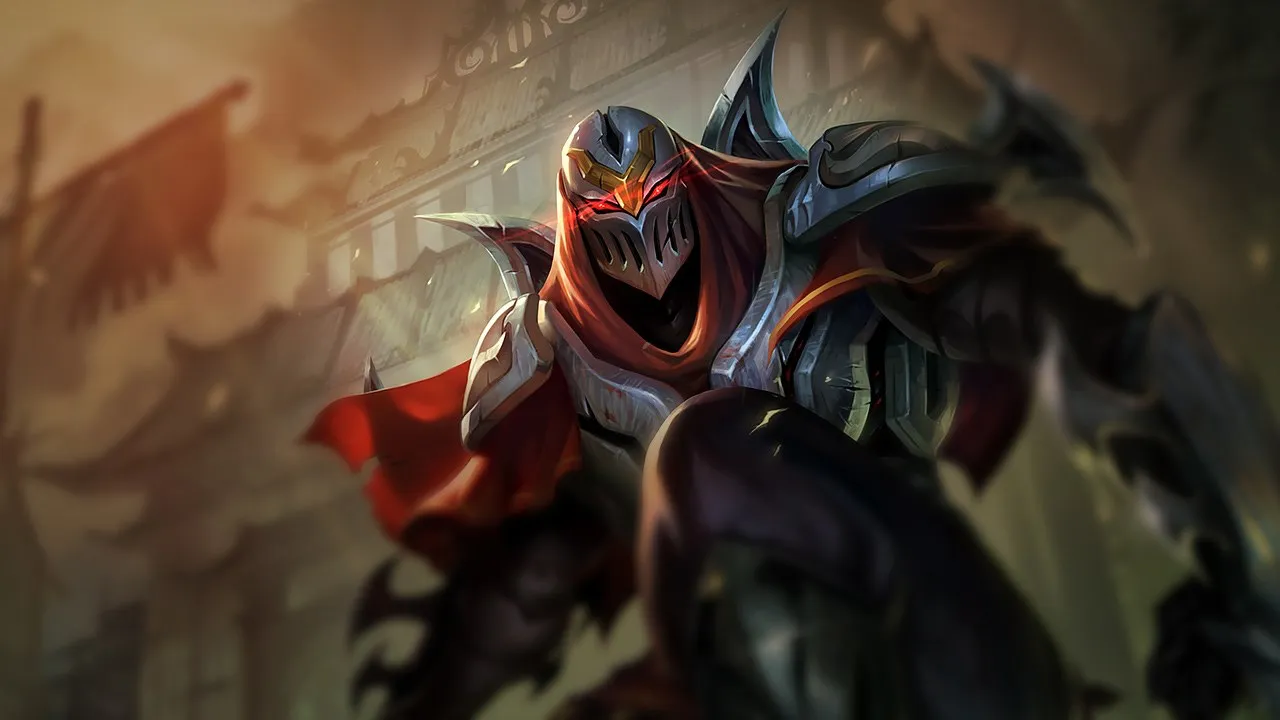
Zed is a Mid Lane assassin, master of shadows whose kit revolves around precise positioning of living shadows on the battlefield for explosive position-swaps.

Best build Duskblade of Draktharr Youmuu's Ghostblade Serpent's Fang Eclipse Edge of Night Full build →

★ Mid Lane Tier S+ September 2026 · Patch 7.2d assassinshadowlethality
DMG
UTIL
TANK
DIFF
Win 48.9% #65 · ↓5pt
Pick 3.8% #19
Ban 1.6% #75

Start here

Master everything about Zed

The complete Zed breakdown, and the micro and macro skills that actually decide games on this champion.

All guides →
Win Rate (30d) 48.94%+0.99 pts
Pick Rate 3.77%
Ban Rate 1.57%
48.5%49.0%49.5%50.0%7.2c7.2d08/0823/0807/09

Zed's win rate has climbed +0.99 pts over the last 30 days, now at 48.94%. See the full Wild Rift meta trends for more biggest movers.

§ 01 — Editorial brief

Zed holds a very specific place in mid lane: he is not picked only to win lane, but to turn every enemy positioning mistake into a kill and then into map tempo.

By Updated 8 Sept 2026 Patch 7.2d

Zed is a Mid Lane assassin, master of shadows whose kit revolves around precise positioning of living shadows on the battlefield for explosive position-swaps. His ultimate Death Mark renders him invulnerable then detonates the target with a final shadow explosion. His energy resource instead of mana allows unlimited spell spam without resource penalty. In Wild Rift, Zed is a one-shot assassin who excels against squishy mages, demanding shadow management mastery to maximize attack angles.

Zed fits in pick or global pressure compositions seeking advantages through roaming and eliminations. He benefits from allies who can exploit his kills to quickly take objectives. Early snowball compositions get the maximum from his mid game power window.

Zed struggles against carries with invulnerabilities or shields that nullify his executions. High-sustain or anti-death effects reduce his assassination impact. Good vision in his roam zones reduces pick opportunities.

With Zed, master shadow placement to create unexpected attack angles and secure combat exits. Your optimal combo goes through ultimate on the carry followed by E via shadow to maximize damage. In teamfights, priority on the enemy carry before your execution window closes.

§ 06 — The matchup wall · MidZed Wild Rift Mid counters and synergies

Hard Unfav. Skill Fav. Synergy
Malphite
Hard
Malphite
Lissandra
Hard
Lissandra
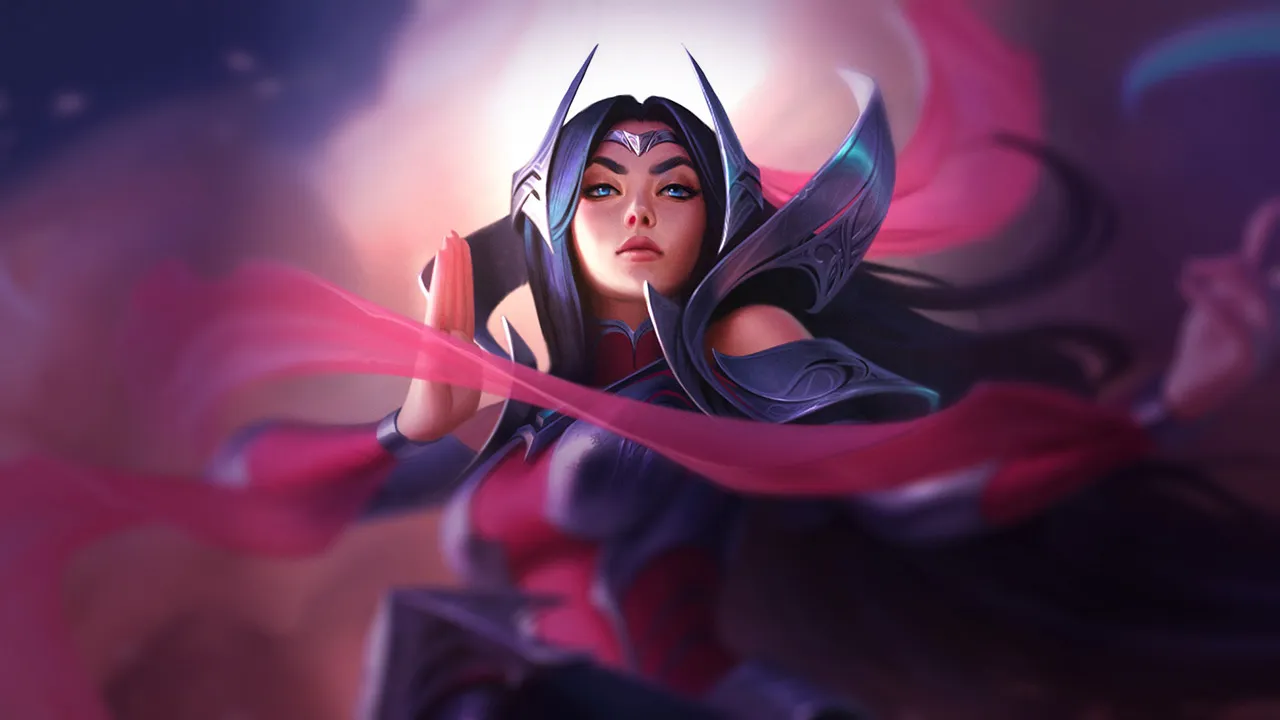
Irelia
Unfav.
Irelia
Ahri
Skill
Ahri
Akali
Skill
Akali
Aurelion Sol
Fav.
Aurelion Sol
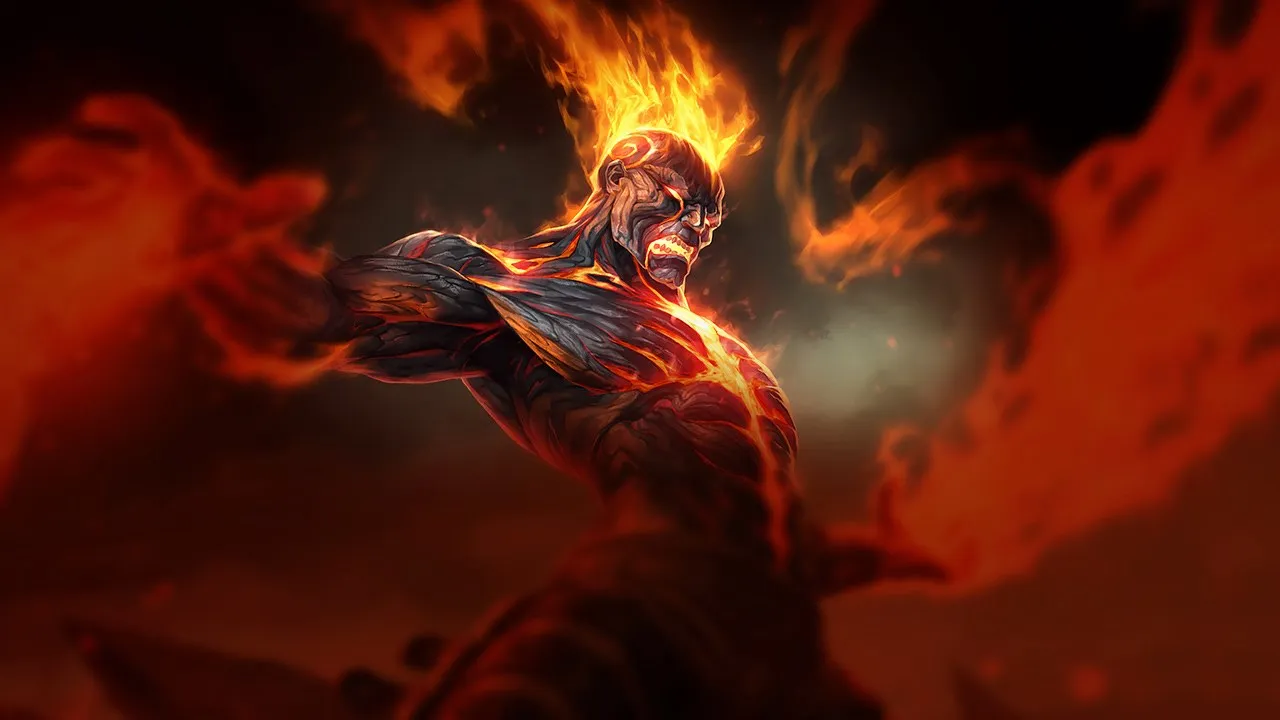
Brand
Fav.
Brand
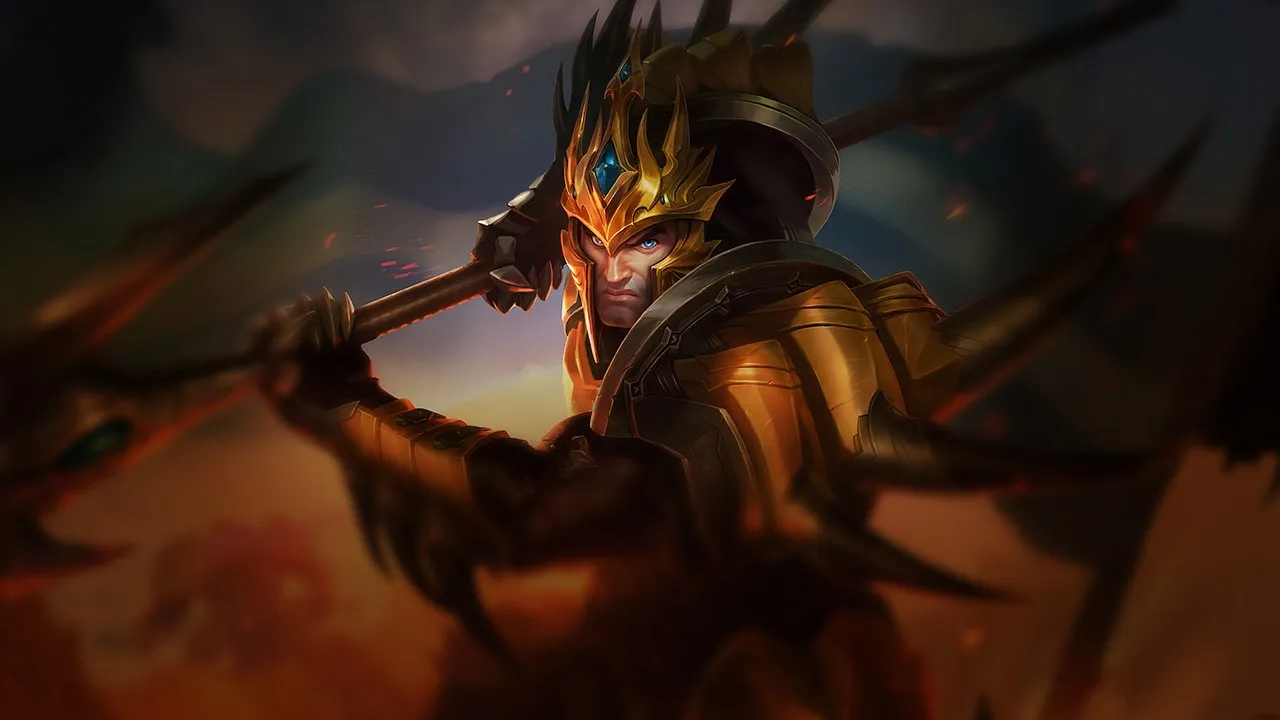
Jarvan IV
Ideal
Jarvan IV
Cataclysm prevents the target from Flashing while Death Mark is active — this is Zed's main vulnerability (the carry Flashing during Death Mark's 3-second delay) that J4 completely neutralizes. The sequence is clean: J4 engages on the priority carry, Cataclysm, Zed Death Mark from shadow, blades orbit for 3 seconds on a trapped target, then Death Mark triggers for a guaranteed one-shot. In mid-game, J4 can ult to Zed's midlane for a double dive on targets without dashes, and Zed can follow any J4 gank via Shadow Slash repositioning.
Hecarim
Ideal
Hecarim
Onslaught of Shadows makes the enemy backline flee directly toward Zed waiting on the flank — feared targets run toward death rather than away from Zed. The fear lasts 1 second, enough for Zed to place Death Mark on a target that can't Flash to escape, and the fear's implicit slow extends Death Mark's execution window. Extremely hard-to-anticipate double flanker: Hecarim arrives from jungle in front, Zed arrives from the opposite flank, and both dive simultaneously from different angles.
Malphite
Strong
Malphite
Yasuo
Strong
Yasuo
Zed has no natural knockup but Shadow Slash (E) applies a slow sufficient for Yasuo to chain his Sweeping Blade E then create a Steel Tempest tornado for knockup — Yasuo triggers Last Breath, and Zed ults onto the suspended target for a simultaneous combo. Both are melee carries who dominate mid 1v1: Zed clears waves, Yasuo fights, and together they exert extreme mid pressure forcing responses from multiple enemy team members. Risky synergy as both are fragile and depend on clean execution — but explosive in the hands of a coordinated duo.

Build enginePatch 7.2d build — computed

  1. Core 01 Duskblade of Draktharr Duskblade of Draktharr
  2. Core 02 Youmuu's Ghostblade Youmuu's Ghostblade
  3. Core 03 Serpent's Fang Serpent's Fang
  4. Core 04 Eclipse Eclipse
  5. Core 05 Edge of Night Edge of Night
  6. Boots Boots of Dynamism Boots of Dynamism
Full variants, runes & power spikes

§ 02 — Strengths & weaknesses Zed Wild Rift strengths and weaknesses

↑ Strengths
  • He heavily punishes immobile mids or carries who rely on backline positioning to survive.
  • His first items create a clear snowball window: push, disappear from lane, threaten side lanes, then convert into an objective.
  • He forces early Stasis Enchant or defensive purchases, which often delays the offensive spike of enemy carries.
  • He is very strong in games where vision is poorly controlled, because his wall-based shadow angles become much harder to predict.
↓ Weaknesses
  • Avoid Zed if the enemy team has several targeted crowd controls that can wait for him after Death Mark.
  • Avoid him if your composition already lacks AP, frontline, or reliable crowd control to start fights.
  • Avoid him against drafts that can buy early armor without sacrificing their game plan.
  • Avoid him if the game is likely to become a permanent mid-lane ARAM, because Zed loses a lot of value without flanks, side pressure, or fog of war.
02

§ 03 — Game planZed Wild Rift game plan: early, mid and late game

I Early

Safe farm, short poke trades (W→E→Q) and priority…

Lvl. 1 → 6

Safe farm, short poke trades (W→E→Q) and priority to prepare the first roam.

II Mid

Spike 2 items: play flank/pick before each…

Lvl. 7 → 11

Spike 2 items: play flank/pick before each target, reset after execution.

III Late

Split short/side then join in R; look for…

Lvl. 12+

Split short/side then join in R; look for isolated backline, GA if necessary.

§ 07b — Advanced MechanicsZed: combos & tips Wild Rift

Poke lane combo
1 W W
2 E E
3 Q Q

Shadow to double the projectiles, 3 for the shared slow, 1 for the 3 shurikens (Zed + shadow + shadow)

Aggressive all-in combo
1 W W
2 R R
3 Q Q
4 E E
5 AA
6 W W

Shadow close to the target, ult to blink behind them, 1 + 3 to triple the damage (Zed + 2 shadows), auto-attack, shadow swap to escape

Safe late-game combo
1 W W
2 R R
3 Q Q
4 E E
5 AA
6 W W

Shadow in a safe position, ultimate towards the target, full burst, swap to escape

Mechanical Tips

  • Death Mark timing: the ultimate marks the target and explodes after a few seconds, dealing a percentage of the damage dealt whilst the mark is active — maximise damage DURING the mark using 1 + 3 + auto-attacks + Ignite for maximum explosion damage
  • Living Shadow (2) triple hits: when the shadow is ADJACENT to the target, ability 1 (shuriken) and ability 3 (slash) hit from both Zed AND the shadow — 2 shurikens + 2 slashes = double damage; with the shadow ultimate: potential triple damage
  • Shadow swap: recasting ability 2 swaps Zed with his shadow — use this to escape after a burst or for an unexpected reposition
  • Razor Shuriken hit confirmation: the 1 shuriken travels through and hits all enemies in a line — in a teamfight, time the throw to hit multiple targets or the enemy AND their shadow

Common Mistakes

  • Death Mark without the shadow in the correct position: the ultimate places Zed behind the target but the shadow remains where it was placed — for the triple hit (3 shurikens), the shadow must be directly on the target BEFORE the ultimate
  • Wasting Shadow on an escape: the Shadow swap is invaluable for escaping after the ultimate — don’t waste the second one on roaming when a fight is imminent
  • Fighting the enemy carry whilst under CC: Zed isn’t tanky — only activate the ultimate when the target is alone or when allied CC is active; don’t dive into a full teamfight

Notable Interactions

  • Death Mark can be countered by Zhonya’s (stasis) — the ultimate’s explosion is cancelled if the target is in stasis at the moment of the explosion
  • Living Shadow can be swapped during the ultimate’s dash — an advanced technique for changing direction during combat
  • With Duskblade of Draktharr, Zed gains invisibility on a kill — allowing him to chain together assassinations in teamfights
Go deeper Mechanics & Tips — Zed Every combo, the advanced tips, the common mistakes and the full game plan. Open the section

§ 08 — DialoguesZed Wild Rift FAQ

Q.01 Is Zed a good blind pick in mid lane? +

Zed can be blind picked if your team already has AP damage, crowd control, and some form of engage, but he is not automatically reliable. Drafts with heavy armor, Stasis Enchant, peel, or targeted crowd control strongly reduce his margin for error. If you blind pick him, play mostly for map pressure and rotations rather than forcing constant mid duels.

Q.02 When should Zed roam instead of staying mid? +

Zed should roam when his wave is pushed, vision allows a short angle, and an ally can actually follow the pick. Roaming simply because your ultimate is available is a common mistake: if mid wave is lost or the side lane cannot help, you give away tempo for free. A good Zed roam should threaten both a kill and a conversion afterward.

Q.03 How should Zed play against Stasis Enchant? +

Against Stasis Enchant, Zed must stop thinking only in instant kills. The first sequence can be used to force the enchant, take a summoner spell, or push the carry away before an objective. Once that defense is used, the next cycle becomes much more dangerous. The trap is investing everything into Death Mark when the opponent is waiting exactly for that timing to cancel the burst.

Q.04 Is Zed better in teamfights or in side lane? +

Zed is often better when he uses side lane to create pressure before the teamfight. He can push, disappear, force someone to answer, then join an objective with a more dangerous angle. In a pure teamfight, he remains strong if the entry is prepared, but becomes far less reliable when he has to cross the frontline from the front without vision or ally distraction.

Data — Stats per levelZed Wild Rift base stats per level (1-15)

Movement speed 355Attack range 175Bonus attack speed / lvl +2.2%
Show stats per level
LvlHPADArmorMREnergyHP regen
16906440402009
281068.645422009.7
393073.1504420010.4
41,05077.7554620011
51,17082.2604820011.7
61,29086.8655020012.4
71,41091.3705220013.1
81,53095.9755420013.8
91,650100.4805620014.4
101,770105855820015.1
111,890109.5906020015.8
122,010114.1956220016.5
132,130118.61006420017.2
142,250123.21056620017.8
152,370127.71106820018.5

Base data : wiki.leagueoflegends.com (CC BY-SA 4.0) · 2026-07-09

Interactive tool

Try Zed in the Draft Simulator

Build your team around Zed, analyze enemy counters in real time and get pick recommendations aligned with the current patch meta.

Launch the Draft Simulator →