June 2026 · Patch 7.1f
Assassin · MID · JUNGLE

Zed Wild Rift Synergies

Zed fits in pick or global pressure compositions seeking advantages through roaming and eliminations. He benefits from allies who can exploit his kills to quickly take objectives. Early snowball compositions get the maximum from his mid game power window.

★ MID · JUNGLE Tier S+
DMG
UTIL
TANK
DIFF
Win 52.8% #17 · ↑12pt
Pick 4.9% #16
Ban 2.3% #49

Zed Wild Rift Synergies

S Tier 2
Jarvan IV Jarvan IV Cataclysm prevents the target from Flashing while Death Mark is active — this is Zed's main vulnerability (the carry Flashing during Death Mark's 3-second delay) that J4 completely neutralizes. The sequence is clean: J4 engages on the priority carry, Cataclysm, Zed Death Mark from shadow, blades orbit for 3 seconds on a trapped target, then Death Mark triggers for a guaranteed one-shot. In mid-game, J4 can ult to Zed's midlane for a double dive on targets without dashes, and Zed can follow any J4 gank via Shadow Slash repositioning. DiveJungle
Combo
EDemacian StandardQDragon StrikeRCataclysmRDeath MarkWLiving ShadowEShadow Slash
Hecarim Hecarim Onslaught of Shadows makes the enemy backline flee directly toward Zed waiting on the flank — feared targets run toward death rather than away from Zed. The fear lasts 1 second, enough for Zed to place Death Mark on a target that can't Flash to escape, and the fear's implicit slow extends Death Mark's execution window. Extremely hard-to-anticipate double flanker: Hecarim arrives from jungle in front, Zed arrives from the opposite flank, and both dive simultaneously from different angles. DiveJungle
Combo
ROnslaught of ShadowsWLiving Shadow (flanc)RDeath MarkQRazor ShurikenEDevastating Charge
A Tier 2
Malphite Malphite Unstoppable Force groups 3 targets with guaranteed knockup — Zed can W+R into the grouped cluster to apply Death Mark on the priority carry while other targets are knocked up and can't interrupt the execution. Timing is simple: Malphite ults, knockup begins, Zed ults into the group, Death Mark on the carry, shadow blades proc for the one-shot before the knockup ends. Teamfight synergy with global range similar to J4 but simpler to execute as Malphite's knockup is wider and slower to counter. EngageJungle
Combo
RUnstoppable ForceWLiving ShadowRDeath MarkQRazor Shuriken (double)EShadow Slash
Yasuo Yasuo Zed has no natural knockup but Shadow Slash (E) applies a slow sufficient for Yasuo to chain his Sweeping Blade E then create a Steel Tempest tornado for knockup — Yasuo triggers Last Breath, and Zed ults onto the suspended target for a simultaneous combo. Both are melee carries who dominate mid 1v1: Zed clears waves, Yasuo fights, and together they exert extreme mid pressure forcing responses from multiple enemy team members. Risky synergy as both are fragile and depend on clean execution — but explosive in the hands of a coordinated duo. CC ChainMid
Combo
EShadow Slash (slow)ESweeping BladeQSteel Tempest (knockup)RLast BreathRDeath Mark (sur target en l'air)
B Tier 1
Jinx Jinx Zed assassinates the enemy carry as priority, freeing Jinx from her main threat — with the enemy carry eliminated, Jinx can hypercarry the rest of the teamfight without being targeted. Jinx's Super Mega Death Rocket can finish targets weakened by Death Mark from any distance, and Get Excited lets her reposition aggressively after each reset. Indirect but highly effective synergy in teamfight impact: Zed opens the fight, Jinx closes with AoE damage. DiveADC
Combo
RDeath Mark (carry adverse)RSuper Mega Death Rocket! (exécution)

How to draft around this champion

Synergy angle

Zed works best with allies who make his entries less isolated. He does not need someone to teach him how to kill a fragile target; he needs his composition to create conditions where that target cannot simply back away, use Stasis Enchant, and be saved for free. The best synergies around him add either first engage threat, dive pressure, or the ability to immediately convert a pick into an objective. When the team plays too slowly or does not threaten the backline alongside him, Zed becomes predictable: everyone saves their defenses for Death Mark. A good Zed draft must create several problems at once.

Patch context

Zed’s synergy logic is based on defensive overload. If only one champion threatens the carry, the enemy can save Stasis Enchant, Exhaust, peel, and crowd control for that threat. If Zed attacks at the same time as engage, zone initiation, or secondary backline pressure, the enemy defense has to choose. That is when Zed becomes truly dangerous: not when he plays alone, but when his ultimate arrives after the enemy team has already had to answer another threat.

Draft identity

With good synergies, Zed becomes an accelerator of controlled chaos. He should not be the only engage or the only kill condition; he should be the blade that arrives when the enemy structure is already being pulled in another direction. The best compositions with him combine initiation, side pressure, and fast conversion.

Quick read

  • Zed loves allies who force carries to use their defenses before Death Mark.
  • He becomes more reliable when his team can convert a pick into dragon, Herald, or tower without waiting for a second fight.
  • Overly passive compositions make him readable: if Zed is the only threat, the entire enemy defense prepares for him.

Best composition types

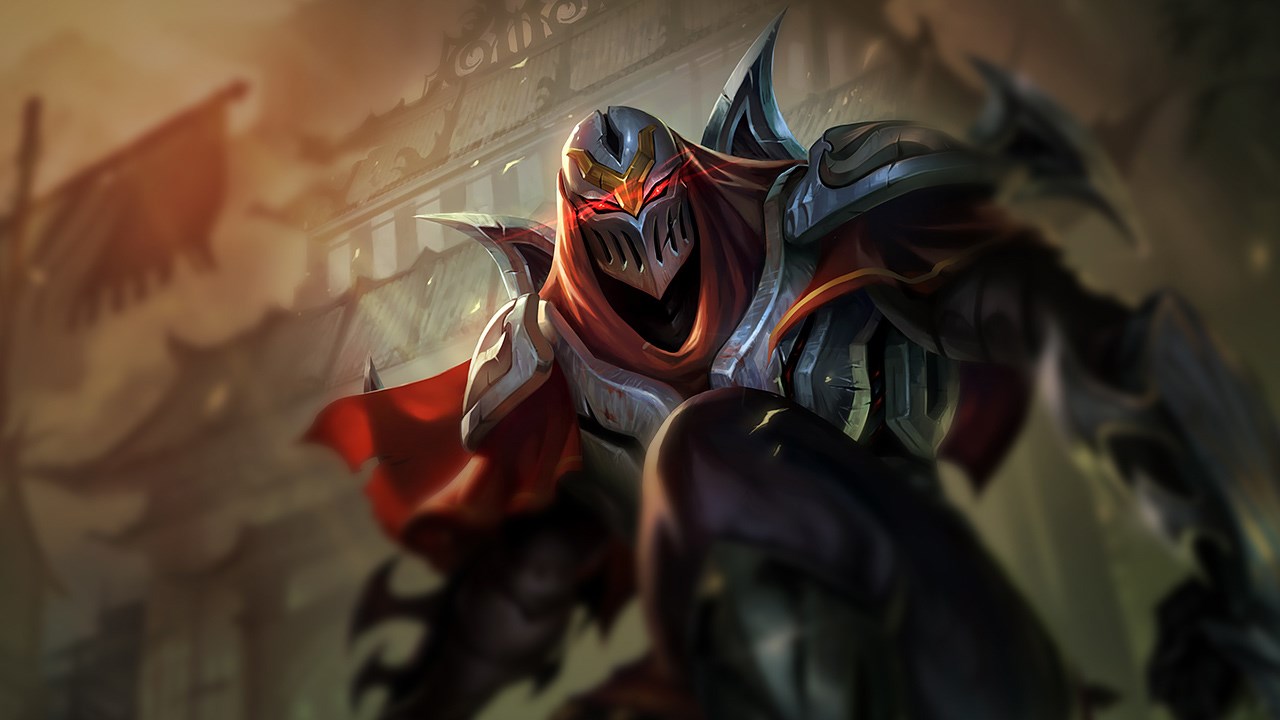
Explosive engage and simultaneous entry

Zed gains a lot when an ally forces the first defensive reaction. A hard engage makes carries move, use Flash, Stasis Enchant, or collapse around their support. Zed can then enter onto a target already under pressure, often with fewer answers available. This synergy is especially strong around objectives because the enemy must respect both the engage zone and Zed’s shadow angles. The pressure no longer comes from one assassin, but from two overlapping timings.

How to play it. Do not go too early. Let the engage create disorder, then use your shadow or Death Mark on the target who already spent a defensive tool. The correct timing is often half a second after the allied impact, not before it.

Backline pressure and secondary threat

Zed is much harder to handle when the enemy cannot save everything for him. A second backline threat forces carries to choose between backing away, defending against engage, or saving tools for Death Mark. This overload creates mistakes: poor Stasis Enchant, Flash used too early, or a support peeling the wrong target. Zed then uses the confusion to choose a shorter angle and finish the target with fewer answers left.

How to play it. Coordinate your entry with the second threat instead of playing alone. If the ally attracts peel, target the carry. If the carry retreats toward their support, use shadow to cut off the exit instead of charging straight in.

Pick conversion into objectives

Zed can create a pick, but he needs his team to turn that pick into a real advantage. Allies who can quickly start an objective, move forward after a kill, or clean up the fight give more value to every elimination. Without conversion, Zed can kill one target and still leave the game neutral. With a good conversion composition, every enemy death becomes a tower, dragon, deep wave, or vision takeover that prepares the next trap.

How to play it. Mentally decide what the kill should open before committing. If the objective is not ready or your team cannot follow, use your pressure instead to force a retreat and take vision.

Composition traps

Composition with no engage or reliable control

When nobody can force the enemy to react before Zed, his ultimate becomes the only important event in the fight. Enemy carries can save Stasis Enchant, Exhaust, peel, and crowd control for him, then punish him as soon as he appears. Zed can still win through isolated picks, but the composition becomes far less reliable once teams group around objectives.

Too much AD and easy defensive itemization

Zed loses a lot of value if the enemy can buy armor without hesitation. In an overly AD-focused draft, his targets become harder to kill, enemy tanks hold the line better, and every all-in requires more resources for a less guaranteed result. He can still punish mistakes, but the composition gives the enemy a simple answer.

Priority synergies

Jarvan IV

Jarvan IV gives Zed what he wants most: a clear point of impact and a target that cannot simply walk backward in a straight line. When Jarvan forces engage or traps a target, Zed can choose his shadow angle without carrying the entire fight responsibility alone. The synergy becomes especially strong if both players do not overlap too early: Jarvan creates the cage or disorder, then Zed enters when enemy defenses are already under pressure.

Hecarim

Hecarim works very well with Zed because he forces carries to react deep inside the fight. His speed and ability to cross space create the first panic movement, giving Zed a cleaner angle for Death Mark. The duo is dangerous when it attacks in two waves: Hecarim breaks positioning, Zed eliminates the target that has already used a defensive tool or isolated themselves while retreating.

Common mistakes

Common mistakes

  • Engaging at the exact same time as Zed without letting the enemy spend defenses, stacking threats instead of sequencing them.
  • Letting Zed split without preparing vision or an objective, turning his side pressure into isolated farming.
  • Drafting too much AD around him and giving the enemy an obvious defensive answer.
  • Expecting Zed to create the entire fight alone, when he is stronger arriving onto a target already under pressure.

Coach notes

  • With Zed, always think in overload: if the enemy has only one threat to manage, they will often survive. If two threats arrive with a slight delay, their answers become much less clean.
  • A good synergy with Zed is not measured only by the kill. It is measured by what the kill enables afterward: deep vision, objective, tower, or lasting control of an area.

Synergy reading

What these duos unlock

Zed performs best when allies extend the first window of control or damage. The strongest pairings on this page, such as Jarvan IV, Hecarim, Malphite, create cleaner fights and more reliable tempo swings.

Profile to look for

Zed has a assassin profile, so allies with Dive, Engage are usually the best fit. You often get the most value from partners played in Jungle, Mid.

When synergy matters most

These pairings matter most around first engage timing, objective setup, and follow-up on crowd control. The page is not just naming allies: it highlights combinations that reduce execution risk for Zed.

FAQ

What types of allies make Zed more reliable?

Zed becomes more reliable with allies who can force a reaction before him: engage, dive, crowd control, or direct backline pressure. These champions stop the enemy from saving every defensive tool for Death Mark. He also values allies who can quickly convert a pick, because an isolated kill that gives no objective or vision is not always enough to win the game.

Does Zed need an aggressive jungler?

He does not absolutely need one, but an aggressive jungler greatly increases his room to act. Zed wants to push, disappear, and threaten side lanes; a jungler who can follow those movements turns that pressure into dives, invades, or objectives. Without an active jungler, Zed can still win lane, but his roams become riskier and his kills harder to convert.

Why can Zed be bad in some aggressive compositions?

An aggressive composition is not automatically good for Zed. If it lacks crowd control, AP damage, or objective conversion, it may simply force messy fights without giving Zed a clean target. He needs structured aggression: an entry that forces a response, vision that hides his angle, then a team able to move forward after the pick.

How should objectives be played with Zed on the team?

With Zed, the objective should often be prepared before it spawns. Waves must be pushed, jungle entrances controlled, and the enemy forced to walk into an area where his shadows threaten carries. Zed is not ideal for a slow front-to-back around dragon; he is much better when his team creates a dangerous zone where an isolated carry can be eliminated before the real fight.