

↑ Strengths
- Extremely strong objective control through multi-directional zoning.
- Efficient punishment of enemy positioning mistakes.
- Strong scaling with standard AP items.
- Ability to slow the pace and force structured fights.

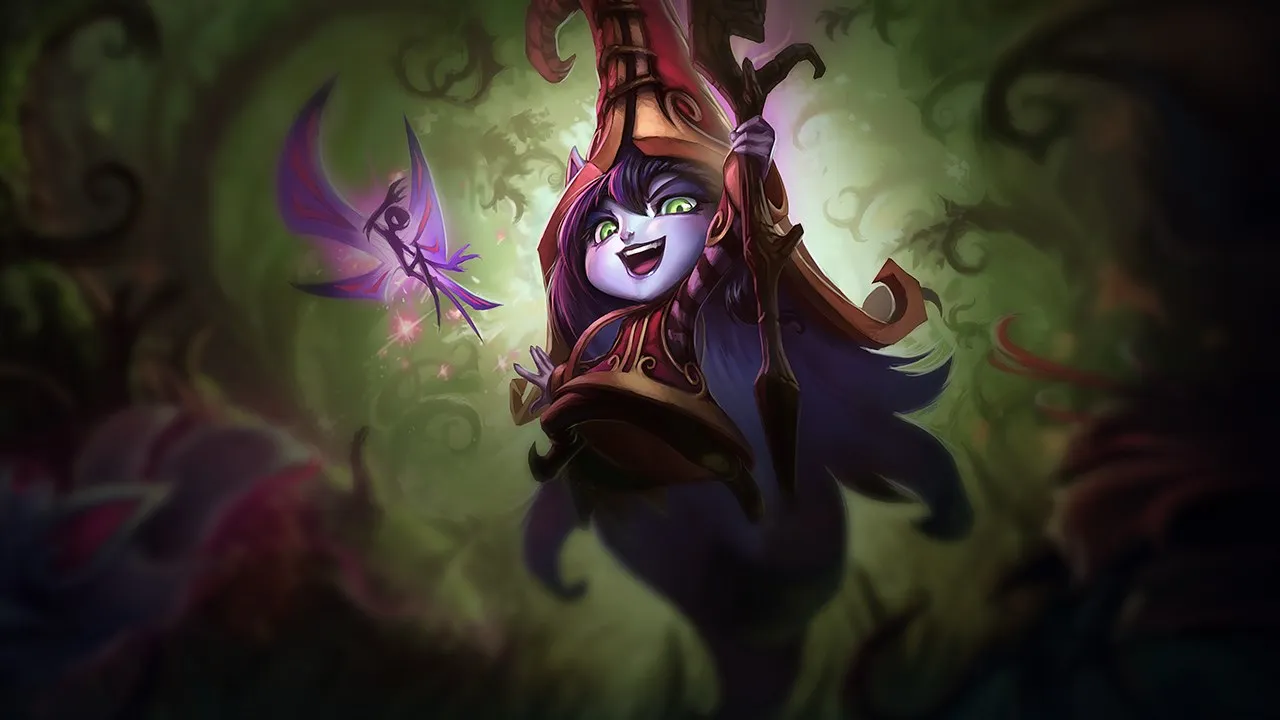
Norra is a utility support in Wild Rift, a portal witch deploying portal mushrooms that teleport allies across the map.
Your next duel
The five most played Mid opponents — tap one to open the free duel sheet.


 Counters
Who beats Norra
Counters
Who beats Norra



Start here
The complete Norra breakdown, and the micro and macro skills that actually decide games on this champion.

Norra's win rate has climbed +0.65 pts over the last 30 days, now at 50.44%. See the full Wild Rift meta trends for more biggest movers.
Norra is a utility support in Wild Rift, a portal witch deploying portal mushrooms that teleport allies across the map. Her kit provides summons through mushrooms, a portal field creating tactical movement options, and persistent terrain control zones. She excels in global pressure compositions seeking to create instant rotations to capitalize on map opportunities. In Wild Rift, her portals offer unique collective mobility enabling engages and retreats that opponents cannot anticipate.
Norra fits in scaling compositions that benefit from her portals and summons as zone control tools. She benefits from allies who can handle initial engagements while she positions her assets. Late game compositions get the most from her growing utility.
Norra is vulnerable against aggressive engage compositions that target her first before she can place portals. Her defensive kit loses utility when forced to constantly retreat. Champions who can interrupt her during summons reduce her impact.
With Norra, position your portals strategically to cut enemy approaches or create escape routes. Build your summons early to maximize their late game impact. In teamfights, use your abilities to create confusion rather than for direct damage.


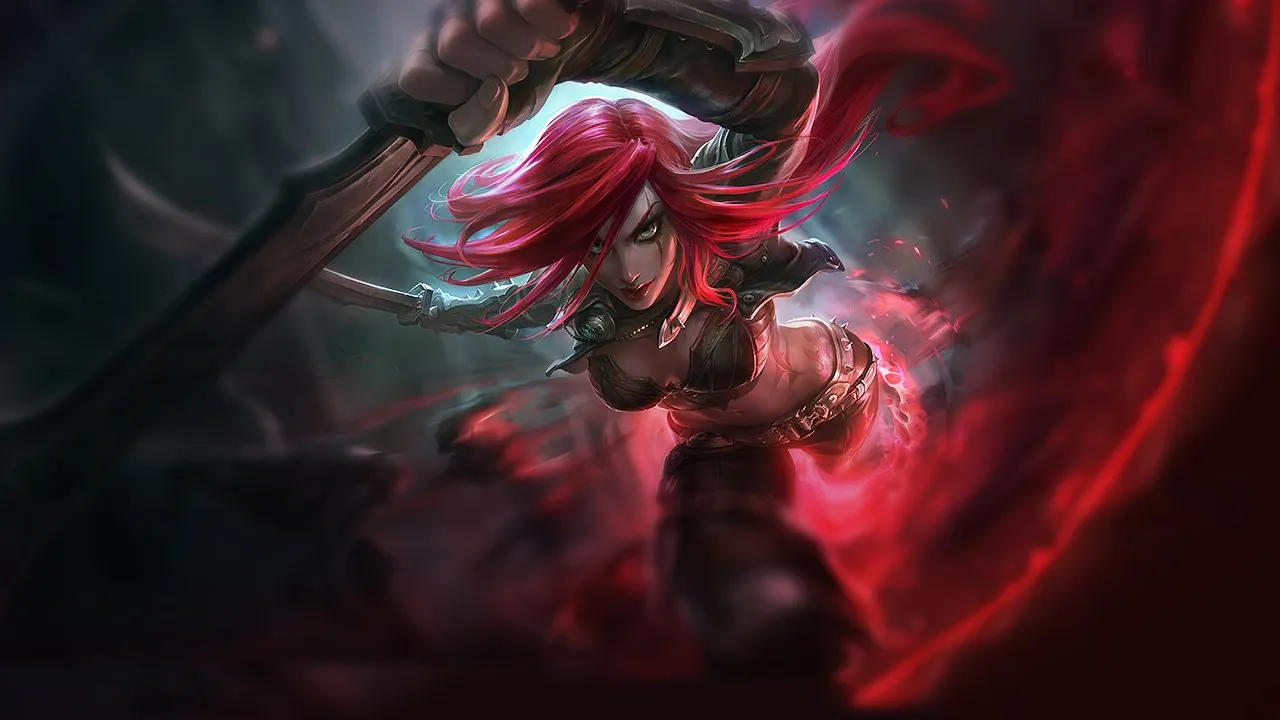
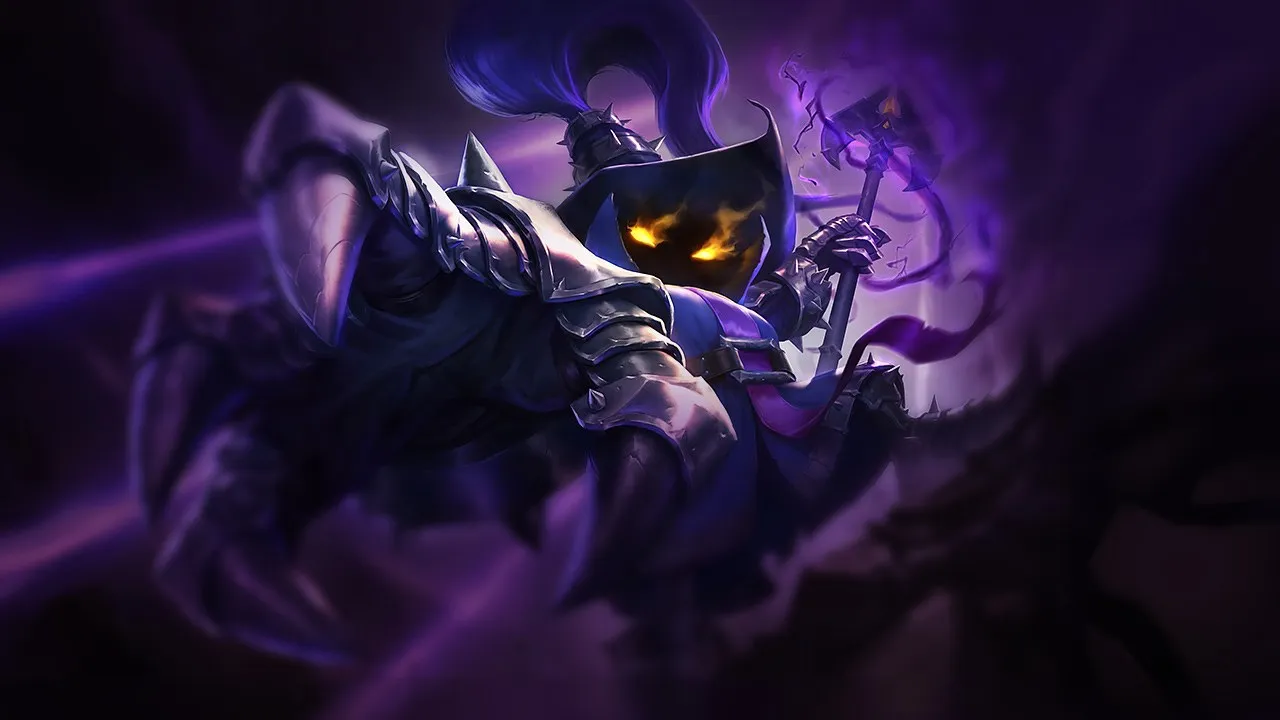
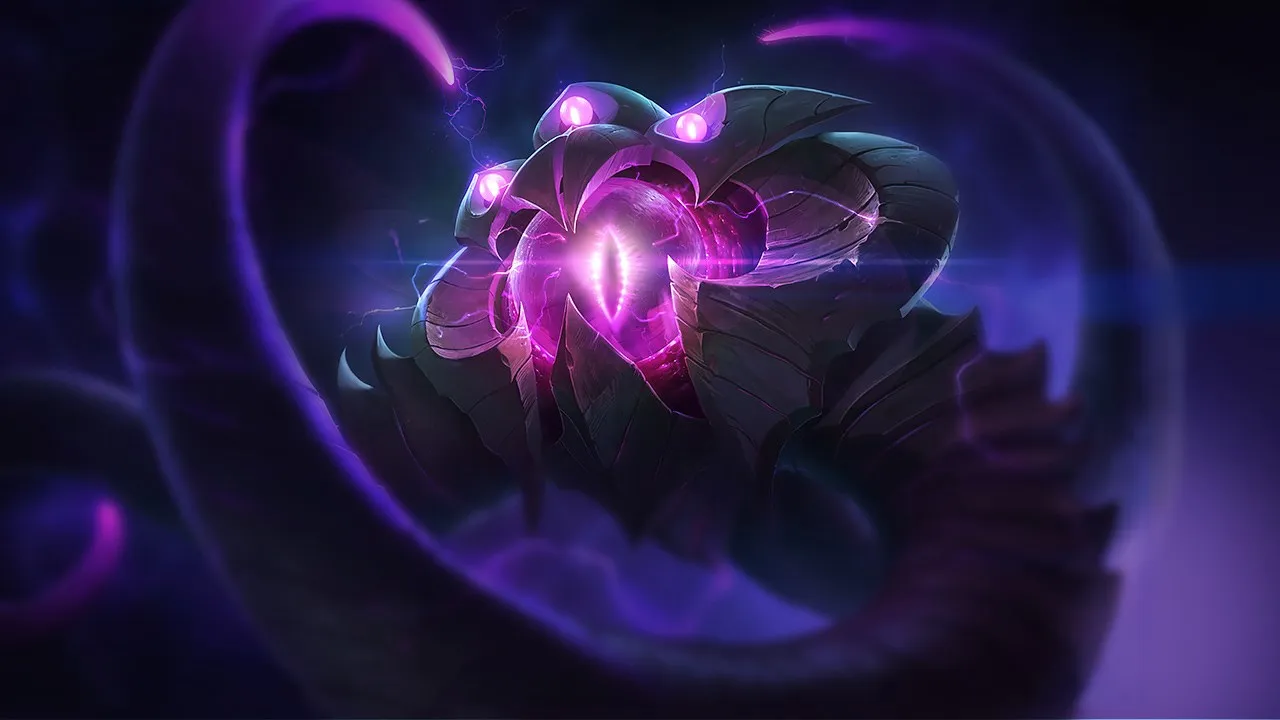
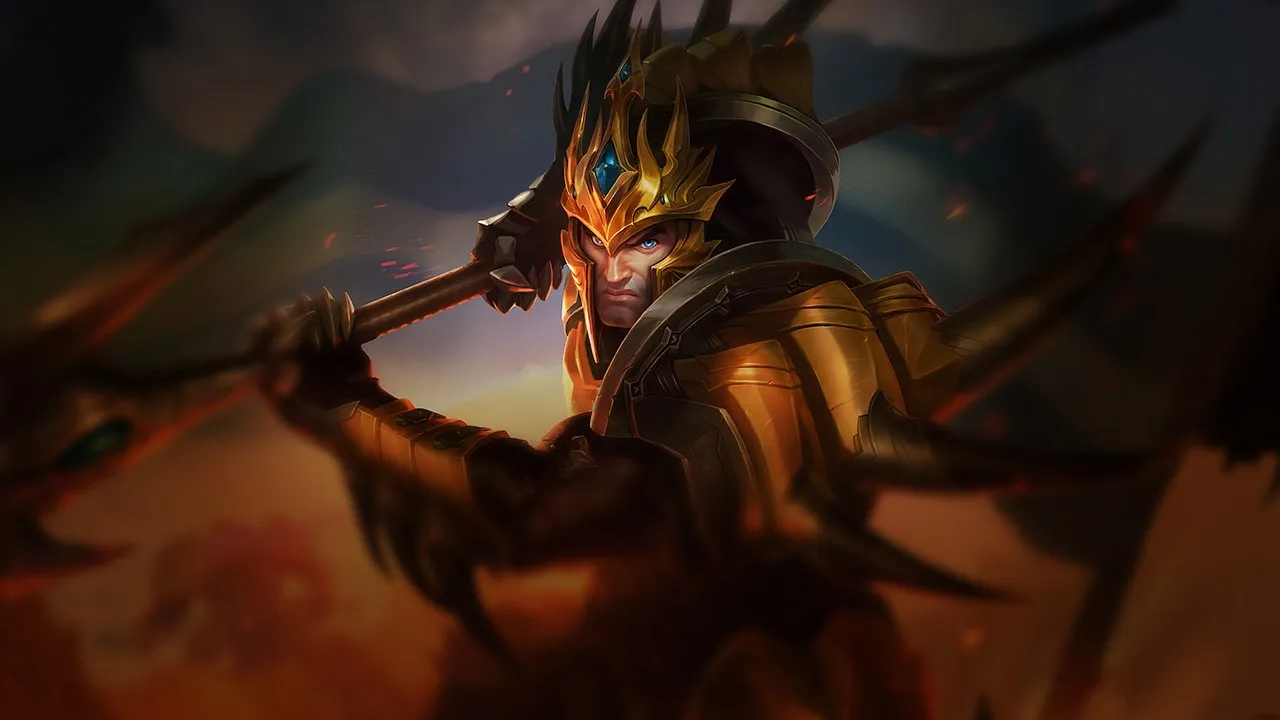
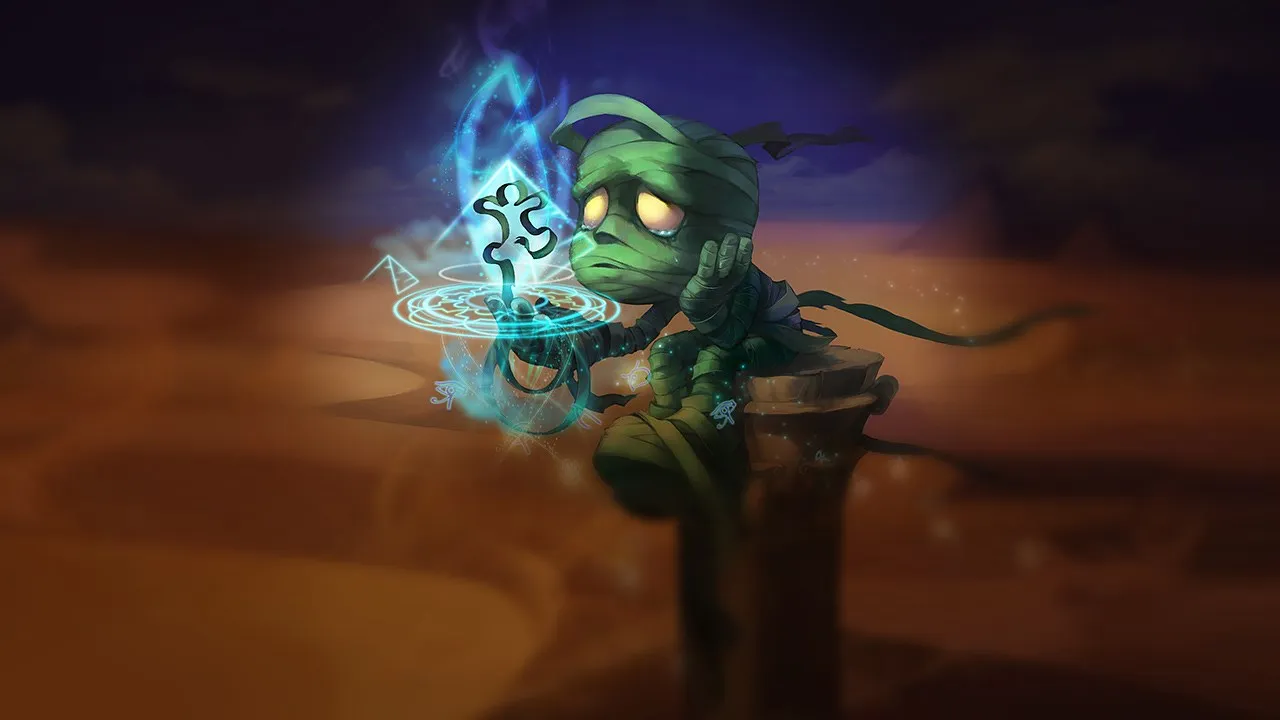
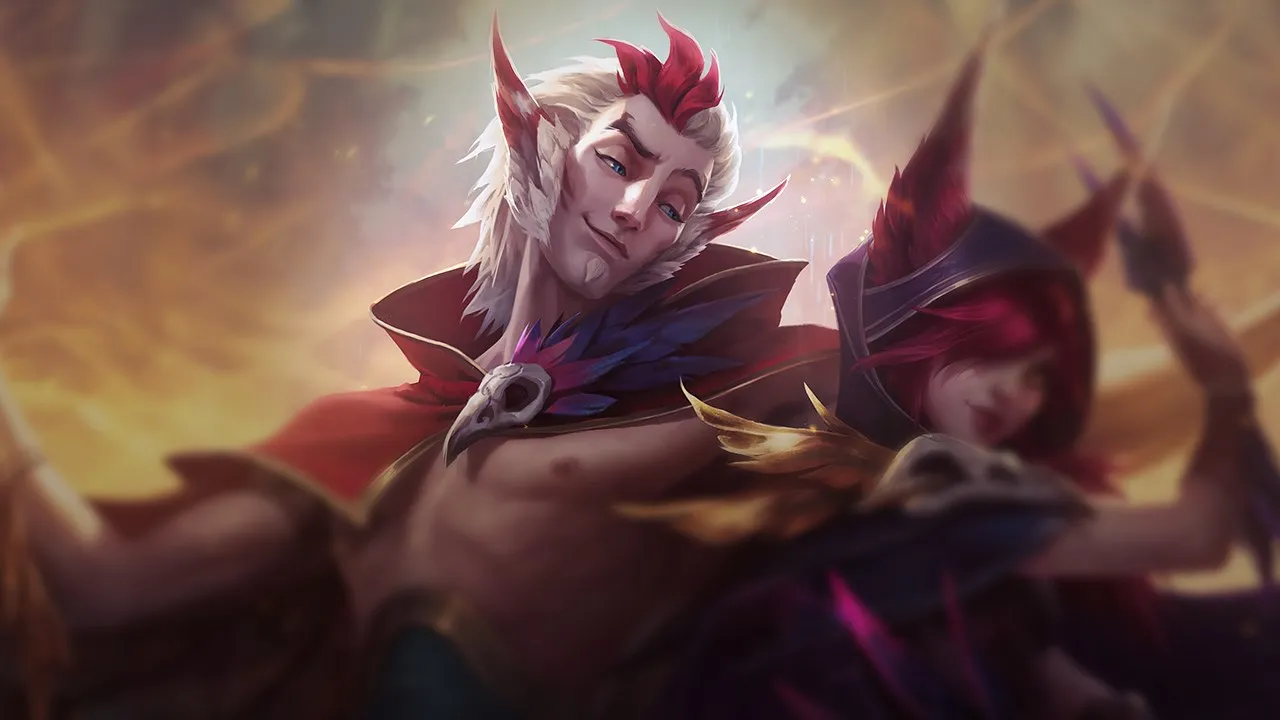
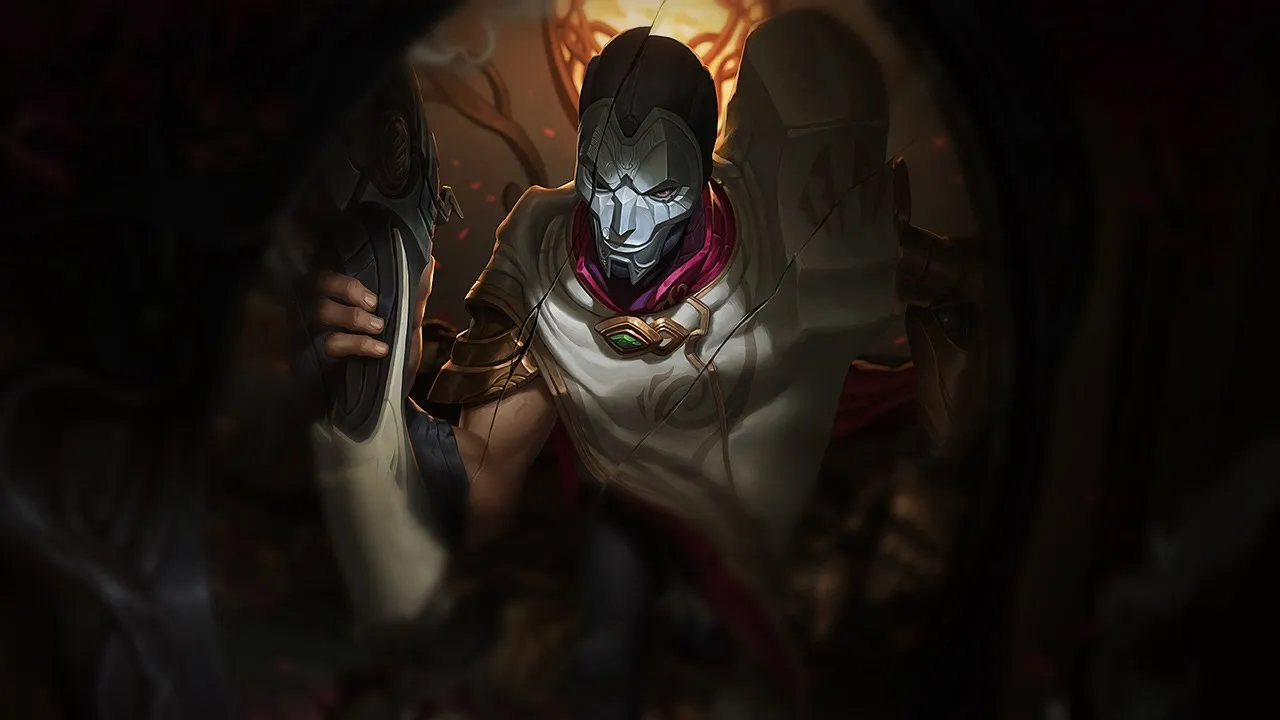
Poke + safe push, ward, don't die to roams/dives.
Once ult is up, play around objectives: ult to zone + pick.
Fight front-to-back: stay out of range and cut the fight with your zones.
Poke + bush control (vision), protect your ADC from engages.
Open fights with E (sigil) then ult to cut backline/escape.
Priority: peel + zoning. Protect your carries and zone out divers.
 E
E
 Q
Q
Start with Threads of Homecoming (E) to enlarge the enemy’s hitbox and activate the damage boost, then use fully charged Memory Surge (Q) to capitalise on the 1%–2.5% bonus based on the target’s max HP, and finish with an auto-attack to trigger the Beloved Trinkets passive if available. The enlargement from E is key to ensuring Q lands more easily.
E
 W
Q
W
Q
 R
R
Threads for the hitbox and slow, Journey to Nowhere (W) to banish the target for 2.25 seconds (whilst they’re banished, position your charged Q), Q lands as the target returns, then R (Portalpalooza!) in 4 swipes for maximum damage. The 4th bolt of R deals 40% bonus damage — always aim to land all 4 swipes.
E
Q
W
R
Overcharging Q beyond full charge triggers a defensive back-teleport and increases the slow to 30%, creating a safe distance. The sequence: cast E, charge Q to overcharge for maximum slow + teleport, follow up with W for the ban, then R with 4 swipes from the distance gained.
R
E
Q
W
Use the ultimate first to create a large teleportation zone capturing multiple enemies, then E to enlarge the hitboxes within the zone, Q for amplified damage, and W to isolate the priority target or prevent escape. Most effective in lanes or narrow jungle areas.
What interrupts it Brand Q Sear stun · 1.75 s
 Yasuo R Last Breath knock-up · 1.3 s
No, she is not a reliable blind pick in most drafts. She struggles heavily against assassins and dive compositions that can reach her quickly. She becomes much more effective when picked in a context where she can control the pace and prepare fights in advance.
Norra doesn’t aim to engage or burst directly. Her role is to control space and force mistakes. She creates dangerous zones that limit enemy movement, allowing her team to gain gradual advantages.
She feels weak when forced to play reactively. If she cannot set up zones before fights or is constantly pressured, her kit loses much of its value. In those conditions, she cannot impose her playstyle.
She is strongest around objectives when she has time to prepare the area. In these moments, she can turn the terrain into a trap and force enemies into risky decisions.
Journey to Nowhere banishes for much less time, but the target is heavily slowed afterwards.
Norra loses damage on her first ability and ultimate to reduce her overall pressure.
Sources: our patch files, checked against Riot's official patch notes · measured effect: median win rate before and after the patch · All patch notes
Build your team around Norra, analyze enemy counters in real time and get pick recommendations aligned with the current patch meta.





