Duelists who deny his sustain pattern
These champions create a direct problem for Warwick because they do not necessarily panic in extended combat. Warwick likes when the opponent drops low enough to activate his chase and then gets trapped by his sustain. But against this profile, the duel can turn against him: Olaf can ignore part of the control logic, Trundle can beat him in a direct exchange, and Jax can make his entry timing much less comfortable. Warwick does not lose because he is weak; he loses because his natural advantage is no longer unique.
How the champion adapts. Warwick should avoid neutral duels without information. He should look for counter-ganks, arrive second into the fight, or force these champions to fight near an allied lane rather than in an isolated river.
Mobile junglers who break his tempo
Warwick wants the fight to stay simple: one target, one entry, contact, then sustain taking over. Mobile junglers make that sequence much more unstable. Graves can play distance and punish the approach, Lee Sin can create action before Warwick sets his rhythm, and Vi can force angles where Warwick is not the one choosing the first target. This matchup type mainly punishes linear Warwick players who run toward the trail without checking wards, rotations, and lane states.
How the champion adapts. He should slow the game down instead of answering every movement. Warding entrances, covering vulnerable lanes, and turning an enemy dash used too early into a guaranteed ultimate is better than a risky chase.
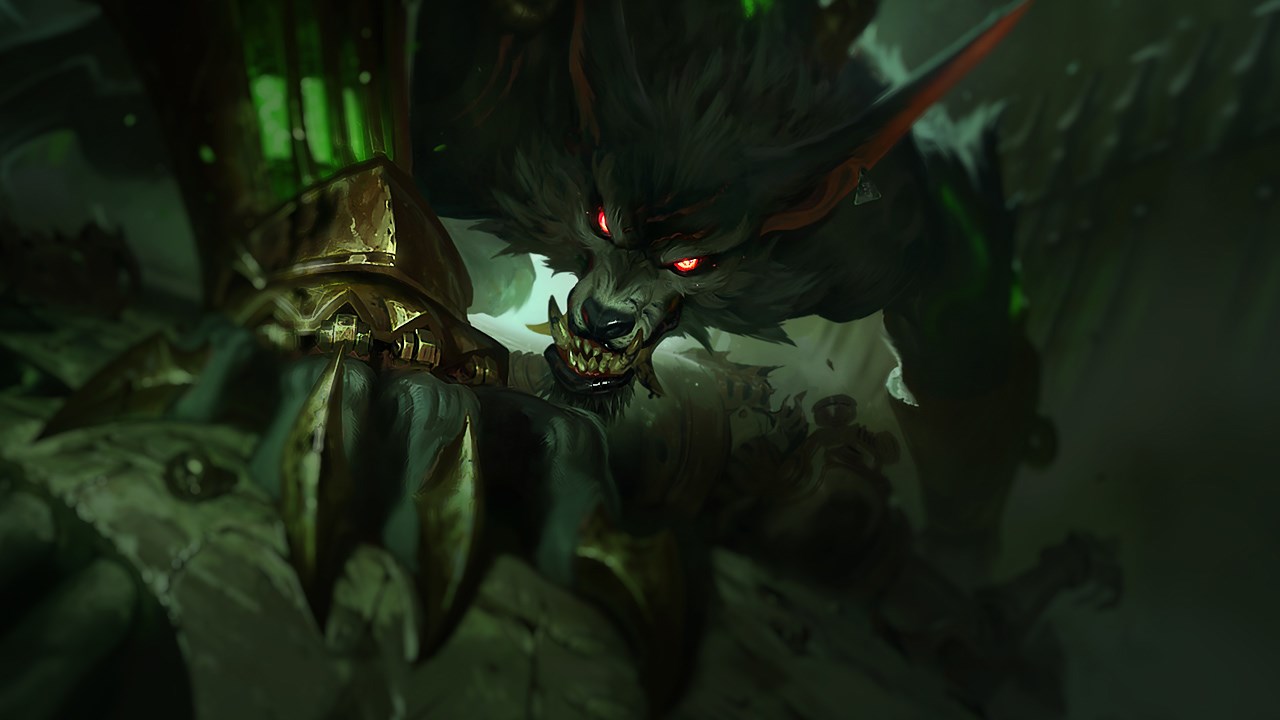
Teamfights that punish frontal entry
Warwick can look very threatening when he engages, but he becomes fragile if the enemy team turns his entry into a trap. Wukong complicates the real point of impact, Rengar can punish carries while Warwick commits elsewhere, and even favorable matchups like Amumu can become dangerous if Warwick engages without respecting zone control. The issue is not only the opposing champion: it is how the enemy team waits for Warwick to deliver himself into the middle of the fight.
How the champion adapts. Warwick sometimes needs to peel instead of engage. Holding E and ultimate to protect a carry or stop an enemy entry can bring more value than an ambitious jump toward the backline.