Range pressure and lane control
Zeri needs time to reach her first real DPS thresholds, and champions who control the wave from long range make that phase much more uncomfortable. Caitlyn and Varus can force her to farm under pressure, lower her health before objectives and prevent her from using mobility aggressively. The danger is not only losing trades: it is being forced into a bad reset, missing a wave or arriving at dragon without enough resources to use R properly.
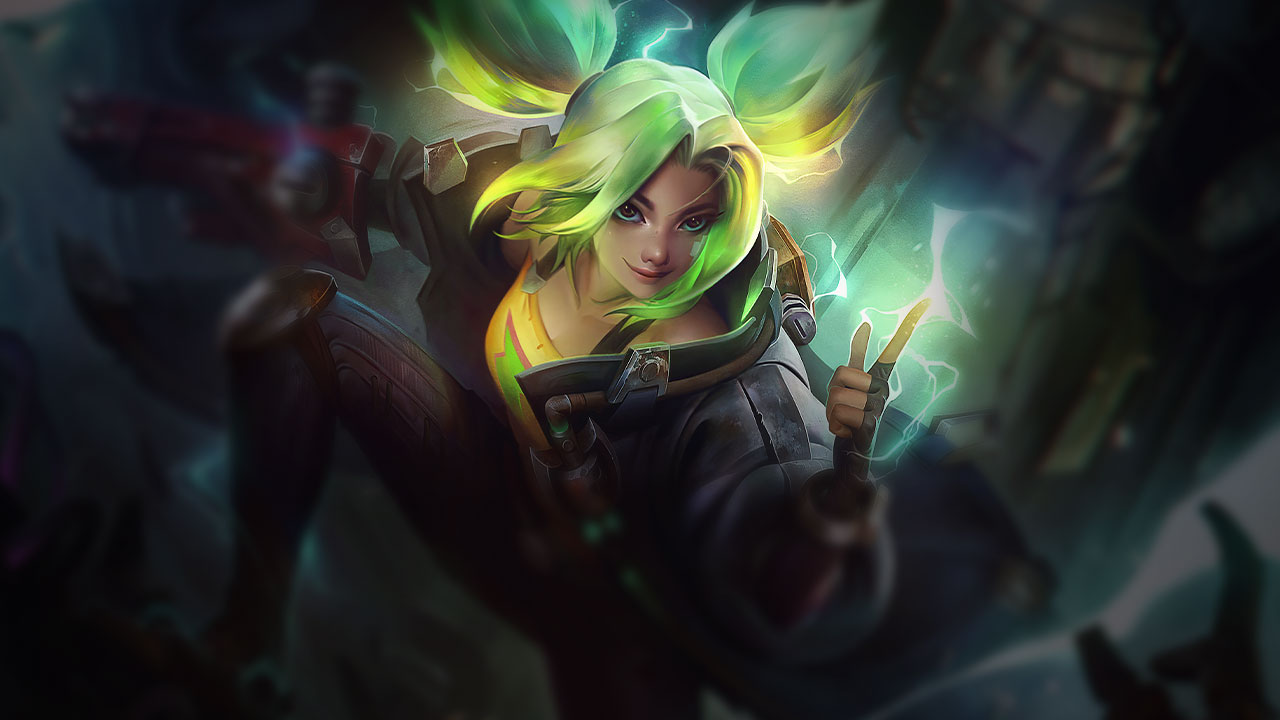
How the champion adapts. Zeri has to accept a more patient lane: last-hit cleanly, avoid long trades without support, preserve health and look for resets that get her to her first item without losing the map. She should not use E to answer every poke.
Early all-in and weak-window punishment
Zeri dislikes lanes that demand an immediate answer before she has her items. Lucian and Draven can turn one spacing mistake into a direct loss of health, summoner spell or wave control. This type of matchup forces Zeri to use E defensively, which then prevents her from repositioning for a favorable trade. If she loses too much tempo before level 5 or before Infinity Edge, her mid-game plan becomes much slower.
How the champion adapts. Zeri must refuse ego trades in the early game. The correct goal is to survive with a playable wave, keep Flash or Heal for the real commit and wait for a window where the allied support can break the enemy all-in.
Matchups she punishes if the fight lasts too long
These champions are not listed as the most dangerous into Zeri in the data, but they illustrate an important rule: if the opponent does not shut her down quickly, she can outpace them in extended combat. Samira needs a real entry, Miss Fortune and Jhin depend more on burst or positioning windows, and Ashe can be punished if her initial control does not convert. Zeri wins these scenarios when she avoids the first impact, activates R and turns the fight into a mobile chase.
How the champion adapts. Zeri should not underestimate these lanes just because they are favorable. She must respect the first crowd control or burst window, then play the second half of the fight, where her mobility and DPS become stronger.