
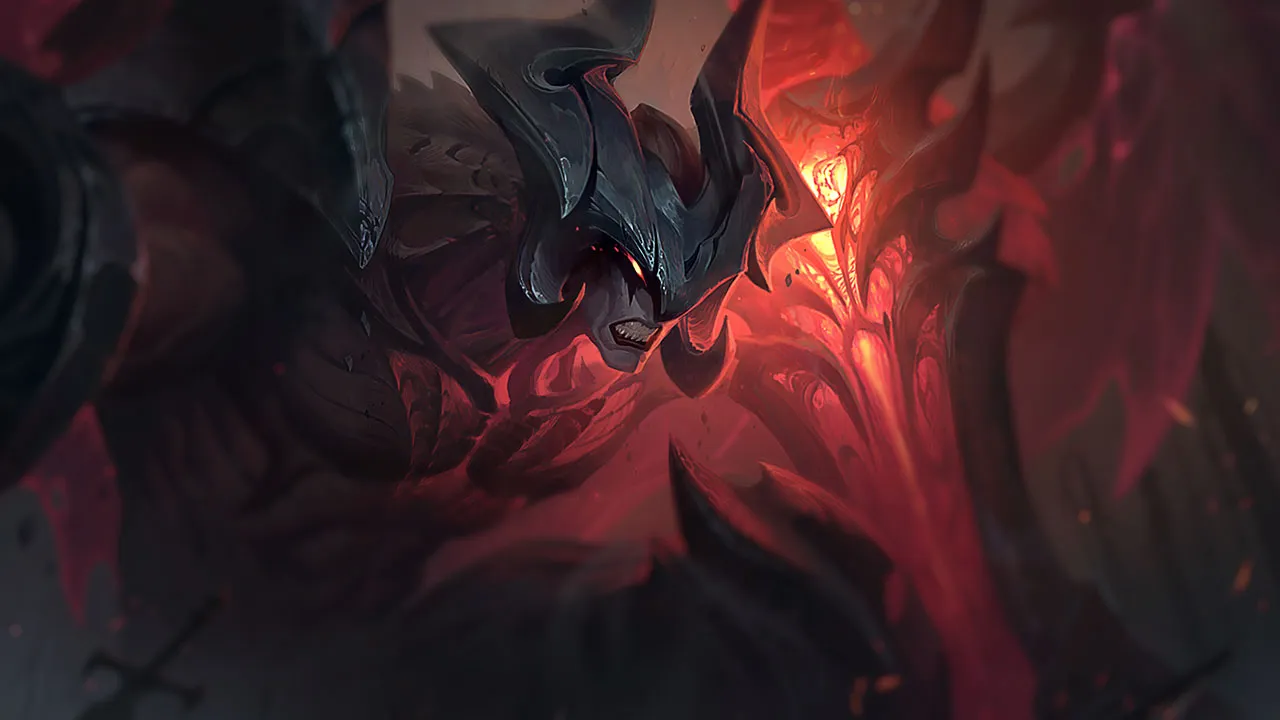
Aatrox TOP Wild Rift Guide - The World Ender by Blade

 The Darkin Blade and the management of his passive. They often dive in without
  World Ender active or without hitting sweetspots, turning a potentially winning trade into pure suicide. His kit demands metronomic execution to maximize his sustain and area control. Missing a key sweetspot or activating his ultimate too late drastically reduces his effectiveness, transforming him from a combat monster into an easy target to kite and take down. Understanding that each strike of The Darkin Blade is an opportunity for repositioning and amplified damage is fundamental to unlocking his full potential. The demanding skillshots to land and the punishable cooldown windows if Q is missed are his main weaknesses exploited by experienced players.
Aatrox's Identity: The Juggernaut Who Never Dies
Aatrox's identity relies on his unique ability to be a Juggernaut who combines massive area damage with extraordinary sustain, making him almost immortal in prolonged fights if he hits his sweetspots. He is a master of offensive area control and in-combat regeneration, capable of transforming a desperate situation into a spectacular turnaround. With a difficulty of 3/4 and ratings of 3/4 in damage and robustness, Aatrox requires practice to be effective. His kit is entirely based on AD, making him formidable against fragile compositions but also capable of breaking tanks thanks to armor penetration. His mobility of 3/4 and engagement of 3/4 allow him to dictate the pace of fights, while his sustain of 5/5 is the pillar of his survival. He excels in frontline and in teamfights, with a waveclear capability of 3/4 and a hard CC of 2/4, which gives him valuable versatility. He is a champion who scales well at all phases of the game (early 3/5, mid 3/5, late 3/5) provided he doesn't fall too far behind.Aatrox Combos: The Art of Precise Striking
Mastering Aatrox's combos is essential to maximize his damage and sustain potential, especially by weaving auto-attacks betweenThe Darkin Blade strikes to reduce his passive's cooldown. Each combo is a dance between repositioning and sweetspot timing, where precision is king.The strategic use of  Umbral Dash to adjust the position of your Q is the key to consistently hitting sweetspots and maximizing your impact in combat.
- Basic trade combo:
 AA → Q1 → AA → Q2 → AA → Q3 — Weaving auto-attacks between each The Darkin Blade cast reduces the cooldown of Deathbringer Stance (passive), optimizing your sustain and sustained damage.
 - Engage combo: E → Q1 → Q2 → Q3 — Use Umbral Dash to get into range and initiate, then chain the three swings. Weave AAs between Qs when possible for the passive.
- All-in ultimate combo: R → E → Q1 → Q2 →
 W → Q3 — Activate World Ender first for the bonus AD and heal, dash with E, then use Infernal Chains between Qs to pull back fleeing enemies and guarantee sweetspots.
 - Defensive/disengage combo: W → E (retreat) → Q3 — Cast W to slow/pull, retreat with E, then knockup with Q3 to zone enemies and create space.
Build & Spell Order: Optimizing the Darkin Blade
Aatrox's build prioritizes armor penetration and sustain to maximize his impact as a frontline bruiser, with and as core itemization. The spell order favors
 The Darkin Blade for damage and control, followed by Umbral Dash for mobility and vampirism. Every item and ability choice must reinforce your ability to stay in the heart of the melee, deal consistent damage, and survive enemy assaults.
Skill Order
The priority is Q > E > W. Maxing The Darkin Blade first maximizes your damage and the frequency of your crowd control. Umbral Dash is then prioritized for Physical Vamp and its cooldown reduction, crucial for repositioning your Qs. Infernal Chains is leveled last because its main utility lies in its CC and not in its raw damage. World Ender is of course taken at levels 5, 9, and 13.
Runes
- Keystone:
 Conqueror: Essential for Aatrox, Conqueror stacks quickly with his multiple Q strikes and auto-attacks, increasing his AD and omnivamp for monstrous prolonged trades.
 - Domination:
 Sudden Impact: After an Umbral Dash, Sudden Impact grants bonus armor penetration, amplifying the damage of your Qs.
 - Resolve:
 Bone Plating: To survive aggressive trades in lane, Bone Plating reduces damage from the next three enemy attacks or abilities, allowing you to win close exchanges.
 - Resolve:
 Overgrowth: Overgrowth increases your maximum health throughout the game, strengthening your frontline role and synergy with items like .

Standard Build
This build maximizes damage, sustain, and robustness, ideal for most situations.
- : Your first key item. It provides AD, HP, and Ability Haste, but most importantly, it reduces enemy armor, amplifying your damage and that of your team.
- : Significantly increases your Ability Haste and damage, allowing you to spam The Darkin Blade more frequently and prolong your presence in combat.
- : The quintessential defensive boots for the TOP lane, reducing damage from enemy basic attacks.
- : A lifesaver shield in combat, increasing your survivability and tenacity. Essential for staying alive in the heart of the melee.
- : An incredible sustain and damage mitigation item. It converts a portion of damage taken into damage over time, giving you time to heal with your kit.
- : The ultimate life insurance. It allows you to re-enter combat after being focused, prolonging your impact in late-game teamfights.



Situational Items
- : Against champions with strong healing (like Dr. Mundo, Fiora or an enemy Aatrox), this item is vital for applying Grievous Wounds.
- : If the enemy team stacks a lot of health (2+ tanks), this item provides percentage HP damage and a slow for kiting them.
- : Face to significant AP burst, this magic shield can save your life and allow you to continue fighting.
- : If you need magic resistance and additional damage, is an excellent option that synergizes with your auto-attacks.
- : Against very mobile compositions, can help you stick to your targets and prevent being kited.





 ››
››
››
››
Power Spikes: When Aatrox Becomes a Threat
Aatrox's power spikes are centered around acquiring his key abilities and fundamental items, allowing him to dominate the lane phase and impact objective fights. Level 3 with all his skills unlocked and obtaining are crucial moments where he can start dictating the pace of the game. Never underestimate the impact of these thresholds, as they transform Aatrox from a mere bruiser into a force capable of turning around duels and teamfights.Game Phases
- Early Game (Levels 1-7): Aatrox is already solid, capable of good trades with his passive and his Qs. Level 3 with Infernal Chains unlocked is a first important spike, offering the full potential of his combo. He must play the wave and look for tower plates if priority is established.
- Mid Game (Levels 8-11): This is the phase where Aatrox shines the most. Obtaining (around level 6-7) and (around level 9) makes him extremely powerful. His World Ender at rank 2 (level 9) is a factor of domination in teamfights. He should seek to force fights around objectives (Dragon, Herald) where his area damage and sustain are maximal.
- Late Game (Levels 12-15): Aatrox remains a threat, especially if he has been able to accumulate his key items. His role becomes that of an unyielding frontline, capable of diving into the fray, absorbing damage, and disrupting the enemy backline with his Q3s. World Ender resets are crucial to prolong his impact.
Macro & Strategy: Dictating the Pace of the Rift
In the lane phase, Aatrox must manage the minion wave cautiously, seeking short, punitive trades with his passive and sweetspots, while preparing pushes to secure tower plates or roam. The ability to freeze the wave near your tower against explosive bruisers is a crucial macro skill for survival and scaling, allowing you to control the tempo of the game. Your objective is to maximize your lane pressure without taking unnecessary risks, then convert this advantage into map impact via objectives and teamfights.Lane Phase (TOP)
- Early Game: Play short trades around your passive Deathbringer Stance. Use Umbral Dash to reposition your Qs and hit sweetspots. Against explosive bruisers, freeze the wave near your tower for safety. If you have priority, push the wave to take plates or roam.
- Mid Game: With 2-3 items, Aatrox is a dominant force. Look to split push if you are ahead and vision is secured, but be ready to join your team for objective fights. Aatrox excels in narrow corridors around Dragon or Herald.
- Late Game: Your role is to front-to-back. Activate World Ender before engaging and target priority enemies with your Q3s. Actively seek ultimate resets to prolong your demonic form.
Team Synergies
Aatrox particularly shines with champions who can set him up or protect him:
- Jarvan IV: His
 Cataclysm traps enemies, offering perfect targets for the sweetspots of your
  Q2/Q3.
 - Rakan: His crowd controls (
 Grand Entrance,
  The Quickness) create ideal windows for your combos, especially in confined areas.
 - Orianna:
 Shockwave groups enemies, allowing Aatrox to land a devastating Q3 on multiple targets.
 - Morgana:
 Black Shield makes you immune to crowd control, allowing you to cast your
  Qs without interruption and dive fearlessly.
 - Ashe: Her
 Enchanted Crystal Arrow initiates from a distance, allowing you to follow up with Infernal Chains then your Qs.





Matchups & Counters: Adapting to the Rift
To counter Aatrox, you must prioritize Grievous Wounds with items like or to reduce his sustain, and exploit his vulnerability to kiting and crowd control after his
 Umbral Dash. Champions capable of denying his damage windows or punishing him from a distance are his worst nightmares. The key to surviving or dominating these matchups lies in understanding enemy cooldown timings and your ability to adapt your playstyle accordingly.
Hard Counters
- Fiora: She can deny your key windows with
 Riposte, blocking a decisive
  Q and turning the trade around. Her true damage reduces the value of your sustain. Play short trades, force Riposte at a non-dangerous timing, then re-engage during its cooldown.
 - Vayne: She mercilessly kites you, pokes you with every approach, and her true damage makes you very punishable even with your sustain. Stay behind the wave, take safe CS, and look for engage angles after a poor repositioning on her part. A coordinated gank is often the best response.
- Renekton: He wins short trades and dictates the early game with his immediate burst, sustain, and easy access via his dashes. Avoid free short trades, play after his dashes, and look for longer exchanges when his cooldowns are down.


Unfavorable Matchups
- Darius: He punishes long trades. If you let him stack, an average trade turns into a lost duel. Play in fragmented trades, aim for sweetspots to poke without staying in contact, and reset as soon as his stacks build up.
- Camille: She can dodge your zones with her mobility, and her true damage reduces the value of your sustain. Respect her entry windows, avoid fighting near walls, and stall until she expends her tools.
- Gwen: She holds trades and becomes increasingly difficult to manage with her sustained damage and defensive zone. Look for an early tempo, then play more around the wave and rotations than raw dueling.
- Jayce: He chips you down from a distance and can break your tempo. Accept losing some CS under pressure, secure the wave, and play your reset timings. Only engage after a positional error or when his main poke is on cooldown.
- Kennen: He harasses you without exposing himself and punishes your linear approaches. Manage distance, avoid head-on engages, and look for openings when he is too far forward or after using his poke abilities.





Skill Matchups
- Jax: The duel depends on
 Counter Strike timing. Force his E on a light trade, retreat, then punish during the cooldown.
 - Sett: He is strong when he can tank and then return damage via his
 Haymaker. Don't stay in the line of his charged W, take diagonal trades, and reset before he turns the exchange.
 - Irelia: She exploits the wave with her dashes. Manage the wave state to avoid giving her too many resets, use your
 Qs to control space.
 - Riven: She can play around your sweetspots with her mobility. Be disciplined with your
 Qs, use your
  E to realign, and favor a poke + reset pattern.




Favorable Matchups
- Sion: He lacks mobility to avoid your zones. Punish his predictable charges, maintain a clean reset tempo, and convert priority into plates/vision.
- Ornn: He prefers short trades. Control the wave, force Ornn to farm under duress, and insist on long trades when his cooldowns are down.
- Dr. Mundo: Before his big sustain timings, he struggles to respond to your continuous pressure. Maintain regular pressure without overforcing, cut off his resets, and convert priority into plates/vision.
- Nasus: He is weak at early levels. Play the wave to deny him easy last hits, apply pressure without unnecessary dives, and convert the advantage into objectives.



Items Against Aatrox
- or : Essential for applying Grievous Wounds and reducing his omnivamp and healing.
- : Reduces damage from his auto-attacks and mitigates his trades.
- : Returns damage and applies Grievous Wounds when he attacks you, especially useful if he dives under R.
- : Against teams with a lot of critical damage, it reduces damage and slows his pursuit.
- : For junglers, provides mobility to respond to his ganks and slow him down.
- : Armor and ability haste for targeted supports/junglers.



Scenario: The First Dragon Fight
Imagine the classic first Dragon situation: the key is to position yourself before engaging to activateWorld Ender and maximize its impact from the start of the fight. Success depends on your ability to anticipate enemy movements and find an angle to initiate with a clean The Darkin Blade. As you approach the Dragon pit, activate World Ender approximately 2-3 seconds before the fight actually breaks out; this gives you time to fully benefit from the movement speed bonus and position yourself ideally. Your role is to be the aggressive frontline: use Infernal Chains to zone or catch an isolated carry who gets too close. Follow up with your The Darkin Blade, aiming for sweetspots on enemies grouped in the pit. Timing is crucial: don't waste your Qs on a target out of range or already dead. Prioritize targets within range to maximize your damage and sustain, actively looking for a kill or assist for the World Ender reset. This is where the precision of your skillshots makes the difference between an ace and a wipe.
Q, every E, and every R is a strategic decision.- Prioritize precision: Always hit the sweetspots of The Darkin Blade, using Umbral Dash to adjust your position and maximize your damage and sustain.
- Activate World Ender preemptively: Cast your ultimate before engaging a major fight or chasing enemies to immediately benefit from the movement speed, AD, and healing bonus.
- Manage your wave: Against difficult matchups, freeze the wave near your tower. Against favorable matchups, push for plates and vision, but always with secured vision.
- Adapt your build: Don't hesitate to integrate anti-heal items like or specific resistances like according to the enemy composition and main threats.
- Play for resets: In teamfights, actively seek the first kill or assist to extend the duration of World Ender and maintain your demonic pressure.
Frequently asked questions
What is Aatrox's main role in Wild Rift?
Aatrox is a Juggernaut TOP who excels in prolonged fights thanks to his massive sustain and area damage. His role is to be an imposing frontline, capable of engaging and disrupting enemy lines while continuously healing, making him a constant threat in teamfights.
How to maximize Aatrox's sustain?
Aatrox's sustain primarily comes from his passive Deathbringer Stance, Umbral Dash (Physical Vamp), and his ultimate World Ender. To maximize it, you need to hit the sweetspots of The Darkin Blade and weave auto-attacks between each strike to reduce the passive's cooldown, thereby amplifying your regeneration.
What are the best items for Aatrox TOP?
The fundamental items for Aatrox are and for armor penetration and cooldown reduction. and increase his survivability and sustain, making him extremely difficult to kill in teamfights and allowing him to stay in the heart of the action.
How to play the lane phase with Aatrox against a difficult matchup?
Against a difficult matchup like Fiora or Renekton, it is crucial to play defensively, freeze the wave near your tower, and wait for enemy positional errors. Prioritize survival and safe farming rather than forcing losing trades, and look for windows where their key abilities are on cooldown.
When to use World Ender?
World Ender should be activated before engaging a major fight or chasing enemies. The bonus movement speed and damage are immediate, and the health gain is essential for surviving the initial moments of the confrontation, allowing you to dive fearlessly and dictate the fight.
What are Aatrox's weaknesses?
Aatrox is vulnerable to kiting and Grievous Wounds. His The Darkin Blades are demanding skillshots and can be punished if missed. Champions with high burst or reliable crowd control can neutralize him if he is not careful with his positioning and timings.