
Renekton TOP Guide: The Bane of Lanes

Short Answer
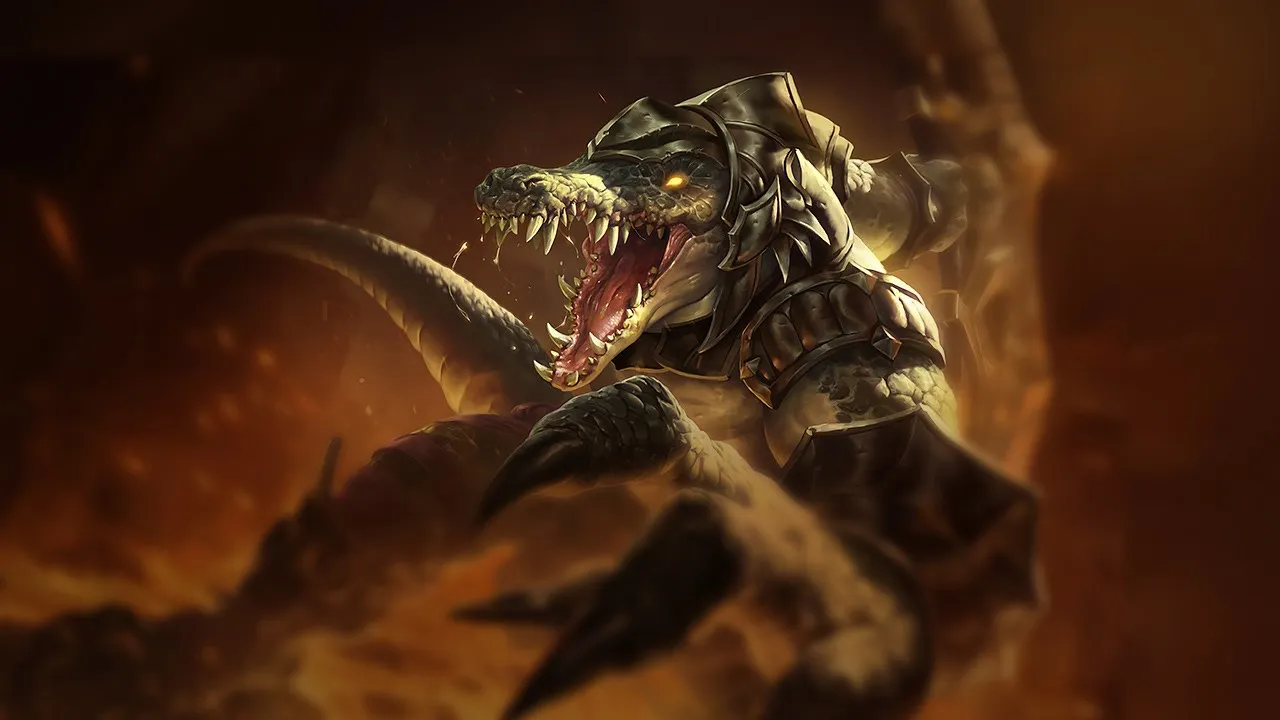
Renekton is an early/mid-game bruiser who dominates the lane through short trades and powerful burst. Master his Fury, quick combos, and power windows to turn your advantage into objectives. Avoid prolonged fights and positioning errors to maximize his impact.
His reliance on Fury is a double-edged sword. Without 50 Fury, your abilities lose much of their impact, turning a dominant Renekton into a mere lizard. Many errors stem from poor management of this resource, leading to lost trades and an inability to snowball. Furthermore, his vulnerability to kiting and raw damage is often ignored, pushing players into suicidal frontal engagements against champions that nullify his kit. To master the Croc, you must first understand when and how to strike, and most importantly, when to retreat.
The Croc's Identity: Burst, Sustain, and Lane Control
Renekton is a Fighter Diver with strong burst and sustain capabilities in the early game. He is rated 4/4 for burst and 4/4 for sustain, making him exceptional for duels and skirmishes. His Reign of Anger is the core of his kit, allowing him to empower his abilities for increased damage, prolonged stun, or massive healing. He is a champion who excels in aggression and taking initiative, but requires precise execution to maximize his potential.
With a difficulty rating of 3/4, Renekton is not a champion to be taken lightly. He demands constant Fury management, reading enemy timings, and a deep understanding of his power windows. His mobility (3/4) and engagement (3/4) allow him to dictate the pace of the lane and team fights. He is less focused on utility (1/4) or area crowd control, but his empowered
 Ruthless Predator is a formidable target-locking tool, capable of isolating an enemy carry for 1.5 seconds. His early game (3/3) and mid game (3/3) potential is excellent, but he needs to capitalize on these advantages to avoid falling off in the late game against more scaling compositions. His role is to break enemy lines and create opportunities for his team.
The Art of the Enraged Croc: Mastering Renekton's Combos
Mastering Renekton's combos is the key to transforming your Fury into kills and map pressure. Each sequence is a dance between aggression and resource management, where the precision of your chains determines the outcome of the trade.For short and safe trades, use the `Slice (E in) → AA → Dice (E out)`. This combo allows you to poke the opponent and generate Fury before retreating. If you're looking for an extended trade with sustain, chain `Slice (E) → AA → Ruthless Predator (W) → Cull the Meek (Q) → AA → Dice (E)`. The empowered
W guarantees a prolonged stun, allowing your  Q to heal massively. For the decisive kill, your `Flash → Ruthless Predator (empowered W) → AA → Dominus (R) → Slice (E) → Cull the Meek (Q) → AA → Dice (E)` is unstoppable. The Flash onto an empowered W (1.5s stun) is devastating, followed by
  Dominus for Fury and HP.
Fury management is paramount: always aim for 50+ Fury before a major engagement. An empowered
W stuns twice as long, and an empowered Q heals three times as much. Use  Slice and Dice intelligently: the first dash to engage, the second for pursuit or escape. Only activate Dominus at the start of the fight. Finally, maximize Cull the Meek's sustain by casting it in the middle of enemy minions.
The most common mistake is ignoring Fury. A
W without Fury only offers a short stun. Renekton does not consume mana, but must manage his Fury to be effective. His empowered W is one of the longest stuns in the game.
Build & Skill Order: The Croc's Equipment for Victory
Optimizing your skill order and build is essential to maximize your lane dominance potential. Every choice must be thoughtfully made to reinforce Renekton's aggressive identity.**Skill Order**: The priority is
Cull the Meek > Slice and Dice > Ruthless Predator. Maxing Q first is crucial for your sustain, poke, and wave-clearing ability. Next, E is maxed for mobility and armor reduction. W is maxed last, as a single point is sufficient for its initial crowd control effect. Don't forget Dominus as soon as possible (levels 5, 9, 13).**Standard Build — bruiser**: Black Cleaver (armor shred), Hullbreaker (split-push), Death's Dance (sustain/mitigation), Spear of Shojin (CDR after ult), Divine Sunderer (damage/sustain against tanks).




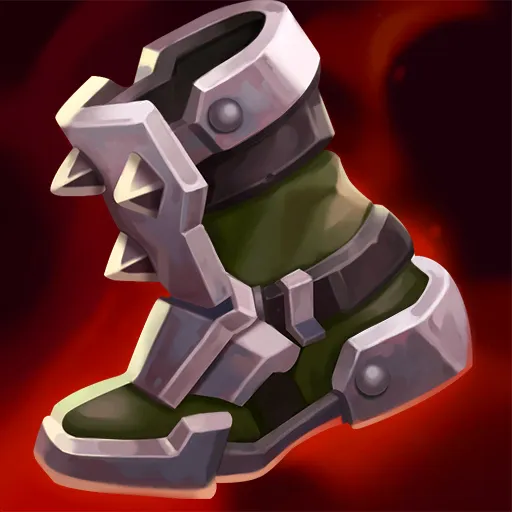
**Boots**: Plated Steelcaps are the default choice to reduce auto-attack damage.
**Runes**:
 Conqueror is the keystone for prolonged trades and increased sustain. Complement with
  Demolish,
  Second Wind,
  Overgrowth, and
  Brutal.
**Situational Items**: Chempunk Chainsword (healing), Blade of the Ruined King (tanks), Guardian Angel (AD burst), Maw of Malmortius or Wit's End (AP burst), Stridebreaker (mobility).


 ››
››
››
››
Power Spikes: When Renekton Becomes a True Menace
Understanding Renekton's power spikes is fundamental to dictating the pace of the game and maximizing your pressure. Each power threshold must be exploited to gain an advantage and convert it into objectives. Ignoring these windows means letting the enemy breathe and potentially outscaling you.Your first significant power spike occurs at level 3, with the first rank of
Ruthless Predator. At this point, you have access to your full combo (Q, W, E) and can start taking short, aggressive trades, especially if you already have 50 Fury. This is the time to test your opponent's limits and establish your lane dominance.The second spike arrives with the purchase of your first major item, . This item gives you a considerable boost in damage, HP, and CDR, but most importantly, its armor shred makes your trades much more effective. It's often around level 6 that you complete this item, and it's also when you unlock
Dominus, massively increasing your all-in and survival potential.Finally, an often underestimated power spike occurs at level 9, with the acquisition of and the second rank of your
Ultimate. significantly strengthens your split-pushing and solo dueling ability, while rank 2 Dominus further increases your bonus HP and Fury generation, making you almost unkillable in 1v1 or 1v2 if you are alone in a side lane. This is a perfect window to exert intense side lane pressure and force the enemy team to react.
Macro-management and Lane Strategy: Dominating the Map with Renekton
Renekton's macro-management relies on exploiting his early/mid-game power to create a decisive advantage on the map. Your role is not just to win your lane, but to transform that victory into global pressure.**Lane Phase (Early Game)**: Your goal is to aggressively dominate. Prepare your Fury before each trade. Use
Cull the Meek to push and poke, and look for short, advantageous trades with E in, combo, E out. Control the wave to keep it near your tower, which protects you from ganks and allows you to threaten a dive at level 5 with Dominus. Force enemy TP/Flash and communicate with your jungler for easy ganks.**Mid Game**: This is your power peak. Use
Dominus for key objective takes like Herald or Dragon. Look to flank team fights and isolate a priority target with your empowered W. is essential to connect your power windows to objectives. If your team can hold mid, don't hesitate to split-push with to draw enemy attention and create an outnumbered situation elsewhere.
**Late Game**: Although your power diminishes, Renekton remains a viable initiator and protector. Look for calculated flanks to surprise the enemy. If enemy peel is too strong, adapt and protect your backline with your
W. Synergies like Galio or Orianna can amplify your impact in teamfights, turning your engage into a devastating wombo-combo.


Matchups and Counter-strategies: Face Every Opponent with Confidence
Knowing your matchups is the first step to dominating the Top Lane with Renekton. Each opponent presents unique challenges, and your ability to adapt your playstyle will make the difference between a won lane and a lost one.**Unfavorable Matchups**: Against ranged champions like Kennen, Vayne, Jayce, Teemo, your plan is to play defensively, manage the wave near your tower, and wait for ganks or mistakes. These champions kite you and prevent you from engaging effectively. Against bruisers or tanks like Aatrox, Shen, Gragas, Urgot, prioritize short trades and punish their cooldown windows, as they can neutralize your all-ins or out-brawl you in prolonged fights.








**Skill Matchups**: These duels are tests of mechanics and timing. Champions like Pantheon, Sett, Garen, Darius, Malphite, Olaf, Fiora, Gwen, Riven, Akali, Wukong, Jax can be beaten, but require impeccable execution. The key is to read their cooldowns, bait their defensive abilities, and punish their positioning errors.












**Favorable Matchups**: Renekton dominates the early game against Kayle, Nasus, Ornn, Yasuo, Irelia, Camille, Sion, Tryndamere. Your goal is to exploit their early weakness to zone them, deny them CS, and accumulate tower plates.








**Counter Items**: Adapt! or Sterak's Gage for survival against burst, against AP burst, against healing, and against tanks.

Concrete Example: The Perfect Level 5 Dive
Imagine the classic situation: you are level 5 in Top Lane, your opponent is at about 60% HP, and you have 50+ Fury. The wave is pushing towards your tower. Your jungler has just passed into your vision and is heading towards your lane. This is the ideal moment for a controlled dive.**The scenario**: Your jungler is in position. You wait for the opponent to step forward to last-hit a minion. You
Slice in, land an auto-attack, activate your Dominus for bonus HP and Fury, then use your empowered Ruthless Predator for the stun. The jungler arrives and adds their damage. During the stun, you follow up with Cull the Meek for burst and sustain. If the enemy tries to flee, the second Dice allows you to follow them or reposition under the tower to reset aggro.**The objective**: Not only do you secure a kill, but you deny the enemy CS and experience, and you can then take tower plates or even Herald if your jungler is available. This kind of timing, around the first major objective, is crucial for snowballing. This is the perfect example of how Renekton transforms a lane advantage into map pressure.
1. Manage your Fury: always aim for 50+ Fury before engaging to maximize the impact of your empowered abilities.
2. Master short trades: use
E in, combo, E out to harass safely and gradually gain an advantage.3. Adapt your build: don't blindly follow a path. Respond to enemy threats with situational items like or .
4. Exploit your power spikes: capitalize on your power peaks at level 3, with , and at level 9 ( +
R rank 2) to take objectives and dictate the pace.5. Convert lane advantage into global pressure: use to join team fights or split-push to force enemy reactions.
6. Read your matchups: adapt your play against ranged champions or brawlers, knowing when to be aggressive and when to play patiently.
If you lose your trade, it's not bad luck.
Frequently asked questions
How to effectively manage Renekton's Fury in lane?
Before each trade, ensure you have at least 50 Fury by auto-attacking minions. This maximizes the impact of your W (longer stun) and your Q (increased healing), making your exchanges more effective.
What are the best items for Renekton against a very tanky team?
Against tanky teams, prioritize for armor shred and for percentage HP damage. is also excellent for its damage and sustain.
How can Renekton remain relevant in the late game?
In the late game, Renekton should play the flanks and protect his carries. Use your empowered W to lock down a priority target or peel. Activate Dominus at the start of the fight for survivability.
Which champions counter Renekton in Top Lane and how to deal with them?
Ranged champions like Kennen, Vayne, Jayce, and Teemo are hard counters. Play the wave near your tower, wait for ganks, and don't force trades. Appropriate defensive items are essential.
When should I use Teleport Enchant with Renekton?
is crucial for connecting your power windows to objectives. Use it to quickly join team fights or split-push on a side lane, especially after getting .
Why max Q first on Renekton?
Maxing Cull the Meek first maximizes your ability to push, poke, and heal. This increased sustain allows you to win short trades and stay in lane longer, establishing early dominance.