
July 2026 · Patch 7.2a
Assassin · MID · JUNGLE

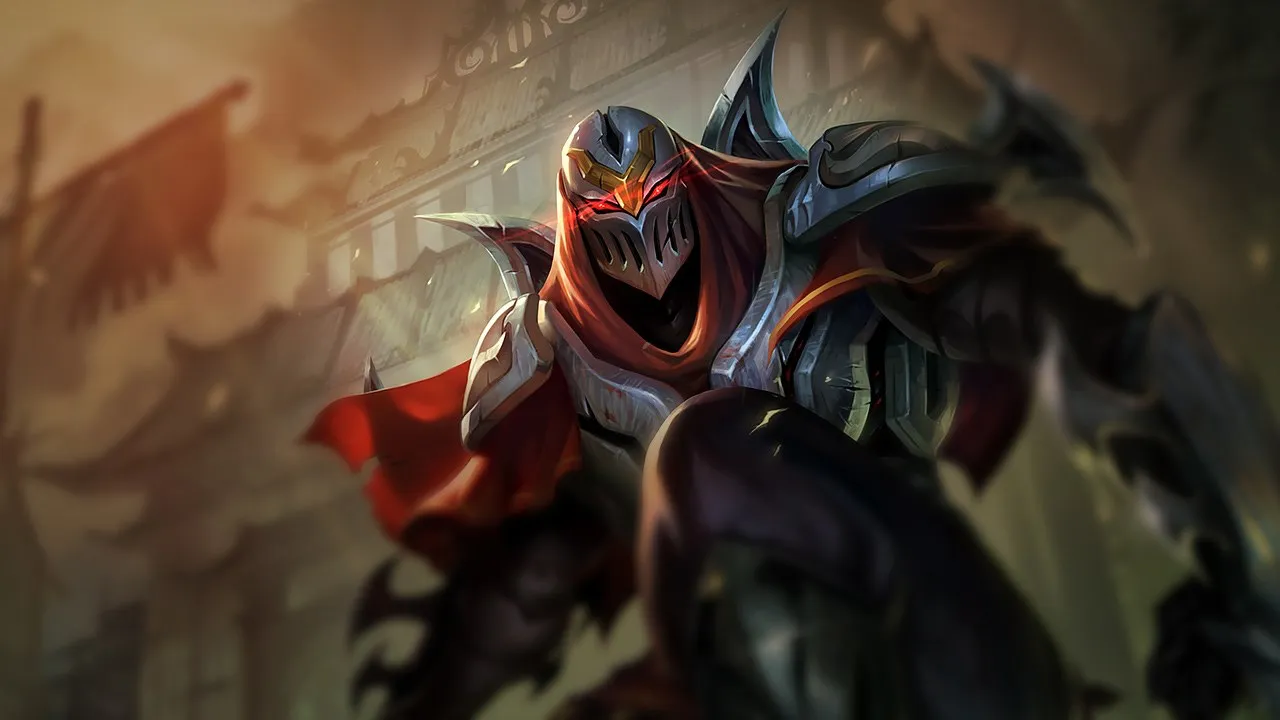
Guía experta Zed Wild Rift

★ MID · JUNGLE Tier S+
DAÑO
UTIL
TANK
DIFF
Win 50.4% #52 · ↓0pt
Pick 3.8% #19
Ban 1.2% #56

Guía experta Zed Wild Rift

Fortalezas & Debilidades

Fortalezas

  • Explosive single-target burst and backline access via shadows
  • Fast Roam and unique angles via walls
  • Strong side pressure and short split

Debilidades

  • Dependent on cooldowns and enemy Stasis Enchant
  • Peel/targeted controls neutralize it
  • Less impact if team lacks follow-up on pick

Lectura rápida

Identidad principal

Zed is mainly played as Mid. Its clearest strength is explosive single-target burst and backline access via shadows.

Primera prioridad en línea

Wave control, wall angles, respect for stun mages.

Patrón de castigo principal

Zed becomes easier to punish when dependent on cooldowns and enemy stasis enchant. From the opposite side, the page also highlights this answer: Hold the wave in the middle to limit its flanks; early armor (Chain Vest).

Notas de jugabilidad

Micro decisiones

  • Before using Death Mark, always check whether your W or R gives you a real exit after the burst.
  • Do not spend your shadow only for poke if the enemy can engage while it is on cooldown.
  • If the enemy carry has Stasis Enchant, first play to force it, then look for the real kill on the next cycle.
  • After pushing the wave, do not roam automatically: choose the side where vision, wave state, and ally follow-up make the kill convertible.

Errores comunes

  • Using W to poke without checking whether the enemy can engage while the shadow is unavailable.
  • Forcing Death Mark on the first visible target instead of waiting for Stasis Enchant or a key crowd control to be used.
  • Staying in mid-lane ARAM while Zed needs fog of war, side pressure, and short angles.
  • Confusing snowballing with overcommitting: a fed Zed must threaten more intelligently, not enter earlier into five champions.
  • Ignoring ally composition: if no one can follow a pick, the potential kill is not always worth the risk.

Niveau 5

Death Mark turns Zed from a poke assassin into a direct kill threat. At this timing, the correct decision is not always to force mid: sometimes pushing the wave and disappearing is enough to make the opponent lose lane control or tempo.

Youmuu's Ghostblade + Duskblade of Draktharr

This is the window where Zed must accelerate. Mobility, lethality, and opening burst let him take short angles, punish rotations, and turn a pick into an objective before enemy defenses are complete.

Serylda's Grudge complétée

The slow makes his conversions more stable: a target hit by shurikens or shadow has a harder time escaping the combo. This window matters especially against champions who survive the first burst but remain vulnerable to chase.

Plan de Juego

Early

Wave control, wall angles, respect for stun mages.

Mid

Side vision, pick → plates/Herald; avoids ARAM.

Late

Flank coordinated with engage brackets; Stasis Enchant mandatory if many peels.

Picos de Poder

Cómo Jugar

  • Think angles/vision: Zed wins by pick, not by ARAM mid.
  • Always keep an exit shadow (W or R) before committing.
  • Feint Stasis Enchant: forces the opponent's defensive item, then re-engages in the next cycle.

Jugando Contra

  • Have Stasis Enchant on carries: use it just before Death Mark explodes.
  • Wards on walls/entrances: its E gives unusual angles.

§ 07b — Mecánica avanzadaZed: combos & tips Wild Rift

Combo de pokeo en línea
1 W W
2 E E
3 Q Q

Sombra para duplicar proyectiles, 3 para la ralentización compartida, 1 para los 3 shurikens (Zed + sombra + sombra)

Combo agresivo todo o nada
1 W W
2 R R
3 Q Q
4 E E
5 AA
6 W W

Sombra cerca del objetivo, ulti para parpadear detrás de él, 1 + 3 para triplicar el daño (Zed + 2 sombras), autoataque, cambio de sombra para escapar

Combo seguro para el final de partida
1 W W
2 R R
3 Q Q
4 E E
5 AA
6 W W

Sombra en una posición segura, ultimate hacia el objetivo, ráfaga completa, cambio para escapar

Consejos mecánicos

  • Death Mark tiempo: la ultimate marca al objetivo y explota tras unos segundos, infligiendo un porcentaje del daño infligido mientras la marca está activa — maximiza el daño DURANTE la marca usando 1 + 3 + autoataques + Ignite para el daño de explosión máximo
  • Living Shadow (2) triple impacto: cuando la sombra está ADYACENTE al objetivo, la habilidad 1 (shuriken) y la habilidad 3 (corte) golpean tanto de Zed COMO de la sombra — 2 shurikens + 2 cortes = doble daño; con la ultimate de la sombra: triple daño potencial
  • Cambio de sombra: al volver a lanzar la habilidad 2, Zed cambia de lugar con su sombra — úsalo para escapar después de una ráfaga o para un reposicionamiento inesperado
  • Razor Shuriken confirmación de impacto: el 1 shuriken atraviesa y golpea a todos los enemigos en línea — en una teamfight, calcula el lanzamiento para golpear a múltiples objetivos o al enemigo Y su sombra

Errores comunes

  • Death Mark sin la sombra en la posición correcta: la ultimate coloca a Zed detrás del objetivo pero la sombra permanece donde fue colocada — para el triple impacto (3 shurikens), la sombra debe estar directamente sobre el objetivo ANTES de la ultimate
  • Malgastar Sombra en una huida: el cambio de sombra es invaluable para escapar después de la ultimate — no malgastes el segundo para moverte cuando una pelea es inminente
  • Luchar contra el carry enemigo mientras está bajo CC: Zed no es tanque — solo activa la ultimate cuando el objetivo esté solo o cuando el CC aliado esté activo; no te tires de cabeza en una teamfight completa

Interacciones notables

  • Death Mark puede ser contrarrestado por Zhonya (estasis) — la explosión de la ultimate se cancela si el objetivo está en estasis en el momento de la explosión
  • Living Shadow puede ser intercambiado durante el dash de la ultimate — una técnica avanzada para cambiar de dirección durante el combate
  • Con Hoja del Rey Arruinado, Zed obtiene invisibilidad al conseguir una baja — permitiéndole encadenar asesinatos en teamfights

FAQ

How should I play Zed in Wild Rift?

Zed is generally played as Mid. The first objective is to wave control, wall angles, respect for stun mages.. Its biggest edge comes from explosive single-target burst and backline access via shadows.

When is Zed strongest?

This page highlights the moments where Zed can force clean trades, rotations, or objective setups. In practice, the champion is strongest when its cooldown cycle is respected and the fight starts on its own terms.

How do I punish Zed?

Zed can be punished when dependent on cooldowns and enemy stasis enchant. A practical answer listed here is: Hold the wave in the middle to limit its flanks; early armor (Chain Vest).