
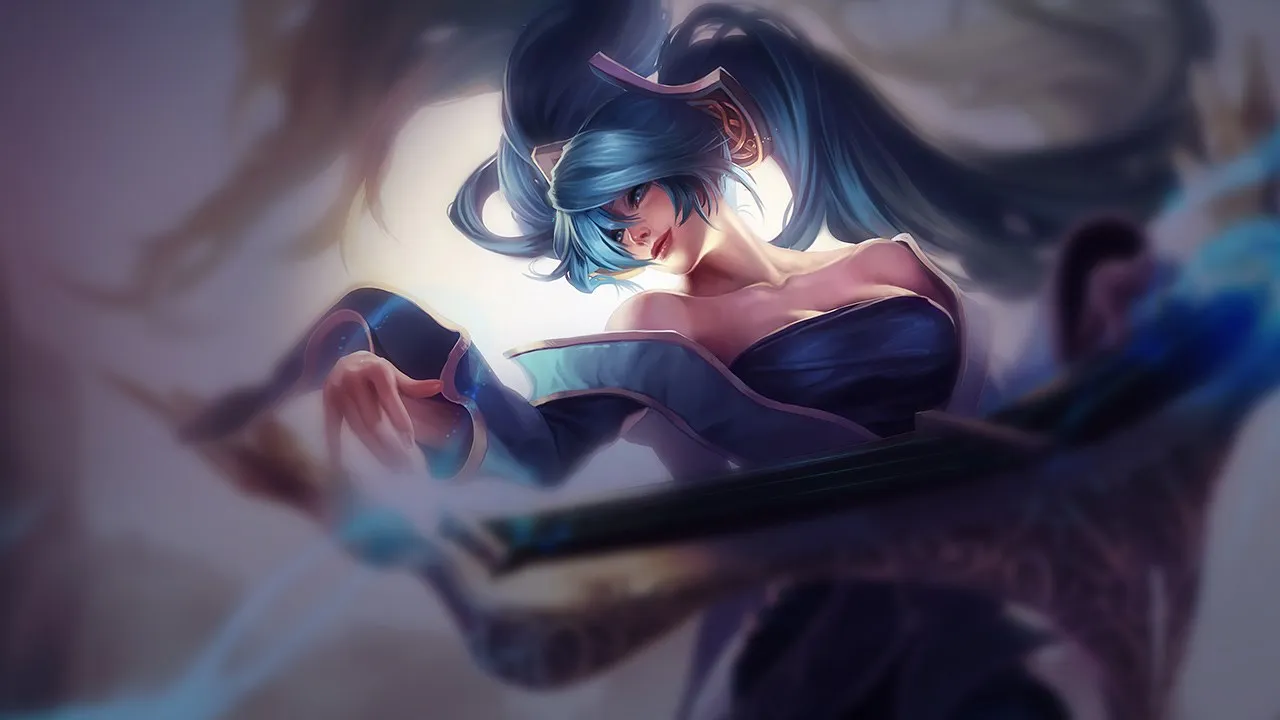
Core identity
Sona is mainly played as Support. Its clearest strength is reliable poke pressure and powerful aura scaling..
Ward river/tri-bush, poke Q + Accord, keep Exhaust for all-in.
Sona becomes easier to punish when extremely punishable by hooks and hard-engages.. From the opposite side, the page also highlights this answer: Force quick all-ins: Sona hates sudden engages.
レベル5になると、敵がSonaにどうエンゲージできるかが大きく変わる。アルティメット前は、直接的なエンゲージを吸収するのが主だが、アルティメット後は、予測された侵入をエリアCCに転換し、チームが対応する時間を与えられる。
ハーモニックエコーは、彼女の短いサイクルをより意味のあるものにする。全ての動き、ポケ、回復が追加の価値を準備し、Sonaが集団戦を安定させ、チームが競り合えるだけの体力を保てるようにする。
アルデントセンサーは、Sonaが単なるサステインsupportでなくなるポイントだ。うまくポジショニングされたオートアタックキャリーがいれば、彼女のヒールとシールドはオブジェクト戦中の具体的なDPS増加にもなる。
Measured poke for priority and clean resets.
Play around R and Redemption, deep vision on objectives.
Backline positioning, carry protection and multi-target R-seeking.
Ward river/tri-bush, poke Q + Accord, keep Exhaust for all-in.
Group around dragons; use R as counter-engage, then follow with MF/Jhin.
Set of permanent auras, tempo enchants, target calls.
Winning teamfight windows if Crescendo touches the backline.
最後に使用したスキルによって強化AAの効果が決まる。スキル1を最後に使用すると、味方ダメージ増加コードが発動する
3つの異なるスキルを使用した後に発動するパープルコードは、次の通常攻撃で強力なスロウを付与する
スキル2を最後に使用した後のグリーンコード:次の通常攻撃は、アーマー低下または回復低下を付与する【WRでの正確な効果は要確認】
アルティメットでスタンさせ、ダメージ+回復、その後追撃のためのブースト
Sona is generally played as Support. The first objective is to ward river/tri-bush, poke q + accord, keep exhaust for all-in.. Its biggest edge comes from reliable poke pressure and powerful aura scaling..
This page highlights the moments where Sona can force clean trades, rotations, or objective setups. In practice, the champion is strongest when its cooldown cycle is respected and the fight starts on its own terms.
Sona can be punished when extremely punishable by hooks and hard-engages.. A practical answer listed here is: Force quick all-ins: Sona hates sudden engages.