
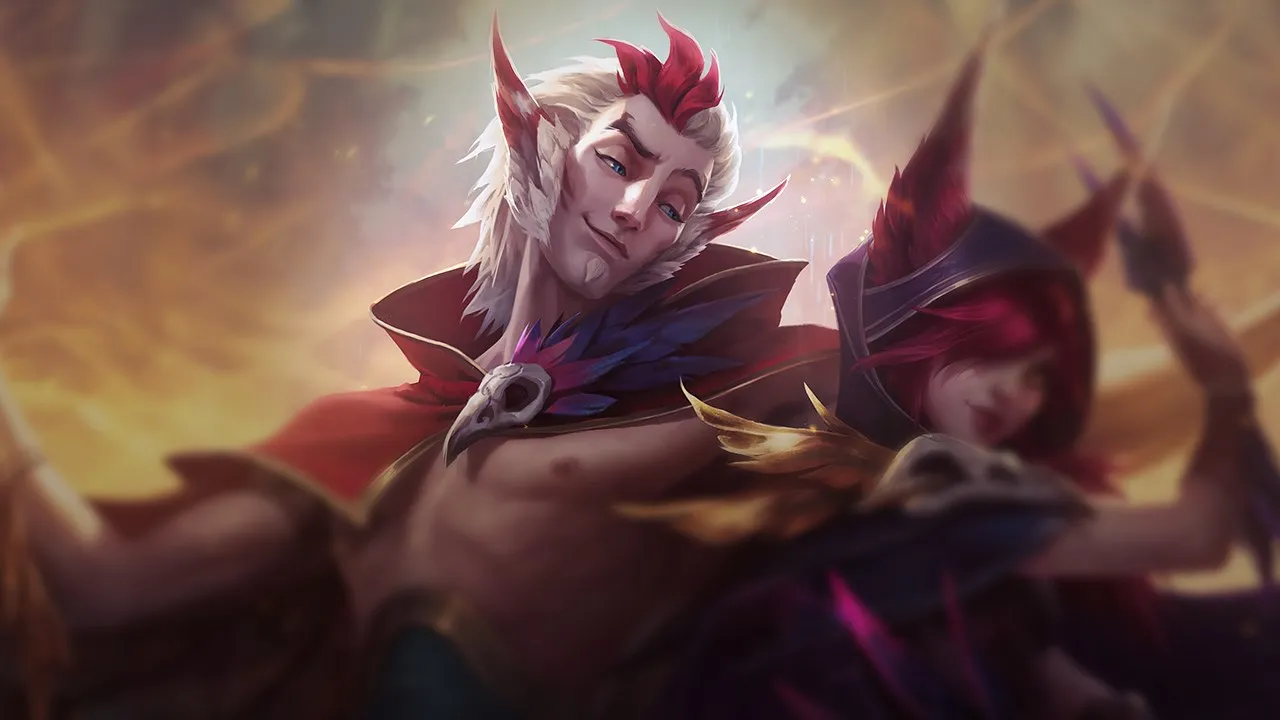
Rakan Support Wild Rift Guide: Master Engage and Mobility

 Grand Entrance without vision or without knowing where
  Battle Dance will bring them back. They forget that Rakan is not a pure tank; he is a Catcher who must create the opportunity, not absorb all the damage. His weakness is his reliance on Flash and vision angles. Without these elements, he becomes predictable and easily countered by disengage or cleanses. To succeed with Rakan, you must understand that every engage is a dance: an entry, an impact, and an exit. If you don't plan all three, you lose your trade.
Rakan's Unique Identity: Mobile, Charmer, Protector
Rakan is the most mobile and "playmaker" support in Wild Rift, combining a devastating area engage with unparalleled ally protection. Rakan stands out for his unique ability to initiate major fights and exit almost instantly. Classified as a Catcher with a mobility of 2 and an engage of 3, he is the archetype of a support who dictates the pace of teamfights. His ratings reveal a utility of 4 and a toughness of 2, highlighting his role as a disruptive support rather than a frontline tank. Fey Feathers: His passive shield regenerates out of combat or by hitting an enemy champion. Use this shield to absorb initial damage from your engage or to poke safely. It's your life insurance.
 Gleaming Quill: A projectile that, if it hits a champion, creates a healing zone. This spell is crucial for lane trades: hit the enemy, then use your mobility to get close to your ADC and heal them.
- Grand Entrance: Your main engage tool, a leap that knocks up enemies. Always hide the animation from bushes or behind a wall to maximize the element of surprise.
- Battle Dance: A double dash towards an ally, granting a shield. This is your exit strategy after an engage, or your defensive peel tool for your carry. Don't waste it to enter, except in specific combos.
 The Quickness: Your ultimate, which charms hit enemies and grants you movement speed. It's the trigger for your teamfights, allowing you to group enemies for devastating follow-up. Combine it with Flash for unpredictable engages.

Explosive Combos and Mechanical Precision: Rakan's Dance
Mastering Rakan means executing his combos with surgical precision, transforming a bold entry into a decisive advantage for your team. Rakan is a choreographer on the battlefield, and every movement counts. Here are the essential sequences to dominate your opponents.- Basic trade combo: Grand Entrance → Gleaming Quill → Battle Dance. You engage with your W for the knock-up, use your Q for damage and potential heal, then safely exit with your E towards your ally. This is the bread and butter of your lane phase.
- Teamfight engage combo: The Quickness → Grand Entrance → Battle Dance (towards an ally). Activate your R to charm while running into the enemy team, follow up with a W in the center for the knock-up, and use E to reposition or exit. This is the multi-target engage par excellence.
- Ambush combo: Battle Dance (to a forward ally) → Grand Entrance (onto the enemy). Surprise the enemy by teleporting to an already advanced ally, then engage directly with W. Ideal when the enemy Flash is on cooldown.
- Long-range combo: The Quickness → Battle Dance → Battle Dance (double jump) → Flash → Grand Entrance → Gleaming Quill → Battle Dance. This sequence is for situations where you need to cover extreme distances. It requires perfect execution and knowledge of your range limits.
Some additional mechanical tips:
- Battle Dance reset with Xayah: When paired with Xayah, your
 E has a reduced cooldown towards her, allowing for even bolder movements.
 - Flash after Grand Entrance: You can extend the range of your W by using Flash during the dash. This will surprise your opponents.
- The Quickness continuous charm: Your R charms all enemies you hit for the first time. Run through as many targets as possible to maximize crowd control.
- Gleaming Quill heal: Use your Q to poke and heal your ADC after a trade, even if you are in melee range.
Build and Skill Order: Optimizing Rakan for Combat
Rakan's build is focused on initiation and protection, with a skill order that maximizes his engage and control potential from the early levels. Your equipment and spell learning must reflect your role: a mobile initiator who can also protect.Skill Order: Priority W > E > Q
- Level 1: Grand Entrance – Your primary engage tool.
- Level 2: Battle Dance – For mobility and shield.
- Level 3: Gleaming Quill – For poke and heal.
W first gives you the most engage potential and damage in the early/mid game. Then, E for protection and mobility, and finally Q. The ultimate The Quickness is, of course, taken at levels 5, 9, and 13.Item Build:
The core of your build is Bulwark of the Mountain, an essential support item for sustain and vision. Then, Zeke's Convergence is an excellent choice to increase your ADC's damage after an engage, and Redemption for area healing in teamfights.



Variations:
- Standard — engage/peel: , , . This is the most versatile build, balancing initiation and support.
- Carry protection: If your ADC is your win condition, opt for , Yordle Trap (for vision control and disengage), , . The focus is on peel and your ally's survival.
- Vs dive: Against assassins or champions who dive your backline, , , (for temporary tankiness) is an excellent choice.


Boots: are ideal for Rakan, providing him with the mobility and mana needed to spam his spells. The boot enchantment is situational: against a lot of CC, to survive after an engage, or for area shield.




Runes:  Electrocute is your keystone. Why? Because Rakan is an initiator who seeks quick burst. Your W-Q-E or R-W combos instantly proc Electrocute, adding a significant amount of damage to win the trade or secure the kill. For minor runes,
  Sudden Impact for penetration after dash,
  Empowered Attack for more damage,
  Zombie Ward for aggressive vision, and
  Bone Plating for durability in engage.
Situational:
- Against healing: Thornmail to reduce enemy healing.
- Against AD burst: Mantle of the Twelfth Hour for physical resistance.
- Against AP burst: for magic resistance and temporary armor.

 ››
››
››
››
Rakan's Power Spikes: When to Strike Hard
Rakan experiences distinct power spikes early in the game, allowing him to dictate the pace of the lane and initiate decisive actions across the map. Understanding Rakan's power spikes is crucial for knowing when to go on the offensive.- Level 3: This is your first true power spike. With Grand Entrance, Battle Dance, and Gleaming Quill unlocked, you have your basic kit for a full trade. You can engage with W, poke with Q, and exit with E, maximizing the impact of Electrocute. This is the time to look for short all-ins if the opportunity arises.
- Level 5 (Ultimate): Acquiring The Quickness transforms Rakan into a major teamfight threat. Your ability to charm multiple enemies and group them for your W becomes a devastating weapon. This is the ideal time for mid roams or to contest the first objective with your jungler.
- First completed item: Finishing your first item, often , gives you a significant boost in toughness and utility. This allows you to engage more confidently and absorb more of damage.
Macro, Lane, and Roam: Dictating the Rift's Pace with Rakan
Rakan excels at dictating the pace of the game, alternating between an aggressive lane phase and decisive roams to extend his influence across the entire map. Your role is not to remain passive. You are the conductor of your team's movements.Lane Phase (Early Game):
In the early game, your objective is to control the bushes and look for short, punitive trades. Use theW → Q → E combination to poke and heal yourself. Monitor enemy spell cooldowns, especially their Flash. If you force a Flash, note the timer and prepare for the next all-in. Aggressive vision in the bushes allows you to hide your engages and surprise the opponent.Roam and Map Control (Mid Game):
As soon as the first tower plate falls or your ADC can hold their own, start roaming mid. YourR-Flash is a devastating gank tool that can decide the first Dragon or Herald. Deep vision in the enemy jungle is crucial. Place wards to anticipate enemy jungler movements and create pick-off opportunities. If you see a 5v4, don't hesitate to engage to turn this numerical advantage into a major objective.Teamfights and Win Condition (Late Game):
In the late game, your role depends on your team's win condition. If your ADC is fed, your primary role is to peel for them with yourE and charm threats targeting them. If your team lacks engage, it's up to you to find openings with R-W. Play the flanks and the fog of war for unexpected engages. Always keep one charge of E for an exit or peel; never engage without a safety net.The synergy with champions like Xayah or Kai'Sa is devastating, as they can follow your engages and punish enemies you immobilize.

Countering Rakan: Difficult Matchups and Key Items
Rakan, despite his power, is vulnerable to supports capable of disengage or canceling his entries, making some matchups particularly arduous. To master Rakan, you must also know who counters you and how to adapt your gameplay.Hard Counters:
- Poppy: Her
 W (anti-dash) cancels your dashes. Wait for her to use it before engaging, or roam.
 - Alistar: He breaks your combo with his bumps. Don't engage first without an advantage.
- Janna: She disengages your entry with her tornado and ultimate. Bait her spells before striking.
- Morgana: She cancels your CC with her Black Shield and punishes you with her Q. Force her shield elsewhere.
- Braum: He quickly stuns you and protects his carry. Look for his ADC or force his E.
- Leona: She locks you down if you engage poorly. Play anti-engage.






Unfavorable Matchups:
- Lulu: Can Polymorph your engage and her ultimate makes you less effective. Wait for her to use her W.
- Thresh: Interrupts with Flay and his lantern saves. Play around Flay and from the fog.
- Nami: Punishes with Bubble and heals. Bait her Bubble.
- Senna: Pokes you from afar. Use bushes and roam.




Skill Matchups:
- Nautilus and Blitzcrank are matchups where initiative is key. If Nautilus or Blitzcrank miss their hook, you have a window to punish. Otherwise, respect their threat and play defensively.


Items Against Rakan:
- : Essential for carries, it instantly cleanses your charm.
- : Allows you to stall your engage and wait for peel.
- : Absorbs the initial impact of your R-W.
- Mercury's Treads: Reduces the duration of your CC thanks to Tenacity.
- Mikael's Blessing: For supports, it cleanses CC on an ally, canceling your engage.
Practical Scenario: The Dragon Engage
Imagine the classic scenario of the first Dragon: you are at level 5, your jungler pings the Dragon, and the enemy team approaches. This is the moment of truth. Your team is in position, but the enemy hesitates, seeking vision. You have yourThe Quickness and your Flash available.Your objective is to create a decisive numerical advantage to secure the objective.- Positioning: Hide in the bush closest to the Dragon entrance, ideally one that offers an angle on the enemy backline. Vision is crucial, but yours, not the enemy's.
- Timing: Wait for the enemy team to be grouped or for their carry to be slightly isolated. The moment their support or jungler places a ward is a window of opportunity.
- The engage: Activate The Quickness, then Flash directly onto the enemy carry or the densest group. Immediately follow up with Grand Entrance for the knock-up and the activation of your Electrocute.
- The follow-up: While enemies are charmed and knocked up, your team must follow. Use Battle Dance to reposition towards your ADC or to give them a shield if an enemy tries to target them.
- Master your engage timings: Never enter without a clear exit plan via Battle Dance or Flash.
- Use the fog of war: Your engages are devastating when unexpected. Play the flanks, bushes, walls.
- Prioritize synergy: With Xayah, exploit the E reset. With other carries, ensure they can follow your all-in.
- Adapt your build: Against a lot of CC, is vital. Against burst, or .
- Roam intelligently: Your mobility is a weapon to impact the mid lane and objectives. Don't stay stuck bot if the window is elsewhere.
- Manage your passive: Fey Feathers gives you valuable durability. Proc it before an engage.
Frequently asked questions
What is the best role for Rakan in Wild Rift?
Rakan is exclusively a support in Wild Rift. His kit is entirely designed for initiation, crowd control, and ally protection, which makes him ineffective in other roles.
What is the strongest synergy with Rakan?
Rakan's strongest synergy is with Xayah. Their kits are interconnected, offering unique mobility and shield bonuses, allowing Rakan to engage aggressively and return safely.
How to counter an aggressive Rakan in lane phase?
To counter an aggressive Rakan, choose supports with disengage like Janna or Alistar, or CC like Morgana. Buy items like to cancel his charm, and force him to use his spells without follow-up.
Is Rakan a good choice for climbing elo?
Yes, Rakan is an excellent choice for climbing elo, with an overall winrate of 52.68% and 50.74% in Master+ (patch 20260730). His ability to create opportunities and turn fights makes him very impactful if mastered well.
What is the skill order to max on Rakan?
The skill order to max on Rakan is Grand Entrance first, followed by Battle Dance, then Gleaming Quill. The Quickness should be taken at levels 5, 9, and 13.
What are the essential items for Rakan?
Essential items for Rakan include for sustain, for ADC burst, and for area healing. are recommended.