
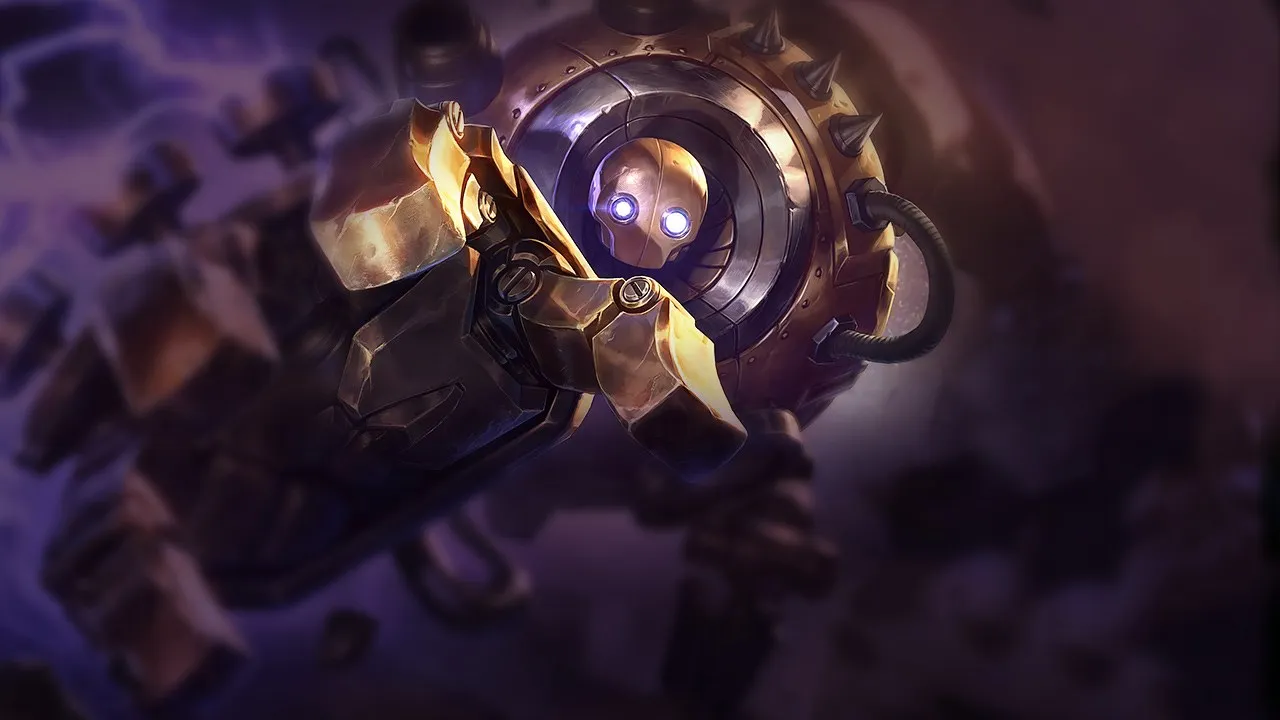
Blitzcrank SUPPORT Guide: Mastering the Rocket Grab

 Rocket Grab. He excels at isolating priority targets and creating pick-off opportunities, transforming a simple lane duel into a decisive advantage. Currently ranked B-Tier with an 49.03% winrate overall, patch 20260914 (Nexus Core data), his potential is often underestimated by players who don't master his aggression timings.Rocket Grab becomes predictable and his kit lacks sustain for prolonged engagements. His strength lies in his ability to create picks and snowball an early advantage, not in absorbing continuous damage. His weaknesses include low impact without a hook and weak prolonged teamfights, meaning every missed or poorly targeted Rocket Grab is an opportunity window for the opponent. Understanding that your role is to be an opportunity hunter and not a walking shield is key to transforming this champion into a formidable weapon. Your gameplay should focus on vision control and the constant threat of picks, forcing the enemy to play defensively and make positioning errors.
Mechanical Identity: The Iron Golem and His Tools
Blitzcrank is a ranged Support with unparalleled engagement capability, ranked B-Tier but with hidden carry potential in his precision. His identity relies on hisRocket Grab, a spell that can instantly change the course of a game by pulling an enemy from their safe position. With a difficulty of 2/5, he is accessible but requires mastery of timings and positioning to maximize his impact. His ratings highlight his Toughness of 3 and Utility of 4, but a Damage of 1, confirming his role as a disruptive support rather than a damage source. His kit is entirely designed for pick-off and engagement, with a Hard CC of 4 that paralyzes isolated targets. His passive  Mana Barrier grants him surprising survivability during all-ins, transforming his mana into a life-saving shield.
  Overdrive offers him a mobility of 2, essential for roams and quick positioning adjustments.
  Power Fist adds a crucial knock-up to chain controls after a grab, while
  Static Field provides a
 Combo Mastery: The Art of the Precise Hook
Executing Blitzcrank's combos with precision is what separates a good player from an exceptional one. Each ability chains together to maximize control and damage after a successfulRocket Grab. The key is never to waste your Rocket Grab in a straight line from a visible position, but always to look for unexpected angles and surprise timings. The standard hook combo is your bread and butter, but knowing the variations and mechanical tips will give you a decisive advantage in all situations. Rocket Grab is your primary tool, a chance per cooldown, to be used from bushes or over walls to minimize enemy reaction time. Power Fist must be activated just before the auto-attack for an instant knock-up after the grab, and Static Field should follow to silence the target and prevent them from retaliating or escaping. Overdrive is excellent for quick repositioning or a surprise engagement sprint. Remember that the Mana Barrier passive offers you a survival window, so don't hesitate to all-in if the shield is available. Avoid launching your Rocket Grab predictably or failing to follow-up immediately, as the enemy can escape. A good hook is an almost guaranteed kill, and Static Field can even interrupt enemy channels.
Build and Skill Order: Optimizing Your Impact
Your build and skill order must reinforce your role as an engage support and maximize your pick-off potential. Prioritize items that give you tankiness and utility to survive your engagements and protect your carries after a successful pick. The skill order is clear:Rocket Grab at maximum priority (Q > E > W) to reduce its cooldown and increase its power, followed by Power Fist for burst and CC, and finally Overdrive. The ultimate Static Field should be taken as soon as available at levels 5, 9, and 13. Regarding items, the tank path is the most effective. Start with Plated Steelcaps for physical resistance and anti-auto-attack. For your first major item, aim for a mythic item that offers survival and utility to your allies, like a combat catalyst that transforms into a tanky support. Then, Randuin's Omen is excellent against AD teams, reducing critical damage and slowing attackers. Hollow Radiance adds magic resistance and area damage, ideal for teamfights. Warmog's Armor offers massive out-of-combat regeneration, allowing you to stay on the map longer. Against AD teams, Dead Man's Plate improves your mobility and tankiness. Against AP teams, Force of Nature and Kaenic Rookern are solid choices. Don't forget boot enchantments: for long-range engagement, for surviving bursts, or for purging controls. The runes 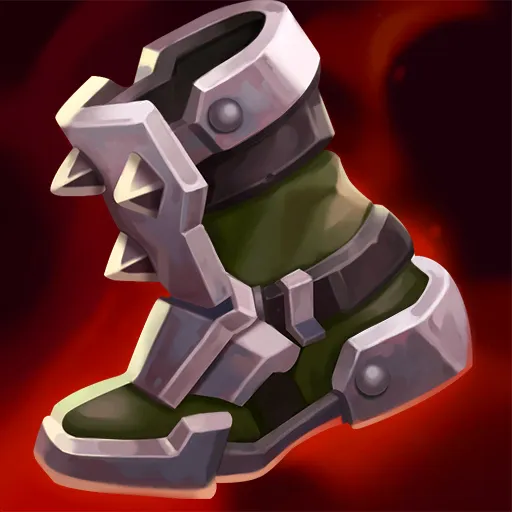




 Ice Tyrant,
  Font of Life,
  Bone Plating,
  Overgrowth and Hexflash perfectly complement this kit, offering control, survival, and unexpected engagement opportunities.››
››
Overgrowth and Hexflash perfectly complement this kit, offering control, survival, and unexpected engagement opportunities.››
››
Power Spikes: When to Strike Hard with Blitzcrank
Understanding Blitzcrank's power spikes is essential to dictate the pace of the game and know when to take calculated risks. Your greatest strength lies in your ability to generate advantages in the early and mid-game, capitalizing on any enemy positioning error. Blitzcrank's power curve shows a constant presence throughout the game, with significant peaks coinciding with the acquisition of key abilities and major items. Your first spike arrives at level 2 with the first rank ofPower Fist, allowing you to execute your Rocket Grab → Power Fist combo for a devastating CC chain. This is the ideal moment to look for a kill in lane. Level 5 is another crucial moment, unlocking your ultimate Static Field, which adds a silence and area damage to your arsenal, making your all-ins even more lethal. Finally, acquiring your first major tank item at level 6 gives you a significant boost in tankiness and utility, allowing you to survive bolder engagements. Your scaling is balanced (Early 3, Mid 3, Late 3), meaning you remain relevant at all stages of the game, provided you continue to look for picks and don't settle for prolonged frontal fights. Use these windows to roam, force objectives, or punish enemy team errors.
Macro, Lane, and Roam: Dictating the Pace of the Rift
Blitzcrank's macro relies on constant pressure and opportunity creation. Your main objective is to control vision and threaten picks, forcing the enemy to play reactively and be wary of every bush. In the early game, yourRocket Grab is a permanent threat in lane. Look for angles while your ADC gently pushes wave 2-3. If the lane is too difficult to find a hook, don't hesitate to reset and look for a mid roam; a successful hook mid can often unlock the first dragon. In the mid game, coordinate your roams around objectives. Use to force short, decisive fights around Dragon or Herald. Never show your shoulders: play the fog of war and walls for unexpected Rocket Grabs. In the Static Field is on cooldown. Protect your carries with Power Fist and Static Field after the first pick to secure the advantage. Synergies with ADCs like Draven (immediate burst), Jhin (root and 4th shot), or Miss Fortune (


 Bullet Time combo) are particularly strong, transforming a hook into an almost guaranteed kill. With Ashe, a well-placed arrow guarantees a hook, simplifying the macro. Don't forget Jinx for a grab into her traps, or Orianna for a surprise ult. These synergies amplify your ability to snowball the game.

Matchups and Counters: Knowing Who to Hook, and Who to Avoid
Understanding matchups is crucial for Blitzcrank, as a bad hook can cost you the lane, or even the game. Your ability to identify vulnerable targets and avoid enemy support traps is the true test of your mastery. Against hard counters like Morgana, her Black Shield completely negates your Rocket Grab. Force the shield or feint before engaging. Alistar and Leona are tanks who can turn your engage to their advantage. Do not hook Leona unless her ADC is completely exposed, as you are giving her the initiation she desires. Against unfavorable matchups like Karma, Zyra, or Senna, who have poke and/or zone control, play patiently, vary your angles, and look for positioning errors. Braum can block your hook with his shield, so aim for lateral angles. Skill matchups against Thresh, Nautilus, and Pyke are duels of precision: whoever lands the first hit gains the advantage. Vary your timings and feint engages. Finally, your favorable matchups are against immobile and fragile supports like Sona, Yuumi, Lux, Seraphine, and Nami. These champions lack mobility to escape your hook, making them priority targets for easy kills. To counter Blitzcrank, , , Edge of Night, and Protector's Vow are key purchases for your opponents, reducing the impact of your CC and burst.
















Concrete Scenario: The First Dragon
Imagine the situation: you are at level 6, your ADC has a slight farm advantage, and the first Dragon appears in 30 seconds. Your team has priority mid, but the enemy bot lane is pushing. This is the ideal moment to capitalize on your power spike and force a numerical advantage around the objective. Rather than staying in lane to defend, use yourOverdrive to make a quick roam towards mid, then towards the river, passing through the fog of war. Place a Yordle Trap in a key bush near the Dragon for vision. Wait for the enemy team to approach the objective. Your role is to find an unexpected angle for a  Rocket Grab on the enemy jungler or mid laner. If the hook is successful, immediately follow up with Power Fist and Static Field. Your team must follow instantly to secure the kill. This quick pick will give you a numerical advantage, allowing you to take the Dragon without major contest. If the hook misses, do not force the 4v5 fight. Retreat, reset your position, and wait for the next timing. Patience is a virtue, even for an aggressive champion like Blitzcrank.
- Prioritize picks: Constantly seek to isolate fragile targets with your Rocket Grab, using the fog of war and unexpected angles.
- Master your combos: Chain Rocket Grab → AA → Power Fist → Static Field to maximize CC and damage.
- Adapt your build: Build tankiness and utility items, adapting to the enemy team's damage types (AD/AP) to survive your engagements.
- Exploit your power spikes: Capitalize on your levels 2, 5, and the acquisition of your first major item to force fights and take objectives.
- Roam intelligently: After a reset in bot lane, look for mid roam opportunities or around neutral objectives to extend your advantage.
- Avoid prolonged fights: Blitzcrank excels in short, decisive engages. After a pick, force a reset or an objective, don't stay for a prolonged 5v5.
Frequently asked questions
What is Blitzcrank's main role as a support?
Blitzcrank is an engage support who excels at isolating priority targets with his Rocket Grab. His role is to create kill opportunities and dictate the pace of the game by forcing favorable fights, especially in the early and mid-game.
How does Blitzcrank handle difficult matchups like Morgana or Alistar?
Against Morgana, you need to feint the hook so she uses her Black Shield, then engage. Against Alistar or Leona, avoid hooking them directly; instead, try to flank and target their carries or wait for them to have used their key abilities.
What are the essential items for Blitzcrank and why?
are essential for physical resistance. A first major tank item that boosts allies is crucial for survival and utility. Then, items like (vs AD) or (vs AP) are prioritized to maximize your tankiness and teamfight impact.
When is Blitzcrank strongest in a game (power spikes)?
Blitzcrank has significant power spikes at level 2 (unlocking Power Fist), at level 5 (unlocking Static Field), and upon acquiring his first major item. These moments are crucial for forcing engagements and gaining an advantage.
What are the best synergies for Blitzcrank?
Blitzcrank synergizes very well with ADCs who have high burst or CC to follow up his Rocket Grab. Champions like Draven, Jhin, Miss Fortune, Ashe, and Jinx are excellent partners for transforming a hook into a quick elimination.