
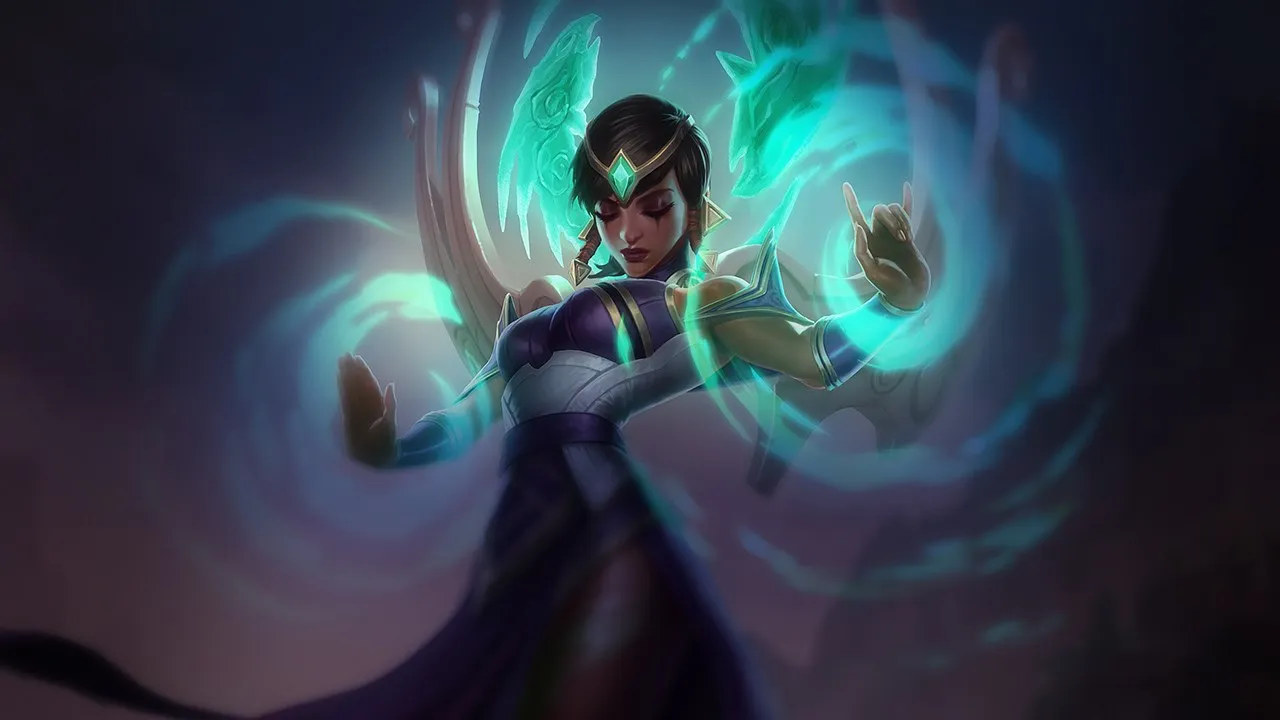
Karma Support: Tempo Control

Karma is often perceived as a simple "shield bot" or a generic poke source, which is a fundamental mistake. Her true strength lies in her ability to alternate aggression and utility thanks to her  Mantra. Players fail when they don't capitalize on her high poke (4/5) and utility (4/5), contenting themselves with reacting rather than initiating. Her kit is designed for space control and constant pressure, but many hesitate to take risks, thus losing the crucial advantage she offers in the early game. Without this pressure, Karma cannot fully exploit her zoning and global acceleration strengths, making her vulnerable against compositions that force engages. Understanding that each Mantra use must have a specific purpose — either for devastating poke or for a life-saving shield — is the key to transforming an average Karma into a dominant force on the map.
Karma Support's Identity and Uniqueness
Karma is a versatile Enchanter Support, capable of dealing significant damage and providing massive utility, distinguished by her uniqueMantra system that amplifies her basic abilities.Karma is a champion who stands out for her ability to adapt to combat situations. With damage of 2/5 and utility of 4/5, she is neither a pure mage nor a passive enchanter. Her moderate difficulty (2/5) makes her accessible, but mastering her requires a fine understanding of her Mantra. Her Support role allows her to exert lane pressure (poke 4/5) while providing exceptional peel (5/5) for her carries. She offers mobility of 2/5, primarily via her  Inspire.
Nexus Core Ratings:
- Scaling: 4/5
- Damage: 2/5
- Durability: 1/5
- Utility: 4/5
- Difficulty: 2/5
Draft Classifiers:
- Damage Type: AP
- Range: Ranged
- Mobility: 2/5
- Engage: 3/5
- Peel: 5/5
- Hard CC: 4/5
- Poke: 4/5
- Sustain: 2/5
- Utility: 4/5
Key Abilities:
 Gathering Fire (Passive): Reduces Mantra (R) CD when Karma hits with abilities/attacks. This passive is your engine: constantly harass to have Mantra available as often as possible, it's the key to your power cycle.
 Inner Flame: Area projectile dealing damage and slowing. Mantra: more powerful explosive cone.
 Focused Resolve: Leash that roots if it holds long enough. Mantra: heals Karma.
- Inspire: Shield and movement speed. Mantra: AoE on nearby allies.
- Mantra: Empowers the next ability (Q/W/E) and grants bonus effects.
Essential Karma Combos
Karma's combos revolve around the judicious use of herMantra to amplify her abilities, allowing her to choose between a burst of damage, crowd control, or a crucial area shield.Mastering Karma's combos means understanding the impact of each Mantra. Each situation demands a specific response, and correct execution can turn a trade or a teamfight.
Main Combos:
- Poke burst combo: Mantra → Inner Flame empowered. This is your primary tool for lane poke and before objectives. Mantra amplifies Q into a larger area explosion and a persistent fire zone, dealing massive damage at long range.
- Double poke combo: Q → R → Q. Use a normal Q for the slow, then immediately follow up with Mantra + Q for an Q empowered right after, maximizing damage on a slowed target.
- Accelerated shield combo: Mantra → Inspire empowered. This combo provides an amplified shield and a zonal movement speed bonus. Ideal for a quick team retreat, repositioning, or a surprise engage.
- Root combo: Focused Resolve → Mantra → Inspire (shield+speed). Apply the W leash, then use Mantra + E to protect yourself and maintain the necessary distance for the enemy to be rooted, or to get closer if needed.
Mechanical Tips:
- Gathering Fire: Your passive reduces Mantra's CD. Each spell or basic attack reduces this CD. Constantly harass to have Mantra available more often.
- Inner Flame empowered (R+Q): Aim at the ground behind the target to ensure the area explosion.
- Focused Resolve empowered (R+W): The leash is longer and the root is instant. Excellent for a decisive catch.
- Inspire empowered (R+E): The shield is applied to all nearby allies, with an amplified movement speed bonus.
Common Mistakes:
- Wasting Mantra on E (shield alone) when an R+Q poke would have been more impactful in lane.
- Using Focused Resolve without follow-up: the ability takes time to root, the enemy can escape.
Karma Support Build & Skill Order
The Karma Support build prioritizes a mix of ability power to maximize her poke and shields, with utility options to adapt to team needs, while the skill order prioritizesInner Flame for lane pressure.As a support, your build must allow you to maintain constant pressure while providing reliable protection. Karma's standard path leans towards AP burst to capitalize on her excellent poke, but never forget the importance of utility items.
Skill Order:
- Priority: Inner Flame > Inspire > Focused Resolve
- Levels: Q, E, W, Q, R, Q, E, Q, R, E, Q, E, R, W, W
- Maxing Inner Flame first is crucial to establish your lane dominance, maximizing your poke and zoning ability, which forces opponents to play passively and opens windows for your ADC.
Standard Build — Poke & Burst (AP Support):
- Boots: . They provide the necessary CD reduction and mana to spam your abilities and maintain pressure.
- Core Items:
- Luden's Echo: This item is your first big damage spike. It amplifies your poke with an area effect and gives you mana to sustain in lane.
- Rabadon's Deathcap: Pure ability power amplification. Essential for your Q Mantra to wreak havoc and your E Mantra to be massive shields.
- Malignance: Reduces enemy magic resistance and provides CDR, perfect for prolonged fights where your spells will be spammed.
- Infinity Orb: An excellent choice for damage, especially against squishy targets. The bonus magic penetration on low HP targets is perfect for executions.
- Runes:
- Keystone:
 Arcane Comet. Synergizes perfectly with your long-range poke, adding extra damage with each Q.
 - Minor Runes:
 Botanist (lane sustain),
  Transcendence (CDR),
  Scorch (additional early damage),
  Bone Plating (survival against all-ins).
- Keystone:




Situational Items (to consider after the first 2-3 core items):
- Against healing (Soraka, Aatrox, lifesteal…): Morellonomicon. Essential for applying Grievous Wounds and reducing enemy healing.
- Against 2+ tanks / HP stackers: Liandry's Torment. Damage over time and magic penetration are excellent against resilient targets.
- Against excessive mobility: Rylai's Crystal Scepter. The constant slow from your abilities makes your
 Q even harder to dodge and facilitates kiting.
 - Against AP burst (Syndra, Fizz, Evelynn…): Banshee's Veil. A magic shield that blocks one ability, crucial for surviving initiations.




 ››
››
››
››
Karma Support Power Spikes
Karma's power spikes are closely linked to obtaining herMantra and her first ability power items, transforming her poke and utility into a constant threat from the early game.Understanding when Karma becomes most dangerous is essential for dictating the pace of the game. These power peaks allow you to capitalize on your advantages and force opportunities.
- Level 5 (Ultimate): This is your first true power spike. Access to Mantra unlocks your poke potential (R+Q) and your ability to protect or engage your entire team (R+E). As soon as you reach level 5, aggressively look for poke opportunities or quick rotations to objectives, as your impact is tenfold.
- First Item (): The acquisition of at level 6 marks a significant damage and mana spike. Your Q Mantra becomes a true burst threat, capable of severely punishing enemy positioning errors. This is the time to look to convert your lane advantage into map pressure.
- Level 9 ( + Ultimate Rank 2): This spike is an explosion of power. With , your damage and the strength of your shields increase drastically. The upgrade of your Mantra to rank 2 means more flexibility and reduced cooldowns. You are now a major force in teamfights, capable of turning the tide of engagements.
Power Curve (Nexus Core data):
- Karma has a power curve that starts strong in the early-mid game, with a constant presence throughout the game. She is strong from level 5 and continues to scale with her items.
Game Phases (Nexus Core data):
- Early Game: 1/7
- Mid Game: 7/7
- Late Game: 7/7
- Karma maintains constant influence at all phases of the game, but her mid-game peak is particularly important for capitalizing on objectives and team rotations.
Macro, Lane, and Roam with Karma Support
As Karma Support, your macro objective is to control vision, dictate the pace of the lane through poke, and facilitate rapid team rotations to secure objectives.Your role is not limited to the botlane. Karma is an orchestrator capable of influencing the entire map.
Early Game (Lane Phase):
Your priority is controlled poke and vision management. Use Q to harass enemies and force them to expend their resources. Play behind your minion wave to deny hook angles against threats like Blitzcrank or Thresh. Never underestimate the power of a good Q Mantra to punish an overextended enemy or to create a priority window on the wave. Synchronize your resets with your jungler to secure the river and objectives.


Mid Game (Rotations & Objectives):
This is the phase where Karma truly shines. Use Mantra + E for quick groupings towards dragons or the Herald. Your ability to accelerate the entire team is a major advantage for objective setup. Place aggressive but safe vision, and look to pinch enemies with your jungler or midlaner.
Late Game (Teamfights & Peel):
Your role evolves towards priority peel for your carries. Always keep a Mantra available for a life-saving area E or a W to root an assassin. Items like or (if you opted for a more utility-focused build) become crucial for your team's survival. Your Q Mantra remains a powerful zoning tool, capable of splitting teamfights.


Key Synergies:
- Jhin: Your
 W root perfectly sets up his 4th shots or ultimate. Your shields offer him safety for positioning.
 - Caitlyn: A successful
 W often leads to a Caitlyn trap, followed by a Q Mantra for a devastating execution chain in lane.
 - Ezreal: You protect him while he kites, and your safe double poke creates unbearable lane pressure, with powerful mid-game spikes.



Karma Support Counters and Counter-Measures
Karma excels against pure sustain or low lane pressure supports, but she is vulnerable to champions with strong engage or pick-off capabilities who can ignore her poke and lock her down.Knowing your matchups is the first step to winning lane. Karma has clear strengths, but also exploitable weaknesses.
Difficult Matchups (Hard Counters):
- Blitzcrank: He doesn't play for poke, but for permanent threat. A single hook can turn a winning lane into a disaster. Against Blitzcrank, your positioning is key: always keep a minion line between you and him, and never cross a corridor without vision to avoid his grab. Punish his missed hooks with aggressive poke.
- Pyke: He turns the lane into a survival game. His invisibility and execution ability can render your poke ineffective. Play in line with your ADC and respect his hook angles.
- Nautilus: His chain-CC is devastating. A hook or ultimate is enough to lock you down. Avoid areas where he can easily engage you and always ward with a teammate.
- Leona: She doesn't let you "win little by little." Her all-in is powerful. Respect her engage windows, especially when the wave is in the middle, and play around her
 E on cooldown.
 - Thresh: He cuts your tempo. A hook or a flay can interrupt your space taking. Play behind minions and punish his missed hooks.



Unfavorable Matchups:
- Senna: She outranges you and scales better. Avoid long poke trades and look to convert your early pressure into objectives.
- Seraphine: She neutralizes your lane pressure with her waveclear and teamfight utility. Avoid grouping in a straight line and roam to create advantage elsewhere.
- Sona: She puts you on a timer. If you don't create an early advantage, she will outscale you in the late game. Play aggressively early and convert your pressure into map objectives.



Skill Matchups (Execution Dependent):
- Lulu: A war of shield timings and Polymorph. Read her cooldowns and switch targets if she plays full peel.
- Nami: Her bubbles can turn a poke into a kill. Vary your trajectories to avoid her bubbles and punish her mistakes.
- Braum: His shield blocks your poke. Focus on macro-play (priority, roam, objectives) rather than forcing poke trades.



Favorable Matchups:
- Soraka: Your poke and push ability force her to spam heal, draining her mana and making her vulnerable.
- Yuumi: A "soft 2v1" lane. Abuse your lane pressure and wave control to take plates and objectives.
- Janna: You can outpush and outpoke her if you respect her disengage windows. Use your priority for objective setup.


Counter-Measure Items:
- Against hard-CC (Leona, Nautilus, Thresh): . A must-have to break CC chains.
- Against burst (assassins like Zed/Fizz): . Gives you a crucial window of invulnerability.
- Against significant healing (Soraka, Aatrox): . Applies Grievous Wounds.
- To protect a targeted carry: Mikael's Blessing. Cleanses an ally caught by CC.
- To buff your hypercarries (Jinx, Kai'Sa): Ardent Censer. Increases their attack speed and damage.




Practical Example: The First Dragon
At the first Dragon, Karma must use herMantra + E to accelerate her team towards the objective, then her Mantra + Q to zone enemies and secure the area.Imagine the situation: the first Dragon has just appeared, and both teams are grouping up. You are Karma Support.
Your team has a slight vision advantage, but the enemy team is arriving grouped. Your role is to capitalize on your tempo advantage.
As soon as your jungler initiates the Dragon, use Mantra + E on your team to give them a huge movement speed bonus, allowing them to quickly take position and contest the Dragon area before the opponent.
Then, position yourself so you can use your Mantra + Q to zone the entrances to the Dragon pit, forcing enemies to take damage before even reaching the fight. If an enemy ventures too close, your W can root them, offering an easy pick for your team. This precise timing, between mobility for positioning and zoning for securing, is what makes Karma strong on objectives.
Mantra, lane pressure, objective rotations, and adapting your build.Mastering Karma means mastering the art of quick decision-making and constant impact. Here are your priorities.
- Prioritize your Mantra management: Each use must be intentional. R+Q for lethal poke, R+E for team acceleration or peel.
- Dominate your lane phase: Abuse your Q to harass and force enemies to retreat. Create priority for your jungler.
- Accelerate objective rotations: Use Mantra+E so your team arrives first and takes the best positions.
- Adapt your build: If the AP build is strong, don't hesitate to include utility items like Mikael's Blessing or if your team needs them.
- Position yourself intelligently: Against hook or engage champions, play behind minions. In teamfights, stay safe to maximize your utility.
As I always say: "If you lose your trade, it's not bad luck."
Frequently asked questions
What is Karma Support's main role in the early game?
In the early game, Karma Support's main role is to exert constant pressure on the dragon lane with her Inner Flame, to deny enemy hook angles, and to tempo the allied jungler. She must aim to gain wave priority to facilitate rotations and vision placement.
How does Karma handle difficult matchups like Blitzcrank or Pyke?
Against difficult matchups like Blitzcrank or Pyke, Karma must adopt strict positioning. It is crucial to always keep a minion line between her and the enemy support, to deny hook angles, and to immediately punish missed hooks. Vision is essential to counter Pyke's roams.
When to use Mantra + E (Inspire empowered)?
Mantra + E should be used to accelerate the positioning of the entire team towards objectives (Dragons, Herald) or for a quick disengage in teamfights. It provides an area shield and an amplified movement speed bonus, ideal for grouped movements.
What is Karma Support's most important power spike?
Karma Support's most important power spike is at level 5, with access to her Mantra. This unlocks her full poke potential with Mantra + Q and her group utility with Mantra + E, allowing her to dictate the pace of the lane and the map.
Should Karma Support build damage or utility items?
Karma Support's build can lean towards AP damage items like and to maximize her poke and lane pressure. However, it is essential to integrate situational utility items like (anti-healing), (anti-CC), or (ADC buff) depending on team compositions and specific game needs.
Why is Karma considered a good synergy with Jhin or Caitlyn?
Karma synergizes strongly with Jhin and Caitlyn because her Focused Resolve can easily root enemies, creating perfect windows for Jhin's 4th shots or Caitlyn's traps. Her shields and movement speed allow these long-range ADCs to position aggressively and maximize their damage safely.