
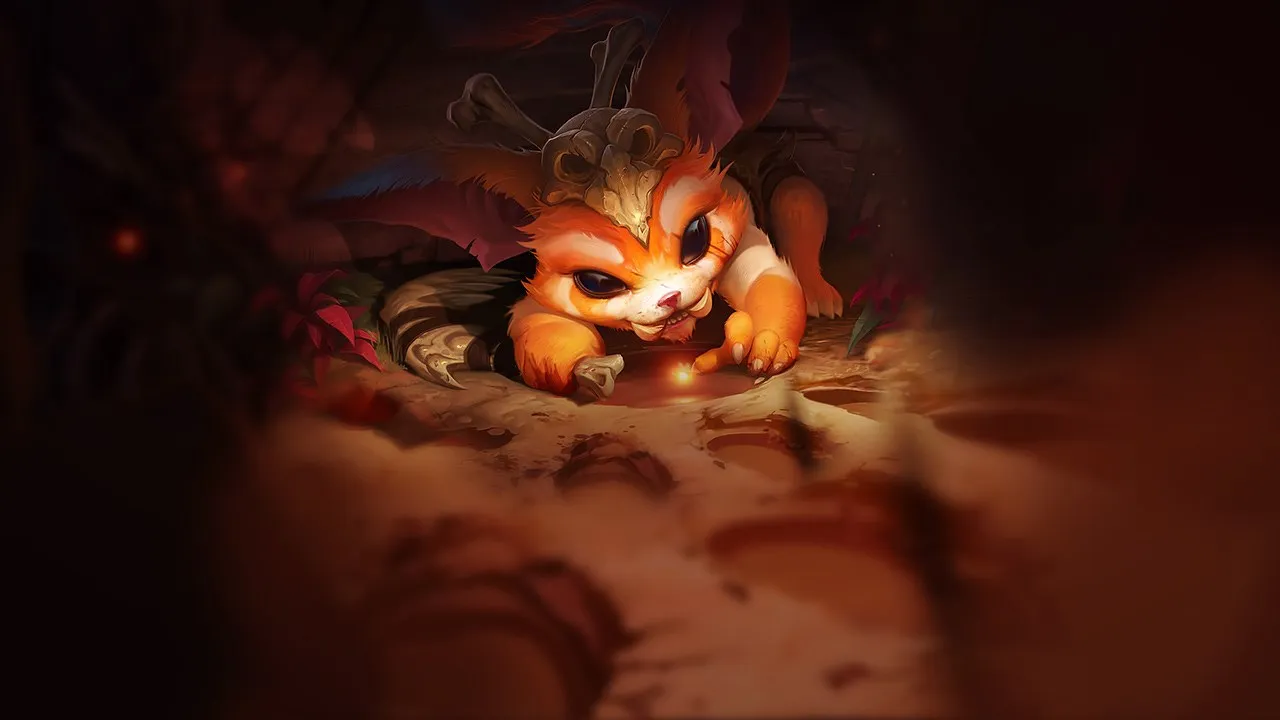
Gnar Top: Mastering the Rage of the Colossal Yordle
Gnar is a ranged and melee fighter in Wild Rift who excels at controlling his lane and initiating devastating team fights thanks to his unique transformation. His ability to alternate between his Mini form, agile and harassing, and his Mega form, tanky and rich in crowd control, makes him a versatile strategic choice. Currently ranked in Tier B, Gnar shows an overall winrate of 50.67% but climbs to 50.85% in Master+ on patch 20260910 (Nexus Core data), signaling an underestimated potential for domination by the majority of players.

Most Gnar players fail not due to a lack of pure mechanics, but due to poor management of his Rage bar. They often find themselves in Mini form at the wrong time, vulnerable to enemy all-ins, or in Mega form without being able to fully exploit his offensive potential. This structural dependence on his Rage bar makes Gnar vulnerable to sudden engages in Mini and less impactful without a nearby wall for his ultimate. The common mistake is not anticipating transformation phases, turning a potential advantage into a window of weakness for the opponent. The inability to prepare Mega before key objectives or to play corridors and wall angles significantly reduces his impact in mid and late game. Gnar is a champion who requires constant planning and precise execution to shine.
Gnar's Identity: The Two-Faced Yordle
Gnar is a unique fighter in Wild Rift, capable of transforming from an agile ranged harasser to a melee initiating tank in a few seconds, a duality that defines his identity. His strength lies in his ability to adapt his playstyle to the situation thanks to his  Rage Gene. As Mini-Gnar, he is a mobile poker with a mobility rating of 3/5 and poke of 3/5. As Mega-Gnar, he becomes a robust frontline with crowd control of 4/5 and an engage capacity of 4/5, ideal for team fights. This versatility gives him a difficulty of 3/5, as mastering his transformations is crucial. Understanding and anticipating the timings of his transformation is key to maximizing Gnar's impact at every stage of the game, turning his windows of weakness into decisive opportunities.
His abilities reflect this duality:
- Rage Gene: The heart of Gnar, alternating between Mini (ranged, mobile) and Mega (melee, tanky) depending on his Rage.
 Boomerang Throw / Boulder Toss: His primary poke and slow tool. Mini-Gnar's Boomerang slows and can be retrieved to reduce its CD, while Mega-Gnar's Boulder is a short-range slow.
 Hyper / Wallop: Mini-Gnar's passive offers bonus damage and a movement speed bonus on the third hit. As Mega-Gnar, Wallop is a slam that stuns in a cone after a short delay.
 Hop / Crunch: A jump for escape or engage. Mini-Gnar can bounce off a unit to extend his range. Mega-Gnar performs an area impact.
 GNAR!: Mega-Gnar's devastating ultimate that violently knocks back enemies. Throwing an enemy against a wall deals massive bonus damage and a prolonged stun.
Gnar Combos: Mastering the Transition Between Agility and Power
Mastering Gnar's combos means understanding how to transition from harassment to initiation, exploiting each form at the right time. The key lies in proactively managing your Rage bar so that your Mega-Gnar transformation coincides with engage opportunities or major objectives. Planning your Rage bar is more important than the mechanical execution of a combo, as it determines whether you have the right tool at the critical moment.
Main Combos
- Mini Gnar Combo (poke/trade) :
- Mega Gnar Combo (engage) :
- Mega Gnar wall slam Combo (damage maximization) :
- Rage Transition : Keep a constant eye on your Rage bar. Play aggressively when it's almost full to trigger the Mega-Gnar transformation at the opportune moment, just before a fight or objective.
Mechanical Tips
- Rage Bar : Gnar accumulates Rage by attacking and taking damage. At 100 Rage, the next ability used triggers the transformation into Mega Gnar for approximately 15 seconds. Manage it so you are never caught off guard.
- GNAR! (R) : This ultimate is a knock-up and displacement. Always aim for a wall. Enemies thrown against a wall receive massive bonus damage and are stunned longer. Without a wall, the impact is much lower.
- Mini Gnar : Harass, stay mobile, and accumulate Rage. Avoid prolonged fights as you are more fragile.
- Mega Gnar : This is your initiation and tanking phase. Take advantage of your toughness and crowd control to engage or protect your allies.
- Hyper (W passive) : Count your auto-attacks to trigger this bonus damage and movement speed on the third hit as Mini-Gnar, ideal for short trades.
Common Mistakes
- Using R without a wall available : This drastically reduces its effectiveness.
- Engaging in Mini Gnar form : You are too fragile for this. Wait for the Mega transformation.
- Wasting the Mega transformation : Do not transform if your ultimate is not ready or if no fight is imminent.
Build and Skill Order: Optimizing Gnar's Potential
Gnar's build is designed to maximize his ability to harass in Mini and initiate in Mega, while providing him with the survivability needed to be an effective frontline. The skill order prioritizes Boomerang Throw for poke and farming, followed by Hyper for damage and Hop for mobility. Every item choice and skill upgrade is a strategic decision to adapt Gnar to the enemy composition and your team's needs.
Skill Order
The priority is Q > W > E, taking R whenever possible (levels 5, 9, 13).
- Level 1 : Q (poke, farm)
- Level 2 : W (bonus damage for trades)
- Level 3 : E (escape, conditional engage)
- Maxing Q first ensures constant poke and good wave clear. Maxing W second increases your trade damage and movement speed. E is maxed last because its primary utility is mobility, which doesn't scale as much with ranks.
Standard Build (Bruiser)
This build is versatile, offering damage, sustain, and tankiness.
- Black Cleaver: Reduces enemy armor, perfect for Gnar who attacks often. It also provides health and CDR.
- Hullbreaker: Ideal for split-pushing, increasing your resistance and damage when you are alone.
- Sterak's Gage: A life-saving shield that makes you incredibly tough as Mega-Gnar.
- Divine Sunderer: Excellent for damage against tanks and sustain thanks to its passive.
- Spear of Shojin: Reduces your ability cooldowns after using your ultimate, allowing for more spell rotations.



Boots and Enchantment
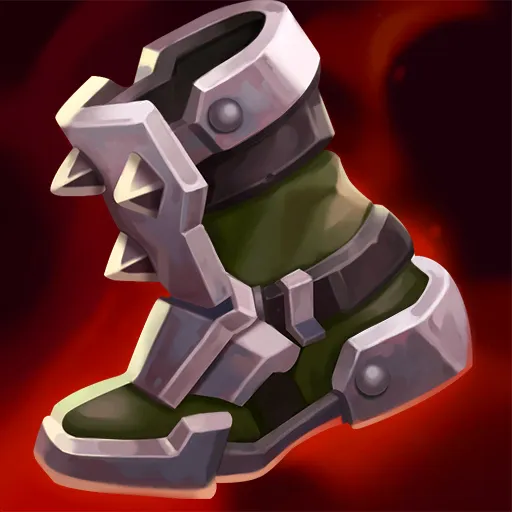
- Plated Steelcaps: Reduces basic attack damage, essential against AD toplaners.
- Situational enchantments : against CC, to temporize burst, for engage.
Runes
 Fleet Footwork (Keystone): Offers sustain and mobility, crucial for poke and kiting as Mini-Gnar.
 Demolish: For tower pressure.
 Bone Plating: Reduces trade damage.
 Overgrowth: Increases max health.
 Giant Slayer: Bonus damage against high-health champions.
Situational Items
- Chempunk Chainsword: Against enemy healing (Aatrox, Dr. Mundo).
- Blade of the Ruined King: Against 2+ tanks or HP stackers.
- Death's Dance: Against AD burst (assassins).
- Wit's End: Against AP burst.
- Stridebreaker: Against excessive mobility to better stick to targets.





 ››
››
››
››
Gnar's Power Spikes: When to Hit Hard
Understanding Gnar's power spikes is essential to know when to take risks and when to play more defensively. These key moments are linked to acquiring new abilities or major items that significantly increase his potential. Precisely identifying these power windows allows you to dictate the pace of the lane and team fights, transforming passive phases into aggressive opportunities.
The main power spikes are:
- Level 2 (W rank 1): This is your first real power spike in lane. Access to Hyper allows you to win short trades as Mini-Gnar thanks to bonus damage on the third hit and a movement speed bonus. Look to activate it on enemy champions or cannon minions for an advantage.
- Level 6 (): Acquiring is a major turning point. This item gives you health, cooldown reduction, and an armor reduction passive that synergizes perfectly with Gnar's repeated attacks, especially as Mega-Gnar. This is when your all-ins in Mega become truly threatening.
- Level 9 ( + Ultimate rank 2): With , your split-pushing ability becomes formidable. Combined with a rank 2 GNAR!, you are a constant threat on a side lane, capable of attracting multiple enemies or quickly destroying towers.
Gnar's power curve is strong in the early game (early: 10), slightly less in the mid game (mid: 8) and rises slightly in the late game (late: 5) thanks to the impact of his ultimate in teamfights. It is important to exploit his early game to gain an advantage and snowball.
Macro, Lane and Roam: The Strategy of the Colossal Yordle
Gnar's macro revolves around his ability to control the toplane as Mini and impact the map as Mega. Your game plan must be flexible, constantly adapting to the state of your Rage bar and opportunities on the map. Prioritizing wave management and preparing your Mega form before major objectives is fundamental to turning Gnar into a constant threat on the map.
Lane Phase (Early Game)
- Harass and Deny: As Mini-Gnar, use Q to poke and deny farm to champions like Nasus or Sett. Maintain a good distance and consistently retrieve your boomerang to maximize your poke and build up your Rage.
- Wave Control: Push-poke the wave, then reset it on enemy timers. Only commit to an all-in if your Mega form is ready or imminent.
- Jungler Call: Coordinate with your jungler when your Mega-Gnar is available. A gank with a well-placed GNAR! can secure an easy kill.


Mid Game
- Split-Push and Teleportation: Use your ability to split-push with items like . Keep your ready to quickly join team fights or objectives.
- Objectives: Join objectives (Dragon, Herald) when your Rage is above 70%. This ensures you will have your Mega form for the fight. Look for corridors and wall angles to maximize the impact of your R.

Late Game
- Teamfights: As Mega-Gnar, play the frontline role. Protect your backline or look for the decisive initiation with an R against a wall. Keep your Flash for a surprise Flash-R that can change the course of a fight.
- Synergies: Gnar synergizes particularly well with champions who can follow his initiation or group enemies. Jarvan IV (his
 Cataclysm locks targets for your R) and Orianna (her
  Shockwave combines perfectly with a GNAR!) are excellent partners. Galio can also follow your engages with
  Hero’s Entrance, making your wall stun unstoppable.



Countering Gnar and His Opponents: Adapting Your Play
Knowing how Gnar interacts with his opponents is crucial, whether you play him or face him. Each matchup requires a specific approach, exploiting enemy weaknesses or minimizing your own. Adapting your playstyle and build to the strengths and weaknesses of your direct opponent is the hallmark of an experienced Gnar player.
Difficult Matchups (Hard Counters)
- Irelia: Can continuously dash onto minions and all-in you as Mini-Gnar. Adaptation: Keep the wave near your tower and only trade when your Mega-Gnar is imminent.
- Yasuo: Can close the gap as Mini-Gnar and dodge your poke. Adaptation: Poke outside the minion wave and only engage as Mega if you have a clear advantage.
- Renekton: Dominates the early game and can force you to reset. Adaptation: Respect his level 3 and only trade with your Mega-Gnar.
- Camille: Can lock you down even if you try to kite as Mini-Gnar. Adaptation: Keep your E for escape and avoid pushing without vision.




Unfavorable Matchups
- Jax: Blocks your DPS as Mini-Gnar and scales very strongly. Adaptation: Adapt your execution, focus on short trades and precise timings.
- Fiora: Ignores your tankiness as Mega-Gnar with her true damage. Adaptation: Perform short trades and disengage quickly.
- Darius: Wins long trades thanks to his sustain and bleeding. Adaptation: Constantly poke as Mini-Gnar and avoid prolonged fights.
- Vayne: Harasses from a distance and ignores your tankiness. Adaptation: All-in as soon as her Flash is on cooldown with your Mega-Gnar.




Skill Matchups
- Sett: The matchup depends on your ability to bait his
 W. Adaptation: Engage after he has used his shield.
 - Malphite: A stable lane that relies on teamfight impact. Adaptation: Focus on short, conditional trades, baiting his defensive abilities.
- Aatrox: A spacing duel. Adaptation: Trade around your rage bar and dodge his
 Q by jumping perpendicularly.

Favorable Matchups
- Nasus: Weak in early game, you can deny him farm. Adaptation: Play in sequences, bait his key spells, then punish him quickly.
- Dr. Mundo: Easy to kite and poke before he regenerates health. Adaptation: Poke as Mini, then engage as Mega to force him back.
- Sion: Too slow to hit Mini-Gnar, and a perfect target for Mega-Gnar. Adaptation: Stay at maximum boomerang range and keep your E to dodge his charge.
- Garen: Lacks gap-closers to reach Mini-Gnar, and loses all-ins against Mega-Gnar. Adaptation: Kite as Mini, and transform into Mega only on your conditions (wall + engage).


Items to Counter Gnar
- : Reduces his basic attacks as Mini-Gnar.
- Frozen Heart: Cuts his attack speed as Mini-Gnar and reduces his DPS.
- Dead Man's Plate: To close the gap and catch him despite his kiting.
- Thornmail: Anti-heal and damage return against his long trades.
- : Cleanses the stun from his R if you are thrown against a wall.
- : To temporize his burst when he engages as Mega-Gnar under a tower or wall.



Concrete Scenario: The First Herald with Gnar
Imagine you are in the toplane, the game reaches around 6 minutes, and the first Rift Herald appears. You have managed to poke your opponent and maintain a slight farm lead. Your Rage bar is at about 60%. This is a critical moment in the game where your impact can be decisive.
Your action : Quickly push the wave to crash it under the enemy tower. While your opponent is busy farming under their tower, start heading towards the Herald. On the way, hit jungle monsters or remaining minions to raise your Rage to 90-100%. This ensures you arrive at the Herald in Mega-Gnar form. Coordinate with your jungler and midlaner. If the enemy team contests, use your E to jump on an enemy or the Herald itself, then follow up with a W and an R towards a wall (ideally the Herald pit wall) to stun multiple targets. This precise timing of transformation and initiation allows you to secure the objective or win a crucial teamfight, giving your team a significant advantage.
Mastering Gnar is not just about mechanics; it's about constant strategic decision-making. Every movement, every ability used, must be calculated based on your current and upcoming form. Here are the essential points to remember to turn your Gnar into an unstoppable force:
- Manage your Rage bar with surgical precision, anticipating fights and objectives to always have Mega-Gnar available at the key moment.
- Adapt your playstyle: harass and kite as Mini-Gnar, then initiate and tank as Mega-Gnar. Never mix the roles.
- Prioritize walls for your ultimate GNAR!. Without a wall, its impact is considerably reduced, turning a potential game-changer into a simple displacement.
- Analyze matchups: respect hard counters by playing defensively and exploit favorable matchups by being aggressive from the early game.
- Communicate with your team: a perfect GNAR! often requires follow-up from your allies or preparation on their part.
- Build situationally: do not blindly follow the standard build. Adapt your items to enemy damage (AD/AP), their sustain, or their tankiness.
- Practice the Flash-R or E-R for surprise initiations that can turn the tide of a teamfight.
If you lose your trade, it's not bad luck.
Frequently asked questions
How to effectively manage Gnar's Rage bar?
Rage management is paramount. Attack minions or enemy champions as Mini-Gnar to build it up. The goal is to reach 100 Rage just before a major objective like Dragon or Baron, or before an imminent teamfight. Avoid transforming randomly without a clear objective, as this can leave you vulnerable.
What are the best items for Gnar in the toplane?
Gnar's standard build includes , , , , and . These items offer a balance of damage, tankiness, and sustain. are the boots of choice. Situational items like or may be necessary depending on the enemy composition.
How to use Gnar's ultimate, GNAR!, to its full potential?
Gnar's ultimate, GNAR!, is most effective when it throws enemies against a wall. This deals bonus damage and a prolonged stun. Always aim to position enemies near a wall before activating your ultimate. Jungle corridors or objective walls are perfect places for devastating initiations.
Which champions does Gnar counter well in the toplane?
Gnar is very effective against melee champions with low mobility or a weak early game, such as Nasus, Dr. Mundo, Sion, and Garen. His Mini form allows him to harass them from a distance and prevent them from farming, while his Mega form can punish them if they try to engage.
What are Gnar's weaknesses and how can enemies exploit them?
Gnar's main weaknesses are his vulnerability as Mini-Gnar to all-ins (especially against Irelia or Renekton) and his dependence on his Rage bar. Enemies can exploit this by engaging him when he is in Mini-Gnar or by forcing him to transform at the wrong time, leaving him without an ultimate for key fights. Constant kiting and poking can also make him ineffective if he cannot transform.
How does Gnar fit into teamfights?
In teamfights, Gnar plays an initiator and frontliner role in Mega form. He seeks to engage with E and use his R to stun multiple enemies against a wall, creating an opportunity for his team. In Mini form, he must stay back, poke with Q, and await his transformation to dive into the fight.