
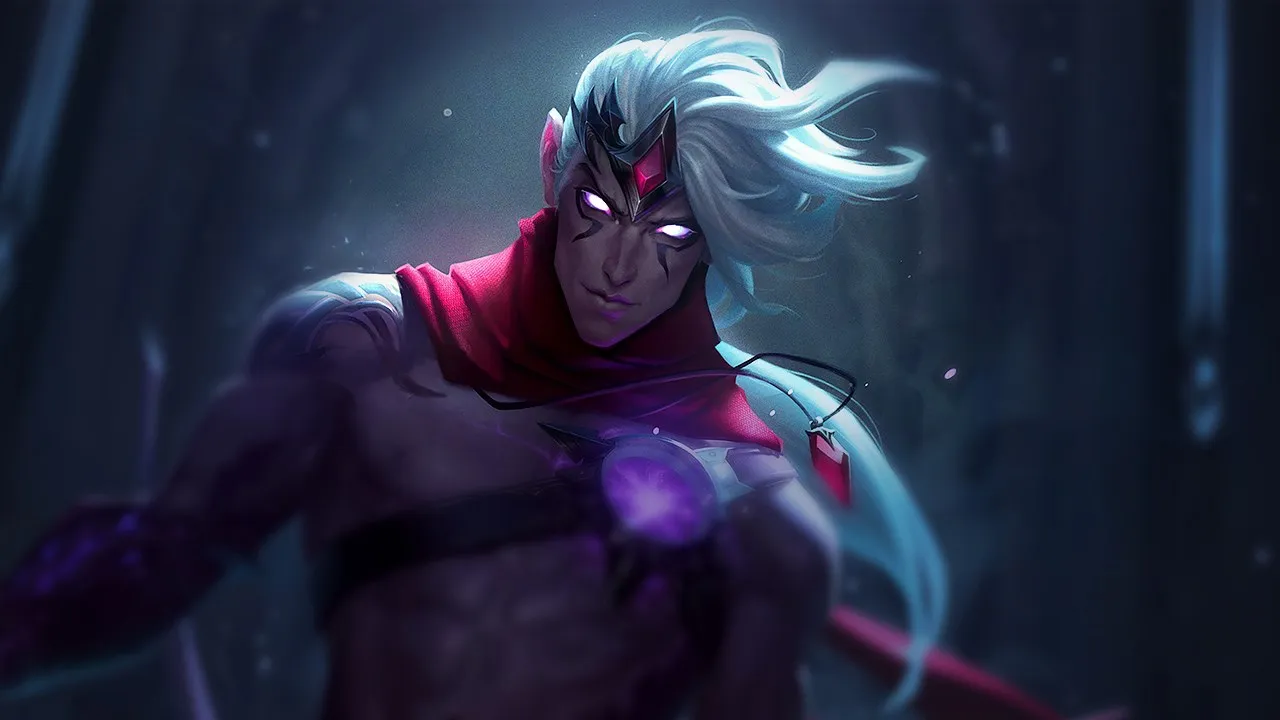
Varus ADC Wild Rift Guide: Mastering the Arrow of Retribution

 Piercing Arrows, you lose all your advantage. His lack of mobility is a structural weakness that must be compensated by iron discipline in positioning and a perfect map read. Do not confuse his scaling power with early-game invulnerability.
Varus's DNA: Lethal Artillery and Strategic Control
Varus stands out as an Artillery Marksman, capable of inflicting massive damage from a distance with hisPiercing Arrow and controlling fights with his ultimate. His strength lies in his ability to siege, punish poor positioning, and initiate decisive engages. With a damage rating of 4/5 and poke of 5/5, Varus is a master of long-range pressure. His charged Piercing Arrow can decimate the health of fragile targets before the fight even begins, while his  Hail of Arrows provides zone control with Grievous Wounds, a crucial native anti-heal. The true game-changer is his
  Chain of Corruption, an ultimate that immobilizes and spreads, transforming a simple pick into a devastating team engage. His difficulty of 3/5 reflects the need for great precision and mana management. The key to mastering Varus lies in exploiting his superior range and control tools to dictate the pace of fights, turning every objective into an opportunity for methodical and secure sieging.
Mastering the Bow: Varus's Devastating Combos
The combos of Varus are designed to maximize the explosion of Blighted Quiver charges, whether for long-range poke or all-in burst. The synchronization between auto-attacks and abilities is essential to optimize damage. To maximize your impact with Varus, it is imperative to always aim to apply three stacks of Blighted Quiver before consuming them with Piercing Arrow or Hail of Arrows, in order to trigger the bonus magic damage based on missing health. Here are the sequences to master:
Main Combos
- Standard ADC poke combo: Hail of Arrows (3) → charged Piercing Arrow (1) → Blighted Quiver (2) AA — E slows and applies Grievous Wounds, charged Piercing Arrow deals damage and stacks Blight, then an auto-attack to detonate the stacks.
- Ultimate engage combo: Chain of Corruption (Ult) → Hail of Arrows (3) → AA → Blighted Quiver (2) → AA → AA → Piercing Arrow (1) — The ult for root and spread, E for slow, stacking Blight via AAs, the arrow to finish.
- Accelerated burst combo: Blighted Quiver (2) → Chain of Corruption (Ult) → Hail of Arrows (3) → Piercing Arrow (1) → AA — Activate W to boost Blight stacks, the ult for root, the arrow during the root for bonus damage, detonate stacks with an auto-attack.
Mechanical Tips
- Blighted Quiver (2) and Blight stacks: Auto-attacks and abilities apply Blight stacks (max 3); using an ability (not an auto-attack) on an enemy with 3 stacks detonates them for bonus magic damage. Sequence ability → AA → AA → ability to optimize them.
- Piercing Arrow (1) charge: Q can be charged for a larger, more powerful projectile. Pre-charge out of vision (bush/wall) and release on a E slow.
- Hail of Arrows (3) Grievous Wounds: E applies Grievous Wounds (healing reduction), crucial against compositions with a lot of healing.
- Chain of Corruption (Ult) spread: The ult spreads to enemies near the rooted target. Aim for the backline in a straight line; the spread does the rest.
Common Mistakes
- Piercing Arrow without patience: Charging the arrow too quickly and firing it at the wrong moment wastes DPS. Only charge when the target is slowed or rooted to ensure a hit.
- Wasted Blight stacks: Detonating stacks with an auto-attack instead of an ability loses the magic bonus. Always detonate with an ability (Q, E, or Ult).
- Chain of Corruption on a single target: In teamfights, always cast the ult on the target closest to other enemies to maximize spread.
The Arsenal of Corruption: Build and Skill Order
The on-hit build for Varus maximizes his sustained damage and his ability to melt tanks, while the skill order prioritizesPiercing Arrow for poke and Hail of Arrows for control and anti-heal. This strategic choice allows Varus to remain relevant in all game phases, from early-game poke to massive late-game damage. Choosing the on-hit build with runes like  Lethal Tempo allows Varus to transition from a poke-focused role to a carry capable of dueling and melting high-resistance targets, offering valuable flexibility depending on the enemy composition.
Recommended Builds
- Standard — on-hit: , , , , . This build offers a perfect balance between attack speed, on-hit damage, and survival, ideal for most situations.
- Tank shredder: , , , , . If the enemy composition is tank-heavy, this build path maximizes your ability to quickly cut them down.
- Duel & sustain: , , , , . For situations where you need more survival in duels, offers a crucial second chance.





Boots
- Boots: . Attack speed is paramount for Varus.

Key Runes
- Keystone: Lethal Tempo. Drastically increases your attack speed in combat, essential for on-hit.
- Minor Runes:
 Brutal (raw early-game damage),
  Giant Slayer (for tanks),
  Legend: Alacrity (more AS),
  Bone Plating (lane survival).
Skill Order
- Priority: Q > E > W
- Levels: Q, E, W, Q, R, Q, E, Q, R, E, E, W, R, W, W.
›› ››
››
Key Moments: Varus's Power Spikes
Varus experiences significant power spikes with the acquisition of his key items and the upgrade of his ultimate. The first true spike arrives with and his level 6, unlocking increased dueling and pick-off potential. These moments are crucial for going on the offensive and converting your advantage into objectives. Understanding and exploiting Varus's power spikes, particularly obtaining and upgrading his ultimate, is essential to transform a stable lane phase into progressive map domination.Power Curve
Varus is a late-scaling champion. His power curve shows a progressive rise in the early game, with marked spikes in the mid-game and overwhelming domination in the late-game. He transitions from an early-game phase at 2/5 to a late-game phase at 5/5, meaning that each item and each level are investments for future power.
Specific Power Spikes
- Level 6: . This item unlocks enormous dueling and sustain potential. This is when you can start looking for more aggressive all-ins and punishing positioning errors.
- Level 9: + Ultimate Rank 2. amplifies your on-hit damage and wave-pushing ability, while Rank 2 of Chain of Corruption makes your ultimate even more reliable for team engages.
- Level 11: . With this item, your DPS reaches a critical level, allowing you to melt the most resistant targets and be a constant threat in teamfights.
Overall Strategy: Lane, Macro, and Objectives with Varus
Varus excels at controlling the lane with his poke, securing objectives with his ultimate, and participating in sieges in the mid-late game. His game plan is focused on patience, positioning, and exploiting enemy mistakes. Your ability to turn pressure into team advantage is what defines a good Varus. As Varus, your role is to transform the pressure exerted by your poke into a strategic advantage over objectives, usingHail of Arrows for zoning and Chain of Corruption to initiate or secure key targets.Lane Phase (Dragon Lane)
- Early game: Prioritize wave control and measured poke. Keep the wave near your tower to protect yourself from ganks and use your Piercing Arrow to punish advancing enemies. Don't forget to take advantage of your Passive's AS bonus after a kill to take plates or gain an advantage on Dragon.
- Mid game: Focus on objectives. Your Hail of Arrows is excellent for controlling choke points, and your Chain of Corruption can initiate decisive fights around Dragons or Baron.
- Late game: Adopt a methodical siege approach. Stay behind your frontline, snipe the enemy backline with your Piercing Arrow and save your ultimate to counter assassins or lock down enemy carries.
Synergies
Varus particularly shines with supports who can offer him peel or reliable engages to facilitate the placement of his abilities:
- Leona: A perfect lock for placing your
 E then
  Q/R.
Q/R. - Jarvan IV: His Cataclysm traps the target, offering an ideal window for a fully charged
 Q.
Q. - Nautilus: An additional layer of crowd control to guarantee your skillshots.
- Nami: Her auto-attack buffs and zone control make your poke safer and facilitate setting up your
 R.
R. - Lulu: Offers peel and AS steroids, making your DPS safer in front-to-back fights.





Anticipating the Opponent: Varus's Matchups
Varus is vulnerable to champions with strong engage or very long range who can punish his lack of mobility, such as Caitlyn or Draven. However, he excels against immobile ADCs or those who rely on sustain, such as Vayne or Soraka. Understanding these dynamics is key to adapting your playstyle and build. Against champions with strong engage like Blitzcrank or Leona, the absolute priority is to maintain impeccable positioning behind minions and to save




 Chain of Corruption as an immediate counter-engage tool to neutralize their initiative.
Difficult Matchups (Hard Counters)
- Caitlyn: Her superior range and traps force you to play under constant pressure. Focus on stability and short windows.
- Draven: He turns the slightest spacing error into lethal punishment. Avoid straight lines and use your
 R defensively.
 - Blitzcrank: The threat of his grab prevents you from playing the lane normally. Stay aligned with minions and punish his missed hooks.
- Nautilus & Leona: These hard engage supports exploit your immobility. Play defensively, use your R as a counter-engage, and respect their level spikes.
Unfavorable Matchups
- Lucian: His quick dash-in/dash-out makes it hard to land your poke. Punish him at the end of his dash.
- Kai'Sa: She excels at finishing low HP targets. Manage your health bar as a strategic resource and use your
 R to freeze her engage.
 - Pyke & Nami: These supports combine pick threat with sustain/roam. Prioritize vision and adapt your play to their movements.
- Karma: Her shields reduce the impact of your poke. Look to punish her when her abilities are on cooldown.




Skill Matchups
- Ezreal: A skillshot duel. Play around his Arcane Shift and use your
 R when he is vulnerable.
 - Jhin: His burst windows (4th shot) and traps require careful reading. Use your
 R to disrupt his ultimate plan.
 - Thresh & Rakan: These fast engage/disengage supports can surprise you. Create difficult angles for them and use your
 R as an anti-engage.




Favorable Matchups
- Vayne: You control the distance. Your poke and your
 R make every step forward dangerous for her.
 - Jinx & Ashe: These immobile ADCs are ideal targets for your poke and your
 R. Break their comfort and prevent them from scaling.
 - Soraka: Your poke is excellent for breaking her sustain. Target Soraka herself with your
 R to remove her from the fight.


Items Against Varus
- Mercury's Treads: For tenacity against his R and slows.
- Steel Caps: Reduces the DPS of his auto-attacks.
- / : To block a charged Q or the initiation of his R.
- : Anti-crit and anti-AS to reduce his late-game outplay potential.
- : Against his sustained poke in the mid-game.




Concrete Scenario: The First Dragon
At the first Dragon, your role is to secure vision, poke the enemy team from a safe position, and useChain of Corruption to isolate an enemy carry or support, creating a window of opportunity for your team. Timing is everything. Imagine: the Dragon appears at 6:00. By 5:30, you should have pushed your wave to gain priority and allow your support to place vision in the river, ideally with the help of your jungler. Your goal is to zone the Dragon entrance with your Hail of Arrows and harass enemies attempting to contest with charged Piercing Arrows. If the enemy team advances grouped, this is your moment. Cast your Chain of Corruption on the target closest to other enemies to maximize spread and root multiple opponents. Once targets are immobilized, follow up with your E and Q for burst. This initial lockdown is often enough for your jungler to secure the objective or for your team to gain a decisive advantage in the fight. Do not force the engage if you don't have vision or if your team is not ready to follow. Patience is a virtue with Varus.
- Prioritize early-game poke to establish lane pressure and force opponents to retreat, creating windows to take plates or help your jungler.
- Manage your mana carefully; every Piercing Arrow must have a significant impact, as Varus is very resource-dependent in the early game.
- Always position behind your frontline or minions; Varus is immobile, and a positioning error can be fatal against champions with strong engage.
- Use Chain of Corruption to initiate teamfights, lock down a priority target, or defend against a dive, exploiting its spread for maximum crowd control.
- Adapt your build to enemy threats, switching between standard on-hit for general DPS and anti-tank with if the enemy composition is resistant.
- Communicate with your support to maximize control synergies, especially with champions like Leona or Nautilus who can guarantee your skillshots.
- Exploit your power spikes, notably obtaining at level 6 and at level 9, to transform your advantage into map pressure.
- Secure objectives by using your sieging and zoning ability with
 Hail of Arrows to control choke points and facilitate taking Dragon or Baron.
Frequently asked questions
What is the best build for Varus ADC in Wild Rift?
The standard on-hit build for Varus includes , , , , and . These items maximize his on-hit damage and attack speed, essential for exploiting Blighted Quiver stacks.
How can Varus counter tanks in the late game?
To counter tanks, Varus can opt for a build including , , , , and . This combination offers high armor penetration and on-hit damage, allowing him to melt high-resistance targets.
Which champions are good supports for Varus?
Varus ideally synergizes with high-control supports like Leona and Jarvan IV, who can lock down targets to facilitate the placement of his Piercing Arrow and  Chain of Corruption. Nautilus and Nami are also excellent choices.
How to play the lane phase with Varus against a difficult matchup like Caitlyn?
Against Caitlyn, it's crucial to play stably, preserve your HP, and not try to win the direct "poke war." Position yourself diagonally to avoid her long auto-attacks and use minions to block her  Piercing Arrow. Save your
  Chain of Corruption for counter-engages on ganks.
When does Varus reach his main power spikes?
Varus experiences a first significant power spike at level 6 with , then another at level 9 with and Rank 2 of his ultimate. at level 11 further considerably strengthens his damage potential.
What is the macro strategy for Varus in the mid-game?
In the mid-game, Varus should focus on objectives. Use Hail of Arrows to zone choke points around Dragons and Baron, and Chain of Corruption to initiate teamfights or isolate key threats, allowing your team to secure objectives.