July 2026 · Patch 7.2a
Mage · Mid Lane

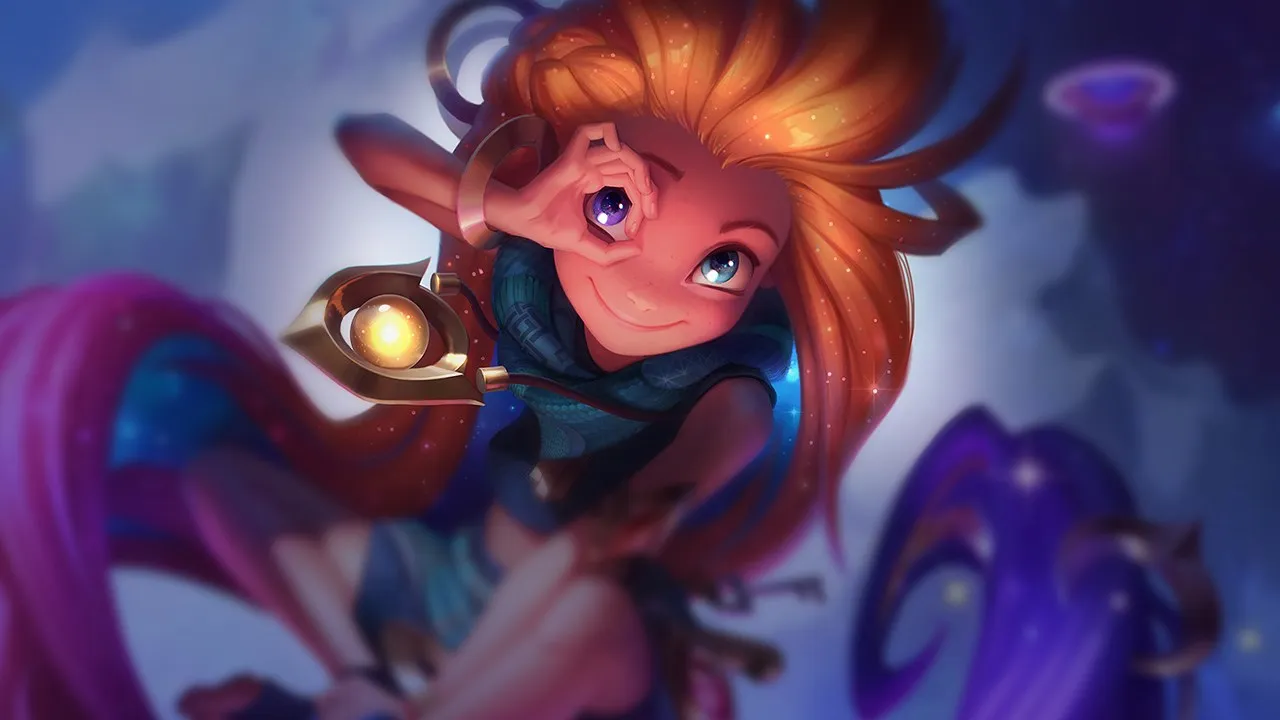
Zoe Wild Rift Guide

Mage

★ Mid Lane Tier B July 2026 · Patch 7.2a
DMG
UTIL
TANK
DIFF
Win 51.5% #38 · ↓9pt
Pick 1.3% #40
Ban 0.3% #98
§ 01 — Editorial brief

Zoe holds a very specific place in MID: she does not necessarily dominate through constant front-to-back presence, but through her ability to create a decision before the fight even starts.

By WRC Studio ~ 1 min read Patch 7.2a
Expert note

Expert take

Zoe is an excellent choice for players who like winning the game before the fight, not only during the fight. Her real strength is not repeating a mechanical combo, but understanding where the enemy will need to move ten seconds later. When she anticipates a rotation, places a bubble through a wall, and forces a carry back, she creates an advantage that raw stats do not always show. But she is not an automatically reliable blind pick: against too much mobility, too much engage, or an allied team unable to hold space, she becomes fragile and dependent on enemy mistakes. Played well, Zoe makes every objective feel like one target is already threatened.

Weak point

Hidden weakness

Zoe’s hidden weakness is not only her fragility. It is her dependence on the quality of space around her. If her team does not control the sides, if the MID wave is lost, or if enemies can wait for her R return, her kit becomes far less free. She can still deal damage, but she no longer dictates the rhythm. A Zoe forced to play only from the front loses the surprise factor that makes her bubbles truly dangerous.

§ 02 — Strengths & weaknesses Zoe Wild Rift strengths and weaknesses

↑ Strengths
  • She heavily punishes poorly prepared rotations around objectives, especially when enemies cross choke points without deep vision.
  • Her wall-based E gives pressure that many MID mages cannot reproduce as early during fight setup.
  • She threatens fragile carries without needing to stay inside the fight area, making her dangerous before the real engage even starts.
  • With good vision control, she turns simple poke into an objective decision: kill, forced Flash, recall, or free dragon.
↓ Weaknesses
  • Avoid Zoe if the enemy team has several champions able to instantly close distance and punish her R return point.
  • Avoid her if your team cannot hold space around objectives: Zoe needs time and room to find her bubbles.
  • Avoid her when your composition has no frontline or reliable crowd control, because she will have to create overly risky picks alone.
  • Avoid her if the game requires constant DPS into a very durable frontline: Zoe prefers breaking one target before the fight, not burning three tanks for twenty seconds.
02

§ 03 — Game planZoe Wild Rift game plan: early, mid and late game

I Early

Farm safe, short trade at Q+AA and E threat from…

Niv. 1 → 6

Farm safe, short trade at Q+AA and E threat from the walls.

II Mid

Play the vision and force a pick before…

Niv. 7 → 11

Play the vision and force a pick before Dragon/Herald.

III Late

Protect yourself, look for the one-shot of an…

Niv. 12+

Protect yourself, look for the one-shot of an out-of-sight carry then reset.

Data — Stats per levelZoe Wild Rift base stats per level (1-15)

Movement speed 360Attack range 550Bonus attack speed / lvl +2.2%
Show stats per level
LvlHPADArmorMRManaHP regenRes. regen
1630543436420812
275857.538.537.24708.612.8
3886614338.45209.213.6
41,01464.547.539.65709.814.4
51,142685240.862010.415.2
61,27071.556.5426701116
71,398756143.272011.616.8
81,52678.565.544.477012.217.6
91,654827045.682012.818.4
101,78285.574.546.887013.419.2
111,9108979489201420
122,03892.583.549.297014.620.8
132,166968850.41,02015.221.6
142,29499.592.551.61,07015.822.4
152,4221039752.81,12016.423.2

Base data : wiki.leagueoflegends.com (CC BY-SA 4.0) · 2026-07-09

§ 05 — Recommended buildBest Zoe Wild Rift build for the current patch

Zoe holds a very specific place in MID: she does not necessarily dominate through constant front-to-back presence, but through her ability to create a decision before the fight even starts. In soloQ, where players still cross river and jungle entrances without complete vision, her E becomes a real threat around dragon, Baron, and jungle corridors. Her value in the current patch mainly comes from turning a side angle into a kill or an objective, rather than simply winning lane through raw pressure. She remains demanding, though: if the enemy draft has several instant dashes, hard engage tools, or champions that can punish her after R, Zoe loses a lot of room for error.

Core
1 Luden's Echo
Luden's Echo
2 Rabadon's Deathcap
Rabadon's Deathcap
3 Void Staff
Void Staff
Boots
Ionian Boots of Lucidity Ionian Boots of Lucidity
/
Mercury's Treads Mercury's Treads
See the full build

§ 06 — The matchup wallZoe Wild Rift counters and synergies

Hard Unfav. Skill Fav. Synergy
Yasuo
Hard
Yasuo
Akali
Unfav.
Akali
Twisted Fate
Skill
Twisted Fate
Veigar
Fav.
Veigar
Jarvan IV
Ideal
Jarvan IV
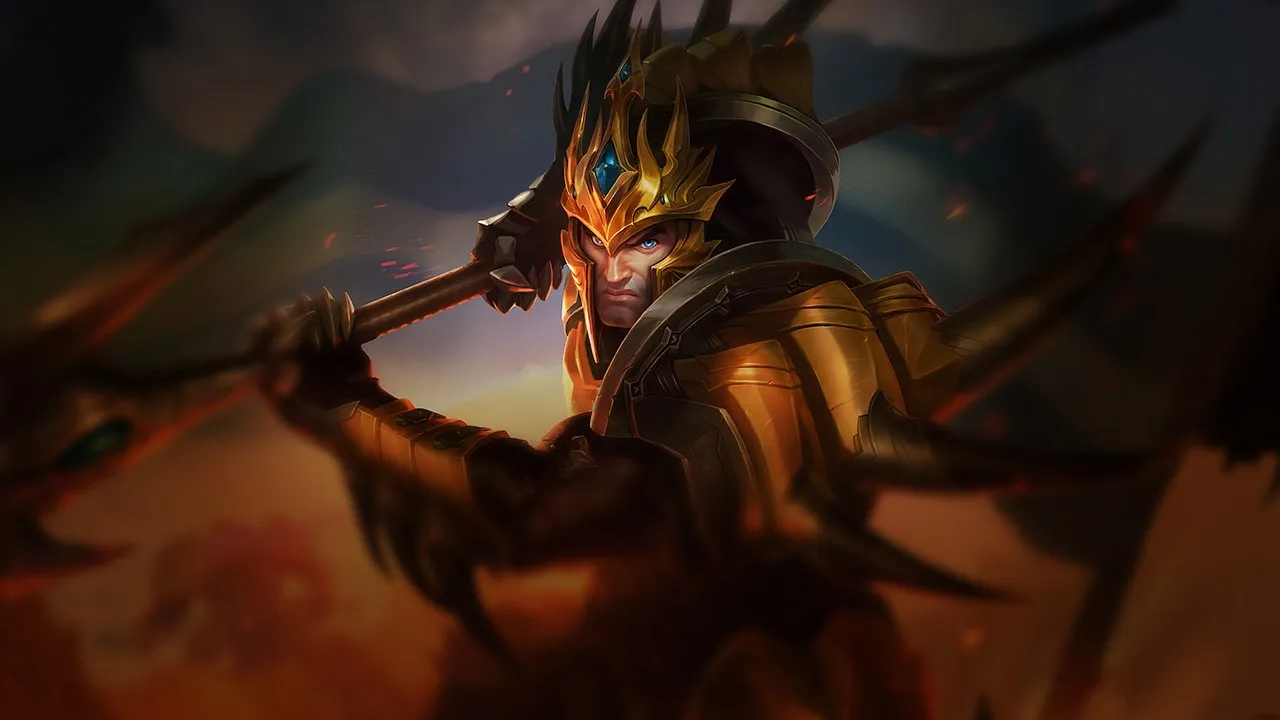
Jarvan IV gives Zoe a trapped or heavily constrained target, greatly increasing the odds of landing Sleepy Trouble Bubble and Paddle Star without overforcing her angle. Cataclysm reduces escape options and often makes the enemy burn defensives too early, which Zoe loves to punish with delayed burst. The duo becomes excellent in fog catches and river fights where skillshot trajectories are naturally more favorable.
Nautilus
Ideal
Nautilus
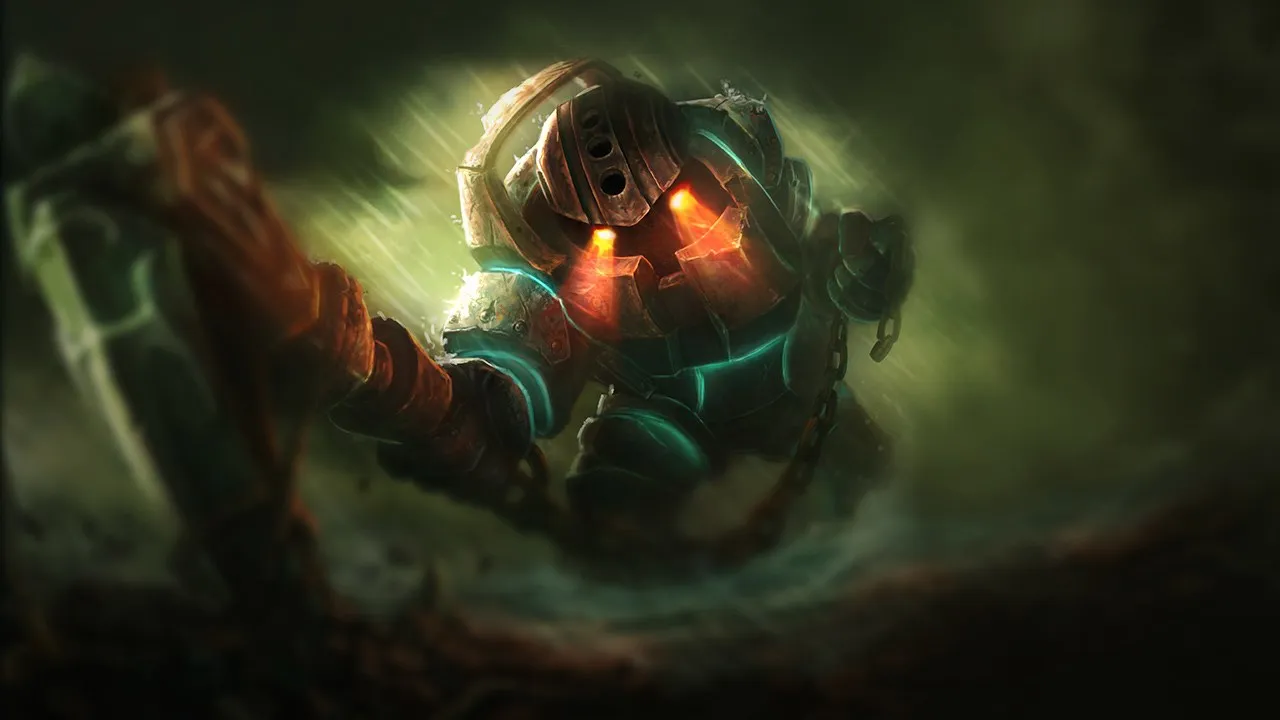
Nautilus makes Zoe's life much easier because his controls provide the exact time needed to place her bubble or prepare the return angle of Paddle Star. The strength of the synergy comes from execution simplicity: Nautilus hooks or ults, and Zoe only has to play around a target with highly predictable movement. This combination is excellent against carries without dashes and in siege phases where a single positioning mistake turns into an instant kill.
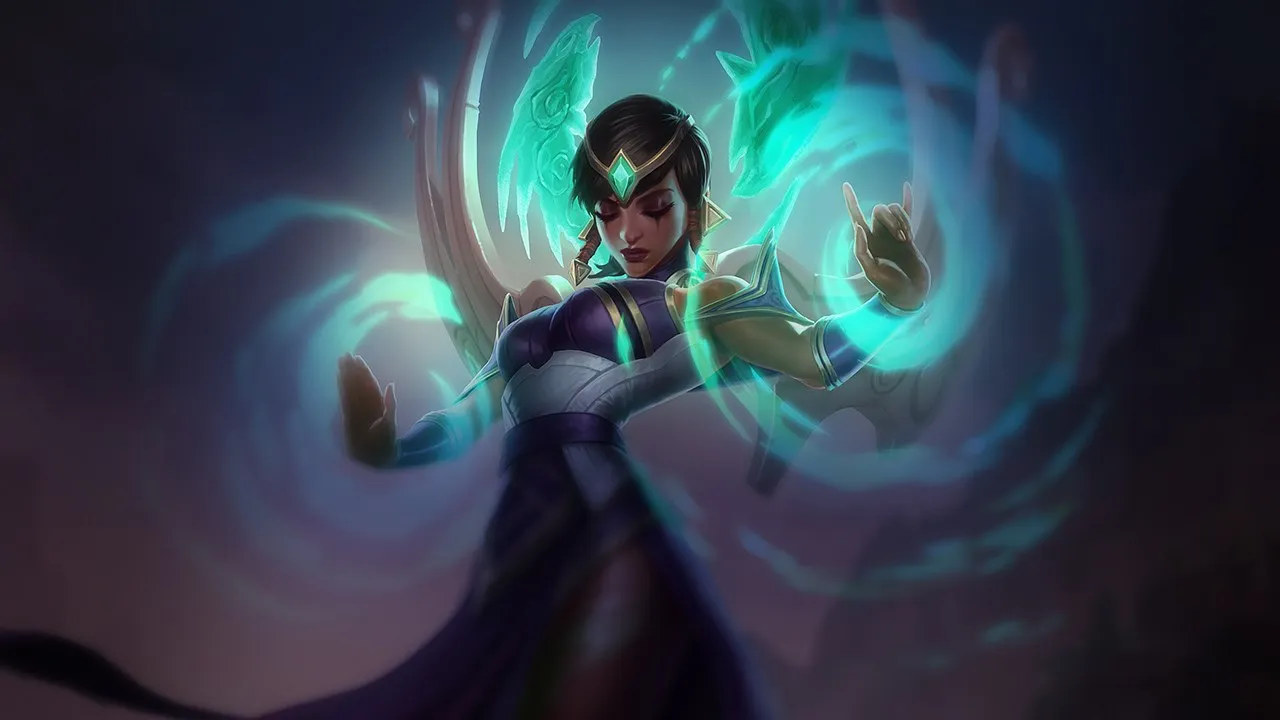
Leona
Strong
Leona
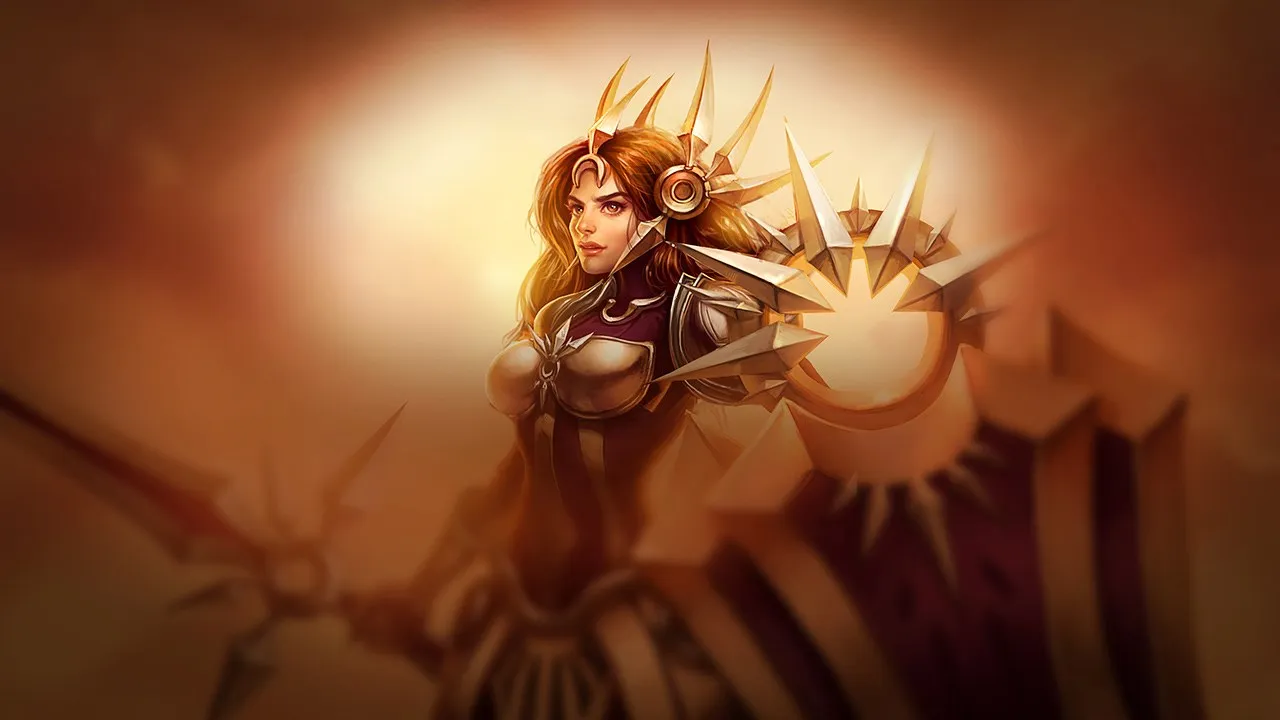
Leona creates very clean burst windows for Zoe, especially in skirmishes or contested vision, where one initial control nearly guarantees the rest. Zoe can place her bubble either directly on the controlled target or on the retreat path after the first stun, making escape even harder. The duo works very well against compositions relying on rigid front-to-back lines and limited lateral mobility.
Jayce
Strong
Jayce
Jayce and Zoe speak the same tactical language: chip health bars before the real engage, then convert one positioning mistake into an execution. Jayce often forces the enemy team to zigzag or bunch up to avoid Shock Blasts, opening very good bubble angles for Zoe. This synergy is deadly in sieges and around objectives when the enemy has to move through tight corridors under constant poke.

§ 07b — Mecánica avanzadaZoe: combos & tips Wild Rift

Combo estándar de poke
1 E E
2 Q Q

Burbuja de sueño (daño doble a un objetivo dormido), vuelve a lanzar Paddle Star inmediatamente para maximizar la distancia recorrida por la estrella y, por lo tanto, el daño

Combo de Flash total
1 E E
2 Flash Flash
3 Q Q

Burbuja de sueño, Flash para cerrar la distancia y asegurar el golpe, Estrella para un burst completo a un objetivo dormido

Combo de Portal Jump
1 R R
2 E E
3 Q Q
4 retour auto-

Ultimate para crear un ángulo inesperado, lanza la burbuja por sorpresa, Estrella para daño de burst, regreso seguro automático

Consejos mecánicos

  • Mecánica de trayectoria de Paddle Star (1): el 1 se puede redirigir después de ser lanzado — lánzalo LEJOS del objetivo primero, luego vuelve a lanzarlo para redirigirlo — cuanto más viaja la estrella, mayor es el daño; nunca lo lances directamente al objetivo si está demasiado cerca
  • Extensión de área de Sleepy Trouble Bubble (3): la burbuja rebota en las paredes y extiende su alcance si golpea el suelo — apunta a las paredes laterales para golpear a objetivos que están fuera de alcance directo
  • ¡Más Chispas! (pasiva): después de lanzar cada habilidad, el siguiente ataque automático de Zoe se potencia (daño adicional) — siempre termina un combo con un ataque automático para activar la pasiva, especialmente a un objetivo dormido (daño doble)
  • Recolección de Robo de Hechizos (pasiva): los objetos de hechizo soltados por enemigos o súbditos abatidos se pueden recolectar — el Flash soltado por un enemigo = Flash temporal disponible para Zoe; Ignite, Exhaust y otros hechizos se pueden encadenar

Errores comunes

  • Paddle Star demasiado cerca: el 1 inflige menos daño a corta distancia — una Estrella lanzada directamente a quemarropa = daño mínimo; siempre crea algo de distancia para la redirección
  • Burbuja sin dormir confirmada: la burbuja primero causa somnolencia (parpadeo), luego pone a dormir al objetivo solo si es golpeado nuevamente — deja que el objetivo se duerma ANTES de lanzar la estrella para infligir daño doble
  • Portal Jump en combate abierto: el ultimate teletransporta a Zoe a un punto y la devuelve después de 0.75s — no lo uses para escapar en combate directo (demasiado corto), úsalo para ángulos de poke sorpresa

Interacciones notables

  • Los enemigos dormidos por la burbuja reciben daño doble del siguiente golpe — Paddle Star + sueño = daño de burst masivo (más AP = un multiplicador aún mayor)
  • Robo de Hechizos puede robar el Flash del enemigo — una Zoe con Robo de Flash + Flash puede realizar dos maniobras de reposicionamiento consecutivas
  • Con Eco de Luden + Rabadon, la habilidad Estrella a un objetivo dormido puede eliminar de un golpe a la mayoría de magos y ADC

§ 07 — PreceptsZoe Wild Rift tips for ranked

Tip · 01

Play choke points: E through walls forces mistakes even without full vision.

Codex
Tip · 02

Don't expose yourself unnecessarily after R: you always return to your initial position.

Codex

§ 08 — DialoguesZoe Wild Rift FAQ

Q.01 Is Zoe a good blind pick in MID? +

Zoe can be blind picked if your team already has tools to protect the space around her, but she becomes risky into heavy mobility or direct engage. The issue is not only surviving lane: it is keeping enough freedom to use R and E without giving enemies an easy return point to punish. If your draft lacks frontline or peel, it is better not to lock her too early.

Q.02 What is Zoe’s real goal in mid game? +

Her goal is not to poke randomly until a kill appears. In mid game, Zoe should control objective entrances with E, force summoners or recalls, then convert that pressure into vision or dragon control. A bubble that does not kill can still win the sequence if it forces the enemy carry back when her team wants to enter river.

Q.03 Why does Zoe feel strong in some games and useless in others? +

Zoe depends heavily on the structure of the game. If her team controls side areas, keeps MID wave pressured, and prepares objectives, she finds natural angles for E and Paddle Star. If her team is losing vision and getting engaged head-on, she has to cast from obvious positions. In that case, she still has damage, but far less ability to decide the rhythm.

Q.04 What should Zoe prioritize: lane or rotations? +

Lane mainly gives Zoe the right to move. She does not need to kill her MID opponent to be useful, but she must avoid losing the wave for free. Once the wave is stabilized or pushed, her rotations become very dangerous, especially toward river walls. If you leave lane without tempo, you lose the pressure that makes your bubbles threatening in the first place.

§ 09 — EchoesZoe Wild Rift related guides

01
Key mechanic

Wave Management in Wild Rift: the expert skill that wins objectives

Master Wild Rift wave management to create tempo, secure objectives, and win more games without forcing bad fights.

Read
02
Key mechanic

Understanding Tempo in Wild Rift: Why You Are Always Late

Learn how tempo works in Wild Rift: recalls, rotations, objectives, and the mistakes that make you arrive too late.

Read
03
Key mechanic

Rotations

Learn how to manage rotations in Wild Rift: wave state, tempo, objectives, vision, and macro decisions so you stop moving randomly.

Read
04
Role guide

Wild Rift MID Lane Guide: lane control, rotations and real map impact

Complete Wild Rift MID guide: lane control, rotations, vision, objectives and common mistakes to avoid when playing mid.

Read