
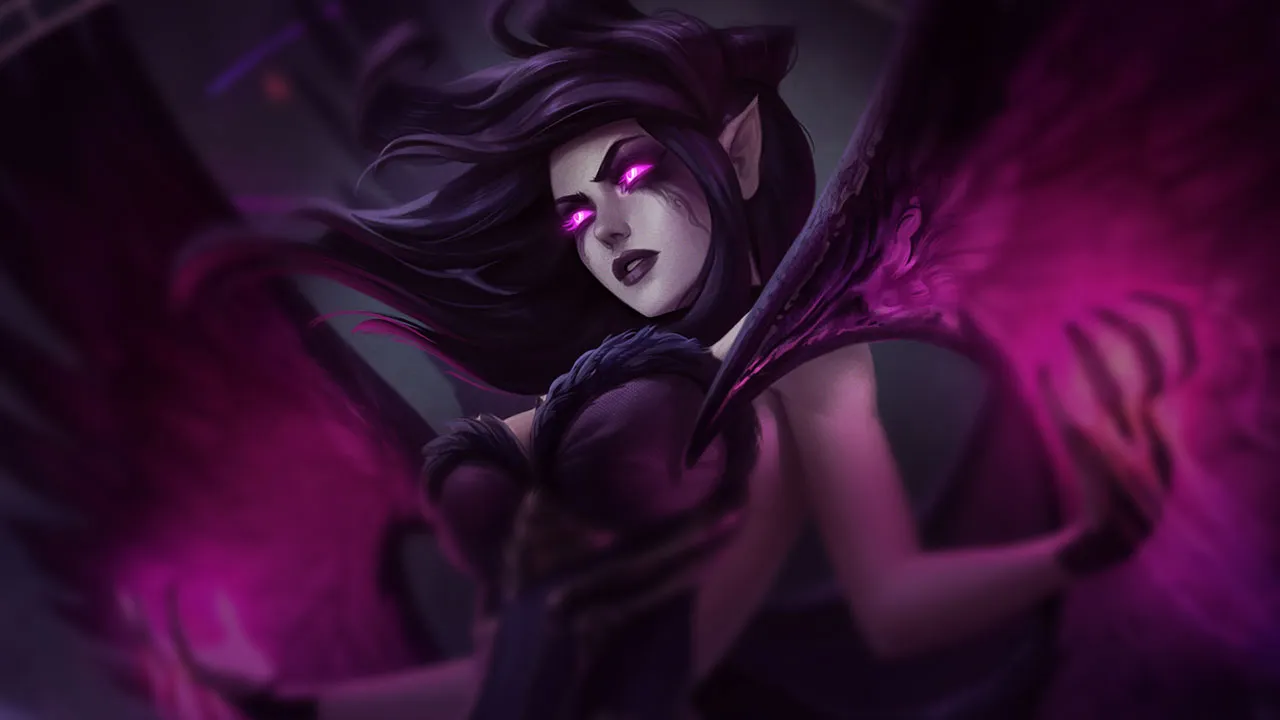
Morgana Support: Master the Fallen Angel of Wild Rift
Morgana is a Mage Support in Wild Rift who excels at controlling teamfights and punishing enemy positioning mistakes. She is currently positioned in Tier A with a 51.81% winrate in Master+ on patch 20260910 (Nexus Core data), demonstrating an ability to turn the tide of a game with her unique kit of immobilization and protection. If you think she's just there for the binds, you're missing part of her potential. Her role is to dictate the tempo, deny enemy engages, and create pick opportunities for your team, turning enemy mistakes into victories.

Most players fail with Morgana by underestimating the power of her  Black Shield and lacking precision with her
  Dark Binding, turning a formidable protector into a mere random spellcaster. They don't understand that Morgana is not just a mage who spams her spells, but a control strategist who punishes positioning errors and predictable engages. If you don't know when and on whom to use your Black Shield, or if your Dark Binding only hits minions, you're wasting her potential. Not anticipating enemy movements and not saving your Black Shield for the key engage is a fatal mistake. Morgana is a champion who excels at turning patience and precision into decisive pick opportunities, nullifying enemy threats and creating windows for her allies. She is reliant on her Q and immobile, meaning every spell must have an impact, and every position must be calculated to avoid being punished yourself. Her game plan is clear: control vision in the mid-game, punish positioning errors, and protect carries with her Black Shield in the late game. If you don't follow this plan, you'll be playing a suboptimal Morgana, unable to capitalize on her strengths of powerful long-range pick and magical CC negation.
Identity and Abilities: The Control Strategist
Morgana is a Mage Support with exceptional peel (5/5) capability and formidable crowd control (4/5), allowing her to lock down targets and protect her allies from magical threats. Her strength lies in her utility versatility (5/5), able to adapt to many situations while having a significant damage potential (3/5) for a support. She excels at engaging (3/5) and poking (4/5) from a distance, but remains fragile (1/5 durability) and immobile (2/5). Her difficulty (2/5) mainly comes from the precision required for her key spells.
Morgana's Abilities
 Soul Siphon (Passive): Morgana heals for a portion of the damage her abilities deal to champions/monsters. This passive grants you significant lane sustain by extending your
  Tormented Shadow onto minion waves or jungle camps.
- Dark Binding: Unleashes a bolt of dark energy, rooting the target for a considerable duration. This is your primary pick and zoning tool. Cast it from fog of war or diagonally to surprise enemies.
- Tormented Shadow: Creates a pool of desecrated ground, dealing persistent damage that amplifies on immobilized targets. Ideal for poke, zone control, and sustain in lane. Place W after Q to maximize damage.
- Black Shield: A magical shield that absorbs magical damage and blocks crowd control effects as long as it holds. Your ultimate peel tool, to be used reactively on announced engages.
 Soul Shackles: Chains nearby enemy champions, slowing them and then stunning them after a delay if they remain in range. A powerful engage or counter-engage tool in an area. Think Flash-R + to guarantee the stun.

Morgana Combos: Locking Down Victory
Mastering Morgana's combos is essential to transform her control potential into kills, chaining Dark Binding with Tormented Shadow and using Black Shield to protect allies. Each combo requires precision and good timing to maximize the impact of your spells.
Main Combos
Burst Combo
Dark Binding → Tormented Shadow (under target) → AA → Soul Shackles (if close enough)This combo maximizes your damage. Root with
Q, cast W for amplification, an auto-attack for the Soul Siphon passive, and R for the area stun if you can maintain range. The order is crucial to maximize Tormented Shadow's damage on an immobilized target.Flash + Q Combo
Dark Binding → FlashCast
Dark Binding then Flash to change the angle and surprise. This is an advanced technique to create an unexpected pick.Protection Combo
Black Shield (on ally) → Dark Binding (on aggressor)Protect your ally with
Black Shield as soon as an engage is announced, then immobilize the attacker with Q. This is the foundation of your peel role.Poke Combo
Dark Binding → Tormented ShadowA simple but effective combo to harass the enemy in lane. If
Q hits, W guarantees amplified damage. Use this combo to maintain pressure and force enemies to retreat or consume their heals.
Mechanical Tips
- Dark Binding: Your bread and butter. Cast it from fog of war or diagonally. Can pass through minions.
- Tormented Shadow: Always place it under a rooted target to maximize damage.
- Black Shield: Use it before CC hits. Nullifies magical CC.
- Soul Shackles: Flash-R then is the classic combination to guarantee the stun.
Build and Skill Order: The Goddess's Arsenal
Morgana's skill order prioritizes Tormented Shadow for poke and sustain, followed by Dark Binding for control, while builds vary between pure burst, utility, and safety depending on the enemy composition. Understanding why each point is invested and each item purchased is key to adapting your playstyle.
Skill Order
The optimal sequence for Morgana Support is W > Q > E. Max W first for lane pressure and sustain, then Q to maximize your control and damage potential. E is leveled last as a single point is often enough to block a key CC. Prioritizing Tormented Shadow gives you constant lane pressure and valuable sustain, while maxing Dark Binding second maximizes your control and damage potential.
Builds and Items
Your item choices will depend on team compositions and your role. Always start with Black Mist Scythe. are essential for mana sustain and magic penetration. is almost mandatory to survive after an aggressive Flash-R.


Build Variants
- Standard — poke & pressure: Imperial Mandate, Rabadon's Deathcap, Luden's Echo. This build maximizes your damage and burst potential, turning every Q into a lethal threat.
- Utility — carry support: Ardent Censer, Redemption, Harmonic Echo. Focused on support and heal/shield for your allies, ideal if your carry is already strong.
- Safety — vs dive/assassins: Mantle of the Twelfth Hour, Banshee's Veil. Offers more survivability against direct threats, allowing you to stay alive to peel.



Situational Items
- Morellonomicon: Against champions with a lot of healing.
- Liandry's Torment: If the enemy team has 2+ tanks.


Runes
- Keystone:
 Arcane Comet – For additional poke damage.
 - Minor Runes:
 Manaflow Band (mana sustain),
  Transcendence (CDR),
  Scorch (poke damage),
  Bone Plating (survivability).
››
››
Power Spikes: When Morgana Shines
Morgana's power spikes occur early, as soon as level 2 with her Dark Binding, and intensify with the acquisition of her ultimate at level 5 and her key item, , at level 9. Understanding these moments allows you to dictate the pace of the game and capitalize on your strengths.
- Level 2 (Q rank 1): This is your first true spike. With Dark Binding unlocked, you can threaten a 3-second root. Never underestimate the pressure you can exert from level 2 with a well-placed Q, as it can force a Flash or a bad trade.
- Level 5 (Ultimate): The arrival of Soul Shackles transforms Morgana into a teamfight threat. Your potential for area engage or counter-engage is enormous, especially with a Flash.
- Level 9 ( + Ultimate rank 2): Obtaining significantly amplifies the damage you and your allies deal to immobilized targets, while rank 2 of your ultimate increases its reliability and damage. This is a major spike for skirmishes and objective control in the mid-game.
Morgana's power curve is solid throughout the game. She is strong in the early game thanks to her poke and CC, maintains constant pressure in the mid-game with her items and ultimate, and remains very relevant in the late game for her Black Shield and area crowd control.
Macro, Lane, and Roam: Dictating the Pace of the Rift
Morgana Support's game plan focuses on securing the lane in the early game, aggressive vision control in the mid-game, and peeling for carries in the late game, while constantly looking for pick opportunities. Your impact is not limited to the bot lane but extends across the entire map.
Laning Phase (Early Game)
Play a safe lane: use Tormented Shadow for poke and sustain, and threaten with your Dark Binding from unexpected angles (bushes, diagonals). Your goal is to force enemies to expend their resources or retreat, thereby creating an advantage for your ADC. Do not clump behind the wave against area poke.
Mid Game
This is the time to aggressively control vision. Place deep wards to punish face-checks and look for picks around objectives like Dragon or Herald. Your Qs become even deadlier if the enemy lacks vision. Don't hesitate to roam if the situation allows, especially if your ADC can play safely.
Late Game
Your role evolves towards peeling for your carries and crowd control in teamfights. Save your Black Shield for the key engage on your ADC or mid laner. Use your Soul Shackles defensively to protect your backline, or aggressively with a Flash-R in narrow corridors to initiate a devastating fight. Always coordinate your R with allied AOE to maximize impact and clean up the fight.
Synergies
Morgana excels with carries who can capitalize on her controls or who need protection against CC. Among the best synergies:
- Akshan: Black Shield secures him, Dark Binding provides a perfect setup for his resets.
- Ashe: Her slows facilitate your
 Qs, and her ultimate allows for long-range picks.
 - Jinx: Black Shield protects her from CC, and your Qs give her windows to DPS and reset.
- Sett: Black Shield covers him on his daring engages, preventing interruptions.




Counters and Matchups: Who Dominates Whom?
Morgana is strong against predictable engage supports like Leona and Alistar, but she is vulnerable to champions who can bypass her Black Shield or punish her lack of mobility, such as Blitzcrank or Thresh. Knowing your matchups is crucial to adapt your gameplay and maximize your impact.




Difficult Matchups (Hard Counters)
- Blitzcrank: Blitzcrank reverses your lane logic. His
 Q can force a fight before your Black Shield can protect. Save your E for follow-up CC and your Q to punish him when he misses.
 - Thresh: Can play around your Black Shield with his multiple CCs. Focus on vision.
- Nautilus: His reliable engage and targeted ultimate reduce your ability to control. Save your
 Q to bind Nautilus after he commits.
 - Pyke: Plays on threat from fog of war and execution. Reduce vision.
- Rakan: Forces a choice: who to shield? who to bind? He engages quickly and hits multiple targets. Don't shield the first contact if it's not a full commit, and look to bind Rakan after his impact to punish his retreat.



Unfavorable Matchups
- Lulu: Neutralizes your bound target and counter-engages.
- Janna: Makes your engages sterile by disengaging.
- Soraka: Nullifies the value of your small trades with her heals.



Skill Matchups


Favorable Matchups
- Leona: Her engage is readable. A well-placed Black Shield nullifies most of her CC chain. Your goal is to turn her engage into a punishable overcommit by binding her after she jumps onto your target.
- Alistar: His combo is very "commit". Shield the target at the moment of the knock-up, then bind Alistar.
Items to Counter Morgana
- : Cleanses Dark Binding/Soul Shackles.
- Mikael's Blessing: Cleanses allied CC.
- : Breaks her ultimate chain.

Tactical Scenario: The Dragon Fight
At the crucial moment of the first Dragon, Morgana can dictate the outcome of the fight by securing vision, intercepting enemy engages, and locking down a priority target for a quick kill. Imagine the situation: your allies are positioned to take the Dragon, but the enemy team is approaching.
Scenario: First Dragon Fight (approx. 5-6 minutes)
Your team starts the Dragon. You have already placed deep wards in the enemy jungle and in the river bush to anticipate. You position yourself slightly ahead of your ADC, but behind the tank or bruiser, ready to react. The enemy attempts an aggressive engage with a Thresh who casts his  Death Sentence on your ADC. You have two options here:
- If Thresh's hook is obvious and your ADC is in range, you cast your Black Shield just before the hook hits, nullifying the engage and protecting your carry.
- If the hook is missed or Thresh hasn't committed yet, you save your Black Shield. As soon as Thresh moves in for a Flay or the enemy ADC mispositions, you cast a Dark Binding from the fog of war on the highest priority target.
Once the target is immobilized, you immediately follow up with Tormented Shadow under them, and you ping the target for your team to focus their damage. If the enemy tries to disengage or if several are grouped, you can use Soul Shackles for an area stun, ideally followed by a to survive retaliation and guarantee the stun. This initial pick, combined with the protection of your Black Shield, allows your team to win the teamfight and secure the Dragon without risk.
To dominate with Morgana, focus on the precision of your Dark Binding, the perfect timing of your Black Shield, and macro decision-making to control the map. Every action must be intentional and calculated.
- Master your Dark Binding: practice casting it from unexpected angles and anticipating enemy movements. It's your primary tool for creating opportunities.
- Use your Black Shield proactively: don't waste it on minor poke, but save it for key CCs that could stop your carry or the enemy's engage.
- Control vision: good vision allows you to secure picks with your Q and protect your allies from ganks.
- Adapt your build: choose your items based on the enemy composition and your team's needs, whether for burst, utility, or survivability.
- Communicate with your team: announce your intentions to engage or peel, especially the use of your Soul Shackles, to maximize synergy.
If you lose your trade, it's not bad luck.
Frequently asked questions
What is Morgana's primary role as Support in Wild Rift?
Morgana is a control and peel Support. Her primary role is to immobilize priority targets with Dark Binding and Soul Shackles, and to protect her allies from magical crowd control thanks to her Black Shield. She excels at dictating the pace of fights and punishing enemy positioning errors.
What are the essential items to buy for Morgana Support?
The core build includes for economy and for sustain. Then, is crucial for amplifying damage. Situational items like (burst), (utility), or (safety) are chosen based on the game.
How to effectively use Morgana's Black Shield (E)?
Black Shield should be used proactively, just before a magical crowd control hits an ally (or yourself). Don't waste it on minor poke. Prioritize the most important carry or the target of the enemy's engage to nullify their impact.
Which champions counter Morgana in lane?
Morgana struggles against supports who can bypass her Black Shield or punish her lack of mobility. Blitzcrank, Thresh, Nautilus, Pyke, and Rakan are hard counters, as they can engage unpredictably or force fights where her  E is less effective.
How to maximize Morgana's damage in combat?
To maximize damage, you must first land a Dark Binding to immobilize the target. Then, immediately place Tormented Shadow under the target to benefit from damage amplification. Follow up with an auto-attack for the Soul Siphon passive, and use Soul Shackles if you are in range for additional burst and an area stun.
What are the best runes for Morgana Support?
The primary keystone is Arcane Comet for poke. For minor runes, Manaflow Band ensures mana sustain, Transcendence reduces cooldowns, Scorch adds early game poke damage, and Bone Plating offers better survivability.