
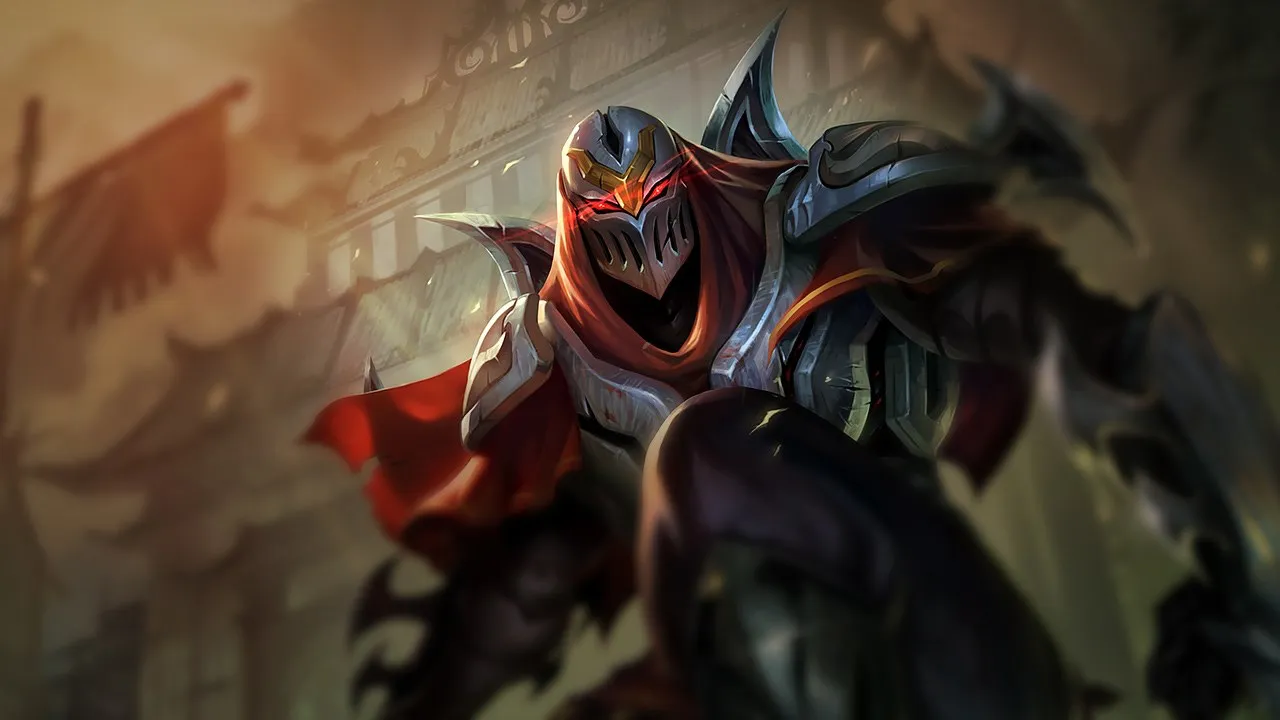
Zed MID Guide – Mastery of Assassination | Wild Rift

Quick Answer
Zed is a mobile AD assassin who excels at bursting down fragile targets. Master his shadows for devastating all-ins and clean escapes. Prioritize lethality and aggressive roams to snowball your lead and control the map.
Zed is not a champion who can afford mistakes. His weaknesses are clear: he is extremely dependent on his cooldowns and vulnerable to targeted crowd control and the enemy . If you engage without an escape shadow or if you don't force the enemy before your all-in, you turn a potential pick into a costly suicide. Many players forget that his gameplan is focused on picking and flanking, not on frontal combat. They try to force team fights where Zed is easily neutralized, instead of seeking isolated targets or creating advantages through roaming and split-pushing. Timing is everything with Zed: knowing when to poke, when to all-in, and when to retreat is key. The most common mistake is not respecting power windows and the opponent's defensive tools, thus transforming an agile assassin into an easy target.

Zed's Identity: Master of Shadows and Burst
The unique identity of Zed lies in his ability to transform shadows into extensions of his own body, allowing him unparalleled burst of 5/5 and mobility of 4/5. He is an AD melee assassin who excels in pick-offs and backline pressure, with a difficulty of 4/5 that rewards mechanically precise players.Zed is the embodiment of the pure assassin in Wild Rift. His strength lies in his ability to manipulate positioning and deal massive damage in a fraction of a second thanks to his shadows. His scaling is strong in the mid and late game (4/5), which means every lethality item counts. As a Skirmisher, Zed excels in duels and skirmishes, but his low durability (1/5) makes him vulnerable to crowd control and focus. He is a champion who roams very well (3/5) and puts constant pressure on the map.
 Contempt for the Weak : Key passive for executing low-HP targets and waveclear.
 Razor Shuriken : Your primary poke and damage tool. Align multiple shurikens to maximize burst.
 Living Shadow : The core of your kit. Repositioning, spell duplication, and most importantly, an escape route.
 Shadow Slash : Area damage and slow, ideal for facilitating shuriken hits.
 Death Mark : The ultimate assassin's tool. Dash to a target, deal additional damage based on your burst, then reposition.
Shadow Combos: Mastering the Execution
Mastering Zed's combos is key to his effectiveness, as each shadow must be used with intent. The secret is knowing when to useLiving Shadow for poke, all-in, or escape, and how to maximize the damage of Razor Shuriken and Shadow Slash with your shadows.Zed's combos are not a simple succession of button presses, but a complex dance with your shadows, where every move must be calculated. The timing of your shadow swaps and the alignment of your shurikens are what differentiate a good Zed from an average Zed.
Main Combos
- Lane Poke Combo : Living Shadow (2) [place shadow] → Shadow Slash (3) → Razor Shuriken (1) — The shadow duplicates your projectiles and Shadow Slash slows to facilitate hitting all three shurikens.
- Aggressive All-in Combo : Living Shadow (2) [towards target] → Death Mark (Ult) → Razor Shuriken (1) → Shadow Slash (3) → AA → Living Shadow (2) recast [swap with shadow] — The shadow brings you closer, the ultimate teleports you, and your spells are cast to maximize damage with both shadows, before escaping.
- Safe Late Game Combo : Living Shadow (2) [towards safe zone] → Death Mark (Ult) → Razor Shuriken (1) → Shadow Slash (3) → AA → Living Shadow (2) recast [swap back] — Similar to the previous one, but the shadow is placed safely for a guaranteed retreat.
Mechanical Tips
- Death Mark timing : Maximize your damage during the mark for maximum explosion.
- Living Shadow (2) triple hits : Align your shadow with your target to double/triple the damage of Razor Shuriken and Shadow Slash.
- Shadow swap : Use the recast of Living Shadow for escape or repositioning.
Common Mistakes
- Death Mark without correct shadow placement : Reduces your damage and escape options.
- Wasted shadow for escape : Leaves you vulnerable if a fight approaches.
Build & Skill Order: The Assassin's Arsenal
The build for Zed focuses on lethality and AD burst, with Duskblade of Draktharr as a first item to maximize your assassination potential. The skill order prioritizes Razor Shuriken for damage, followed by Shadow Slash for the slow, and finally Living Shadow for mobility.
Your build is your weapon, and with Zed, every piece must serve to amplify your burst and your ability to eliminate fragile targets. Understanding why each item is chosen is more important than simply following a list, as it allows you to adapt to the enemy composition.
Standard Build — Lethality
- : Rush this item for its AD, lethality, and invisibility on kill, crucial for chain kills.
- Youmuu's Ghostblade : More lethality and an active speed boost for roams and quick engagements.
- Serpent's Fang : Essential against champions with shields (Karma, Orianna).
- Eclipse : Provides a shield and movement speed after a burst, increasing your survivability and ability to disengage.
- Edge of Night : Blocks a key enemy crowd control ability.






Situational Options
- Maw of Malmortius : Against AP burst.
- Death's Dance : Against AD burst and for sustain.
- Guardian Angel : Late game safety net.
- Serylda's Grudge : Armor penetration and slow against tanks.
- Chempunk Chainsword : Against enemy healing.


Boots and Enchantments
- Boots of Swiftness : For mobility and roaming.
- : Crucial for buying time after your all-in.
Runes
- Keystone :
 Conqueror (AD per stack, even for short trades).
 - Minor Runes :
 Sudden Impact,
  Empowered Attack,
  Eyeball Collector,
  Transcendence.
Skill Order
- Priority : Razor Shuriken > Shadow Slash > Living Shadow.
››
››
Power Spikes: When to Strike Hard
Zed's power spikes are marked by obtaining his ultimate at level 5, and then by purchasing his first lethality items, notably and , which transform his pick-off potential into a constant threat on the map.Understanding your power spikes means knowing when you can force action and when you should play more cautiously. Each item and each level unlocks a new dimension of threat for Zed, which must be aggressively exploited.
- Level 5: The arrival of Death Mark : Your first true spike. Look for all-in opportunities on your lane opponent or for roams.
- First item: : Your second major spike. Lethality and invisibility on kill increase your burst and repositioning.
- Second item: + Ultimate Rank 2 (Level 9) : More lethality and an active speed boost for more effective roams and engagements.
- Third item: (Level 11) : If the enemy has shields, this item is a key spike to break through their defenses.
Macro, Lane & Roam: The Shadow's Strategy
Zed's success relies on aggressive macro play and intelligent lane management to create roam windows. Your goal is to quickly push the wave, disappear from the map to create numerical advantages on the side lanes, and return mid to maintain pressure, all while looking for picks on isolated targets.Zed is not a champion who waits for things to happen; he makes them happen. Your ability to control the wave and use your shadows for unexpected roams is what will allow you to snowball and take control of the game.
Lane Phase (Early Game)
- Safe farm and poke : Focus on last-hitting and use W→E→Q to poke and gain wave priority.
- Wave control : Push the wave under the enemy tower to roam or recall.
- Wall angles : Use walls for unexpected shadows and shurikens.
Mid Game
- Flank/Pick Play : Before each objective, look to flank and isolate an enemy carry.
- Side Vision : Place deep wards to spot and prepare your roams.
- Avoid ARAM : Don't dive into frontal 5v5 fights. Look for numerical advantages.
- Push-Roam : After pushing, gank bot/top or assist your jungler.
Late Game



Counters & Adaptations: Let No Shadow Escape You
Zed is countered by champions who can either survive his initial burst or instantly control him to prevent his escape. Targeted crowd control mages and tanks with high armor are his worst nightmares, as they nullify his assassination potential.Knowing your counters is not a fatality; it's an opportunity to adapt your strategy. Against a hard counter, your goal is not to kill them in lane, but to minimize their impact and seek advantages elsewhere on the map.
Hard Counters
- Lissandra (anti-assassin, lockdown) : Her instant lock-down (
 R) cancels your all-in. Force it with poke (
 W-E-Q) then roam.
 - Annie (instant_stun, burst) : Her stun punishes your engages. Bait her stun or flash before engaging. Play "cooldown-first".
- Galio (tank_cc, taunt) : He survives your burst and punishes you. Your objective is the map around him, not Galio.
- Pantheon (targeted_stun, block) : His stun and block cancel your all-in. Manage his resources, force his
 E before engaging.
 - Malphite (armor, unstoppable_engage) : Stacks armor and his
 R is unstoppable. Don't try to kill him, push and roam.





Unfavorable Matchups
- Orianna (spacing, shield) : Manages distance and protects herself. Win the wave, gain vision, then take a side.
- Karma (shield, movespeed) : Shield and speed make her elusive. Track her Mantra and engage when it's on cooldown.
- Lux (root, poke) : Her long-range root forces you to be cautious. Punish her missed
 Qs.
Qs. - Twisted Fate (gold_card, global) : His Gold Card and global ultimate make him difficult. Prioritize the wave and punish his roams.
- Gragas (disengage, tankiness) : Sustain and disengage. Force his defensive cooldowns before fully engaging.



Skill Matchups
- Ahri (charm, angle_play) : Patience matchup. Force her Charm, then engage by shifting your angle.
- Fizz (untargetable, timing) : His
 E cancels your ultimate. Bait his E with poke before all-in.


Favorable Matchups
- Veigar (immobile, bait_cage) : Low mobility, relies on his cage. Force his cage with poke, then engage from the sides.
- Ziggs (immobile, waveclear_window) : Immobile, roots himself for waveclear. Punish his engages to push by entering from the sides.


Items Against Zed
- : Interrupts Death Mark's explosion.
- Defensive physical boots : Reduce your physical damage.
- Frozen Heart : Armor and AS reduction.
- Randuin's Omen : Reduces your burst if you have crit.
- : Nullifies a key pick.
- An early armor component : Softens your all-ins in lane.


Concrete Example: The Dragon Assassination
Imagine you are in the mid-game, level 9, with and . The Dragon is about to spawn, and your team has mid priority. You spot the enemy support, a Lux, warding alone in the river. This is your window.Timing is everything: a good assassin knows when and where to strike to maximize map impact and create a decisive advantage for their team.
1. Preparation (30 seconds before) : You've pushed your mid wave under the enemy tower. Your jungler is setting up vision for the Dragon. You see Lux venturing alone into the river to place a ward.
2. The Engagement (20 seconds before Dragon) : You place your
Living Shadow behind a wall, out of Lux's vision. You activate and use the recast of Living Shadow to dash onto her. Immediately, you cast Death Mark, then Shadow Slash and Razor Shuriken. You follow up with auto-attacks. Lux, caught off guard, uses her just before your ultimate's explosion.3. The Conversion (10 seconds before Dragon) : While is active, you retreat slightly. As soon as ends, Lux is within range of your
Razor Shuriken and your Contempt for the Weak passive. You finish her off.4. The Impact : You secured a kill, forced a key , and Lux is dead just before the Dragon. Your team has a numbers advantage for the objective. This is a decisive advantage created by your ability to punish a positioning error.
Every game is an opportunity to prove your mastery. Don't just play; analyze every situation to make the most impactful decision and turn enemy mistakes into victories for your team.
1. Master your combos: practice aligning your shurikens and using your shadows for poke, all-in, and escape.
2. Prioritize vision and wave control: push quickly to create roam windows and surprise your opponents.
3. Identify fragile targets: always seek to isolate and eliminate poorly positioned enemy carries.
4. Adapt your build and playstyle: don't blindly follow a build. Adapt to the enemy composition.
5. Use your intelligently: it's your lifeline after an all-in. Never forget it.
6. Communicate with your team: a Zed who roams without follow-up is a dead Zed.
If you lose your trade, it's not bad luck.
Frequently asked questions
How to play Zed against targeted crowd control mages like Lissandra or Annie in midlane?
Against Lissandra or Annie, your priority is to force their crowd control tools or their flash before fully engaging. Use short pokes ( W-E-Q) to make them react. Do not place your Living Shadow in a predictable line and wait for their key spells to be on cooldown before attempting an all-in with Death Mark. Prioritize pushing and roaming if the lane is too difficult.
What is the best skill order for Zed and why?
The best skill order is to max Razor Shuriken first, followed by Shadow Slash, then Living Shadow. Razor Shuriken is your primary source of damage and poke. Shadow Slash comes next for the slow and area damage. Living Shadow is maxed last because additional points mainly reduce its cooldown, which is less impactful for immediate burst.
When should I buy Serpent's Fang with Zed?
You should buy when the enemy team has champions who use a lot of shields, such as Karma, Orianna, or Seraphine. This item drastically reduces the effectiveness of their shields, allowing you to secure your kills and not waste your burst. It's a situational but crucial purchase against these compositions.

How to deal with tanks that stack armor like Malphite or Galio?
Against tanks that stack armor, your goal is not to kill them directly. Instead, push your wave quickly and use your mobility to roam to the side lanes and look for more fragile targets. If you must face them, is an excellent choice for armor penetration and slow, but always focus on enemy carries.
Which keystone rune is best for Zed and why?
Conqueror is the best keystone rune for Zed. Although Zed is an assassin who seeks quick bursts, Conqueror provides him with a significant AD bonus that stacks quickly with his spells and auto-attacks. This considerably increases his damage in extended trades and all-ins, and offers him a bit of sustain.
How to use Stasis Enchant effectively with Zed?
is your most important survival tool. Use it right after dealing your burst with Death Mark to avoid return damage or enemy crowd control. This gives you time to wait for your Living Shadow cooldowns for a safe exit, or to wait for your team's follow-up. It's a perfect feint to force enemies to waste their spells on you.