










July 2026 · Patch 7.2a
Bruiser · Baron Lane

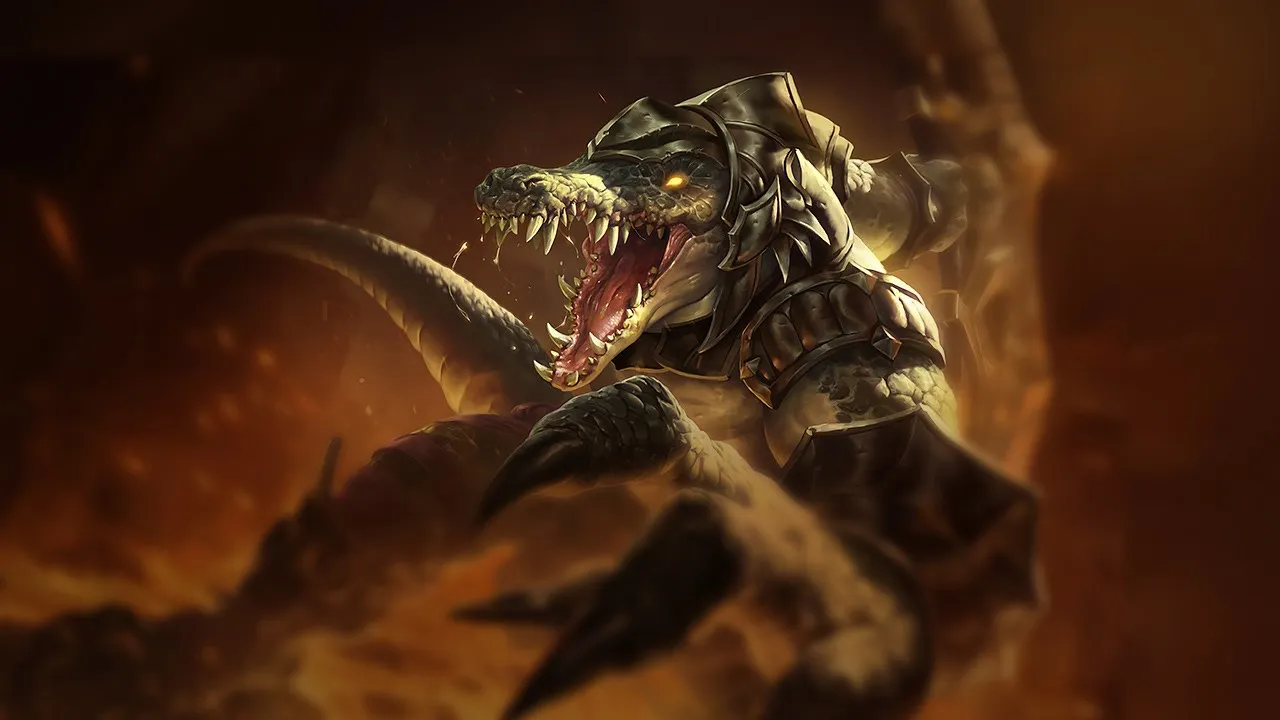
Renekton Wild Rift Guide

Bruiser

★ Baron Lane Tier A July 2026 · Patch 7.2a
DMG
UTIL
TANK
DIFF
Win 48.4% #77 · ↓2pt
Pick 5.9% #11
Ban 0.4% #87
§ 01 — Editorial brief

Renekton remains a very tempo-driven TOP pick: he does not win games by outscaling everyone, but by breaking lane, forcing enemy resources, and turning early leads into objective pressure.

By WRC Studio ~ 1 min read Patch 7.2a
Expert note

Expert take

Renekton is an excellent champion for players who want to impose tempo instead of reacting to the game. His strength does not only come from dueling, but from his ability to create moments where the opponent must answer immediately: wave under tower, level 5 dive, empowered W on a key target, Herald rotation, mid-game flank. He becomes far less impressive if you only play to win your 1v1 without converting. A good Renekton does not try to prove he is stronger at all times; he uses every Fury window, every wave, and every enemy cooldown to move the game forward before his natural impact drops.

Weak point

Hidden weakness

Renekton’s hidden weakness is not only scaling: it is how much value he loses when his windows produce nothing. A won trade without wave advantage, Dominus used with no objective afterward, or a Flash-W that only forces Stasis can look fine in the moment, but they delay his real plan. Renekton plays against time: the more his strong actions fail to convert, the more the enemy gets tools to absorb, kite, or punish his engage.

§ 02 — Strengths & weaknesses Renekton Wild Rift strengths and weaknesses

↑ Strengths
  • You can play him when your team wants a proactive TOP lane that can secure priority without waiting for three items. Renekton quickly puts the opponent under pressure through short trades, and that pressure gives your jungler room to play Herald, invade, or dive.
  • He is relevant when the allied draft can follow his point of impact. A Renekton entering with Dominus and empowered W creates a very clear target; if Ahri, Galio, Jarvan IV, or Nidalee can connect afterward, his engage becomes far more valuable.
  • He keeps real value against champions who need time to breathe in lane. Renekton can break their tempo before they reach comfort, especially if he manages the wave well and threatens the level 5 dive.
  • He brings pressure that is straightforward to execute in solo queue: dash, stun, Q, disengage or all-in depending on Fury. That clarity is strong in messy games, because Renekton can immediately punish a poorly positioned target.
↓ Weaknesses
  • Avoid Renekton if your composition has no way to convert his early game. If he wins TOP but nobody can play around Herald, cover a dive, or follow his flank, his lead may stay local and lose value over time.
  • Avoid him into a draft heavily focused on kiting, range, and disengage if you have no allied tool to force entry. Renekton can absorb a first exchange, but he suffers when every dash attempt is backed away from, slowed, or neutralized before W connects.
  • Avoid him if your team already lacks scaling and depends entirely on a fast win. Renekton is strong at accelerating, but if the whole draft falls off after mid game, one tempo mistake can make the next fights very difficult.
  • Avoid him if you must play permanent weakside without vision, jungle help, and against a matchup that can punish his dashes. Renekton can survive, but his identity degrades heavily when he cannot threaten the wave or create useful Fury windows.
02

§ 03 — Game planRenekton Wild Rift game plan: early, mid and late game

I Early

Prepare the Fury and look for advantageous short…

Niv. 1 → 6

Prepare the Fury and look for advantageous short trades; wave crash to play with your jungler.

II Mid

Activate Dominus on objective shots, flank and…

Niv. 7 → 11

Activate Dominus on objective shots, flank and isolate a key target with reinforced W.

III Late

Look for the flanks; if the opposing peel is…

Niv. 12+

Look for the flanks; if the opposing peel is strong, play a disciplined front-to-back.

Data — Stats per levelRenekton Wild Rift base stats per level (1-15)

Movement speed 355Attack range 175Bonus attack speed / lvl +2.2%
Show stats per level
LvlHPADArmorMRHP regen
16906646389
281870.650.7409.8
394675.155.44210.6
41,07479.760.14411.4
51,20284.264.84612.2
61,33088.869.54813.1
71,45893.374.25013.9
81,58697.978.95214.7
91,714102.483.65415.5
101,84210788.35616.3
111,970111.5935817.1
122,098116.197.76017.9
132,226120.6102.46218.7
142,354125.2107.16419.5
152,482129.7111.86620.3

Base data : wiki.leagueoflegends.com (CC BY-SA 4.0) · 2026-07-09

§ 05 — Recommended buildBest Renekton Wild Rift build for the current patch

Renekton remains a very tempo-driven TOP pick: he does not win games by outscaling everyone, but by breaking lane, forcing enemy resources, and turning early leads into objective pressure. In the current patch, his value mostly comes from how uncomfortable he makes the first minutes: short Fury-based trades, empowered stun threat, level 5 dives with Dominus, and side-lane priority once Black Cleaver is completed. He becomes especially strong when his team can play around his windows, because a Renekton with first move toward Herald or river fights can decide the pace of the map. However, he requires real discipline: if you spend both dashes to enter without a guaranteed kill, or if you reach objectives without Fury, you turn a champion built to dominate mid game into a frontliner who is hard to convert through.

Core
1 Black Cleaver
Black Cleaver
2 Sterak's Gage
Sterak's Gage
3 Death's Dance
Death's Dance
Boots
Plated Steelcaps Plated Steelcaps
/
Mercury's Treads Mercury's Treads
See the full build

§ 06 — The matchup wallRenekton Wild Rift counters and synergies

Hard Unfav. Skill Fav. Synergy
Kennen
Hard
Kennen
Aatrox
Unfav.
Aatrox
Pantheon
Skill
Pantheon
Kayle
Fav.
Kayle
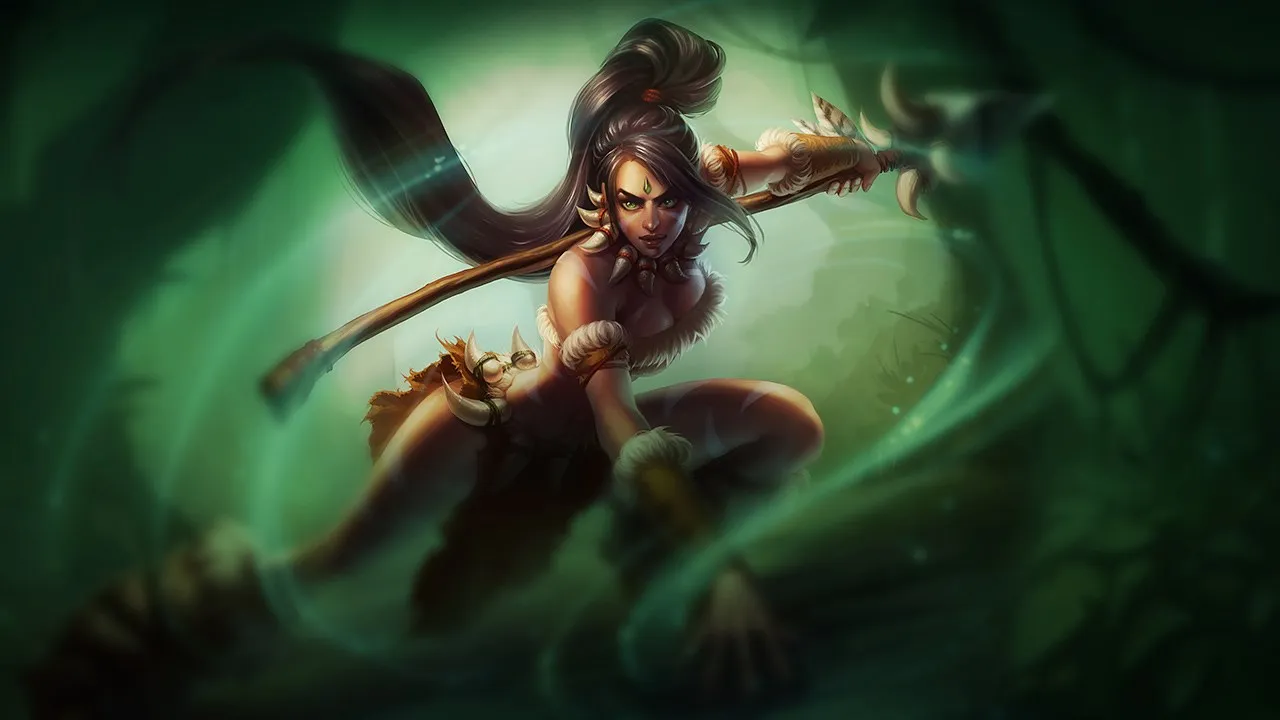
Nidalee
Ideal
Nidalee
Renekton gives Nidalee exactly what she needs: reliable targeted crowd control to guarantee Javelin Toss and speed up her invades. The execution is deadly simple: Renekton dashes in, Ruthless Predator locks the target, Nidalee lands her spear from short or mid range and then swaps to cougar form to finish. This duo dominates the early game and turns every top-side priority into jungle pressure or a fast tower dive.
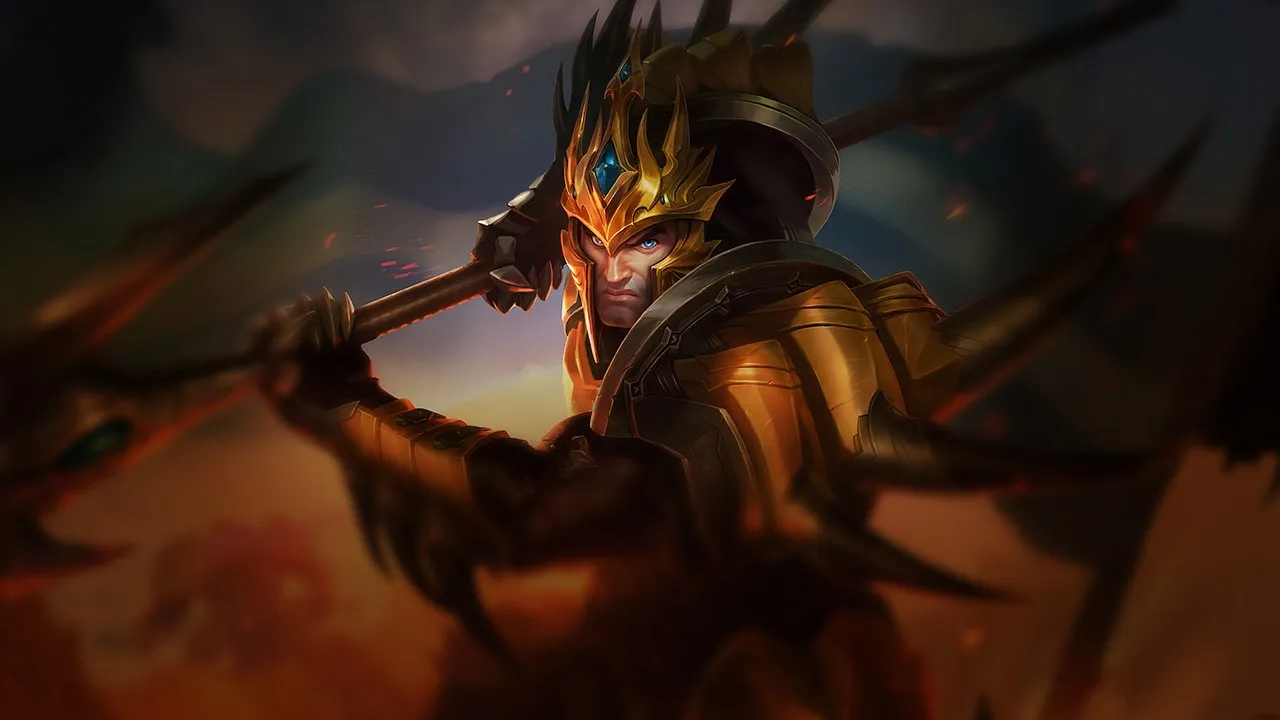
Jarvan IV
Ideal
Jarvan IV
Jarvan IV and Renekton create overwhelming 2v2 pressure through their ability to trap a target and burst them before any answer is available. The execution relies on clean timing: Jarvan engages or counter-engages, Renekton follows with double dash and stun, then both keep the target inside Cataclysm to deny any kiting. This pair excels against low-mobility lanes and against junglers who contest top river too early.
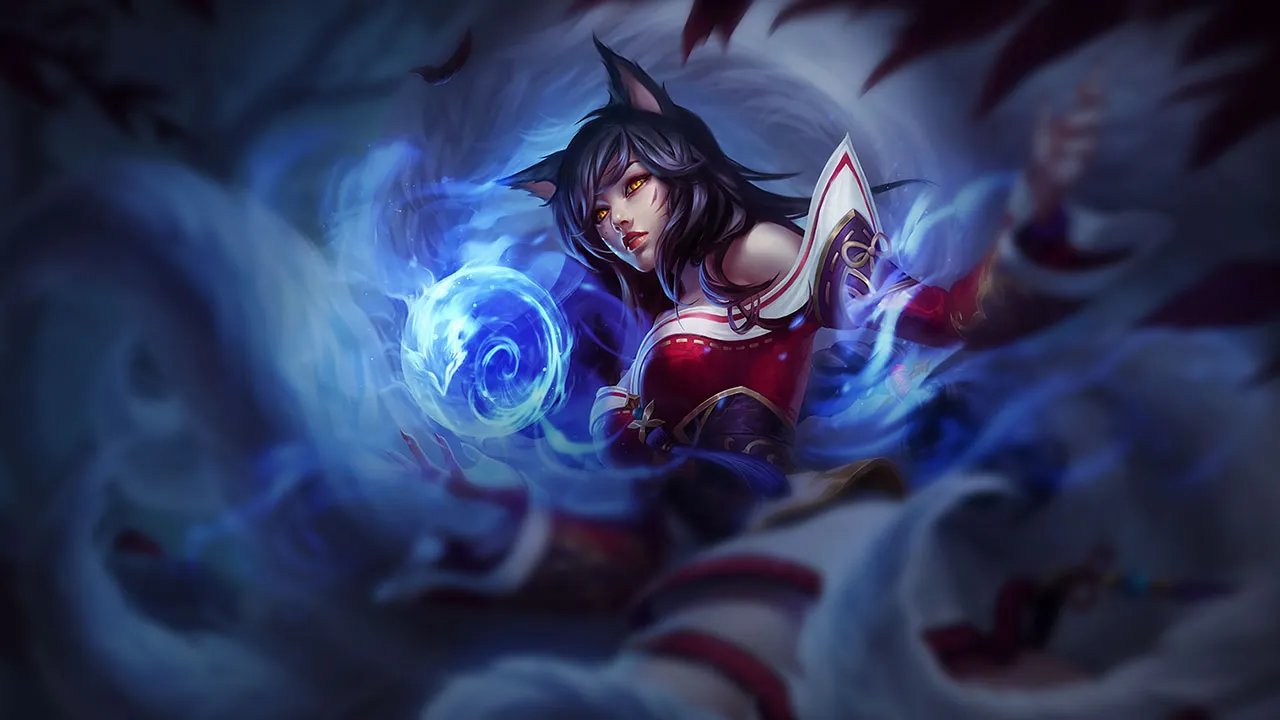
Ahri
Strong
Ahri
Renekton creates the frontal opening while Ahri brings execution range and mobility to turn that first contact into a confirmed kill. The duo works especially well on mid-river rotations: Renekton catches with his targeted stun, Ahri arrives from an angle with Charm to extend the lock and finish the target with burst. This pairing is particularly effective against carries without dashes and teams that overstep without vision control.
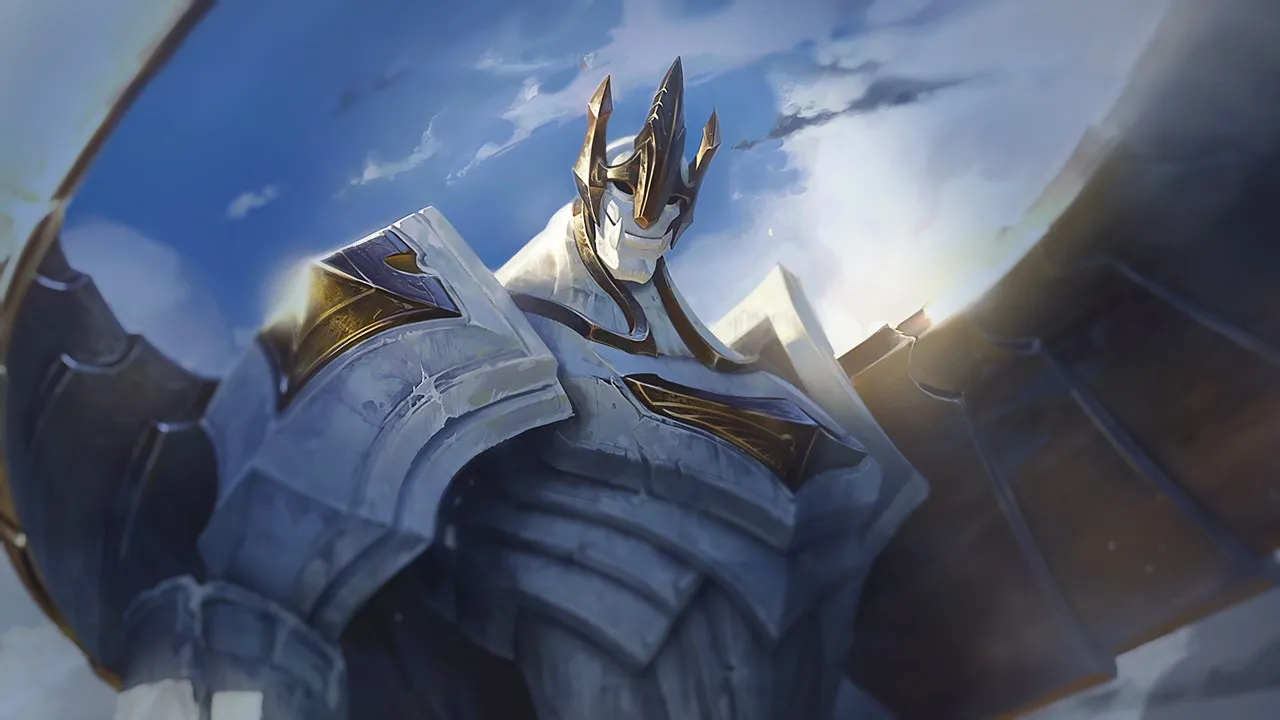
Galio
Strong
Galio
Galio perfectly complements Renekton dives by adding a second layer of crowd control and major safety on deep entries. The ideal execution starts with Renekton taking first contact and pinning the target, then Galio joins with Hero's Entrance to knock up reinforcements or lock the escape zone. This is a very strong synergy in compositions that want to accelerate objective fights and punish static carries.

§ 07b — Mecánica avanzadaRenekton: combos & tips Wild Rift

Combo básico
1 E E
2 AA
3 E E

Entra, autoataque para daño y Furia, sal inmediatamente — un combo de bajo riesgo para hostigar

Combo de intercambio extendido
1 E E
2 AA
3 W W
4 Q Q
5 AA
6 E E

Salta, aturde, cura en área, retírate — fuerte para aplicar presión antes del nivel 5

Flash combo todo incluido
1 Flash Flash
2 W W
3 AA
4 R R
5 E E
6 Q Q
7 AA
8 E E

Flash para el aturdimiento sorpresa potenciado (50+ Furia = aturdimiento de 1.5s en lugar de 0.75s), definitiva para sustain y daño adicional, dive completo

Consejos mecánicos

  • Manejo de Furia: La Furia (la barra de rabia, que no usa maná) es clave para Renekton — con 50+ Furia, sus habilidades se potencian: Cull cura 3 veces más, Ruthless Predator aturde el doble de tiempo y golpea 3 veces
  • Slice Y Dice (3): si el primer lanzamiento impacta a un enemigo, el segundo lanzamiento se habilita — usa el primer lanzamiento en un campamento de la jungla o un súbdito para activar el segundo lanzamiento y causar daño limpio
  • Ruthless Predator (2) potenciado: espera siempre a tener 50+ Furia antes de lanzar la 2 — el aturdimiento más largo garantiza un combo completo sin represalias
  • Dominus (Definitiva) con anticipación: activa la definitiva al INICIO de la pelea para generar Furia rápidamente y beneficiarte de la vida adicional — no la actives cuando ya estés en peligro mortal
  • Cull la Meek (1) en súbditos: si peleas mientras hay súbditos, la primera curación se aplica a cada enemigo golpeado — pelea siempre mientras haya una oleada presente para maximizar el sustain

Errores comunes

  • Ignora la Furia: Las habilidades sin 50+ Furia son significativamente más débiles — no te lances con la Habilidad 2 sin Furia; el aturdimiento de 0.75s no es suficiente para un combo completo
  • Usa la habilidad 3 en súbditos solamente: Slice & Dice deben atravesar a un enemigo para activar el efecto de retorno — apunta a campeones o monstruos de la jungla para el doble salto
  • Definitiva demasiado tarde: Activar Dominus con menos del 30% de vida ya no proporciona el útil bonus de vida — actívala tan pronto como comience la pelea

Interacciones notables

  • Renekton no consume maná — puede hostigar libremente en línea siempre que gestione su Furia
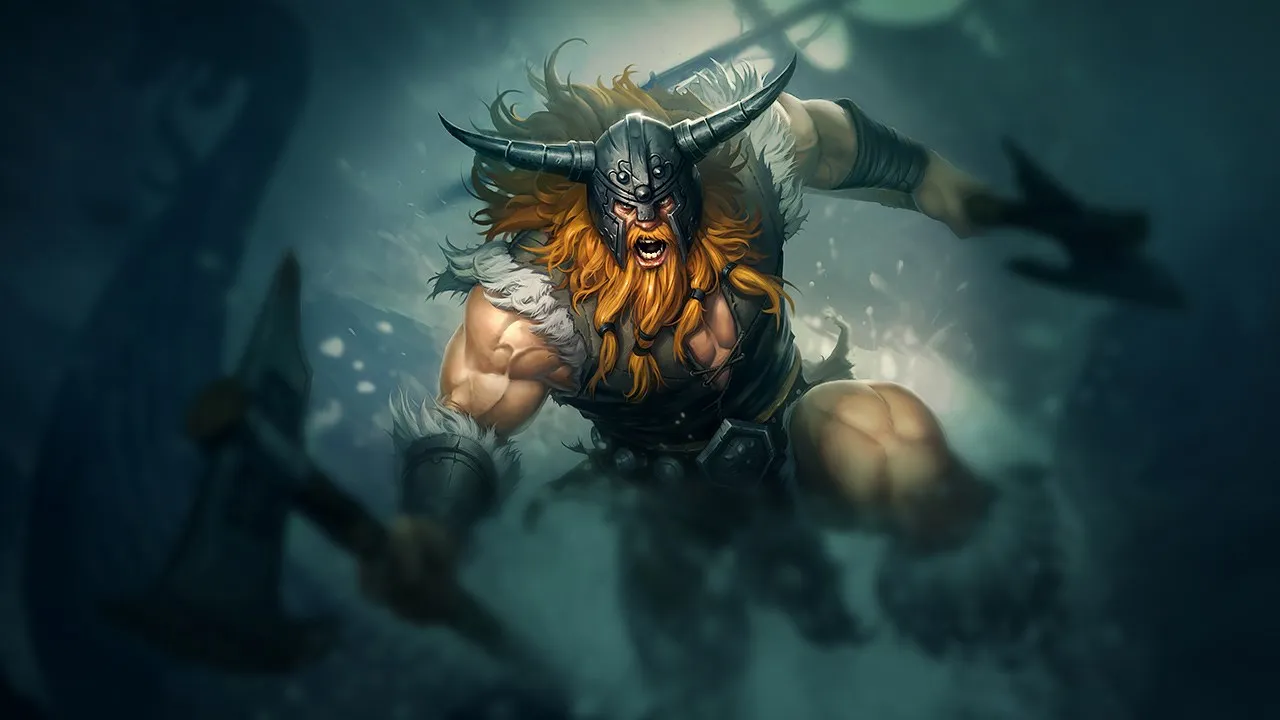
  • El Ruthless Predator (2) potenciado es uno de los aturdimientos más largos del juego (1.5s) — poderoso contra campeones sin inmunidad a CC (Olaf tiene que usar su definitiva para ignorarlo)
  • Con Filo de la Ruina, la reducción de armadura del nivel 3 y los autoataques se apilan rápidamente — ideal contra tanques

§ 07 — PreceptsRenekton Wild Rift tips for ranked

Tip · 01

Accumulate Fury before forcing; a reinforced W/Q changes the outcome of a duel.

Codex
Tip · 02

Don't burn your two loads of E without a guaranteed kill: keep an outlet.

Codex

§ 08 — DialoguesRenekton Wild Rift FAQ

Q.01 Is Renekton a good blind pick in TOP? +

Renekton can be blind picked if your team needs early pressure and if you accept playing for tempo rather than scaling. He has enough tools to survive many lanes, but some ranged, true damage, or kiting matchups can reduce his margin for error. When blinded, the goal is not always to solo kill: it is mainly to keep priority, prepare waves, and convert level 5 or Black Cleaver into map action.

Q.02 Why does Renekton become weaker if the game lasts too long? +

Renekton does not become useless in late game, but his way of winning becomes harder. Enemy carries have more defensive tools, supports can peel better, and his first dash is watched more carefully. Because his burst and lockdown are tied to a short window, he needs to get value before the enemy can absorb his entry. In late game, he often has to play flank, cooldown punishment, or backline protection instead of simple frontal engage.

Q.03 Should you always play aggressively with Renekton? +

No. Renekton is a pressure champion, not a champion who must force every trade. Good aggression depends on Fury, wave state, dash cooldown, jungle position, and level 5. Forcing without those elements can create a losing trade or spend your only exit tool. The right rhythm is to threaten often, but engage only when the exchange can create a recall, a plate, a dive, or an objective move.

Q.04 When should Renekton peel instead of engaging? +

Renekton should peel when the enemy team has a dive threat more dangerous than his own engage. His empowered W can neutralize an assassin, bruiser, or champion who commits too far, and Dominus gives him enough presence to hold space around his carries. If your team wins fights by protecting a fed carry, diving alone onto the enemy backline can be a mistake: holding your stun to break the enemy engage can be more valuable.

§ 09 — EchoesRenekton Wild Rift related guides

01
Role guide

Split Push and Side Lane Pressure in Wild Rift: How to Create Real Map Threat

Learn how to split push in Wild Rift without throwing: timing, side lane pressure, vision, objectives and macro decisions.

Read
02
Role guide

Solo Lane Guide Wild Rift: how to understand Baron Lane and win more games

Learn Solo Lane in Wild Rift: Baron Lane role, laning phase, split push, teamfights and common mistakes to avoid.

Read
03
Key mechanic

Wave Management in Wild Rift: the expert skill that wins objectives

Master Wild Rift wave management to create tempo, secure objectives, and win more games without forcing bad fights.

Read
04
Useful macro

Wild Rift meta: Kayle climbs, Renekton drops — week of July 21, 2026

Updated Wild Rift 7.2a tier list: 10 moves analyzed with Tencent win, pick and ban rates for the week of July 21, 2026.

Read





