









July 2026 · Patch 7.2a
Tank · Baron Lane

Sion Wild Rift Guide

Tank

Sion
★ Baron Lane Tier A July 2026 · Patch 7.2a
DMG
UTIL
TANK
DIFF
Win 49.7% #58 · ↑2pt
Pick 5.4% #13
Ban 0.5% #82
§ 01 — Editorial brief

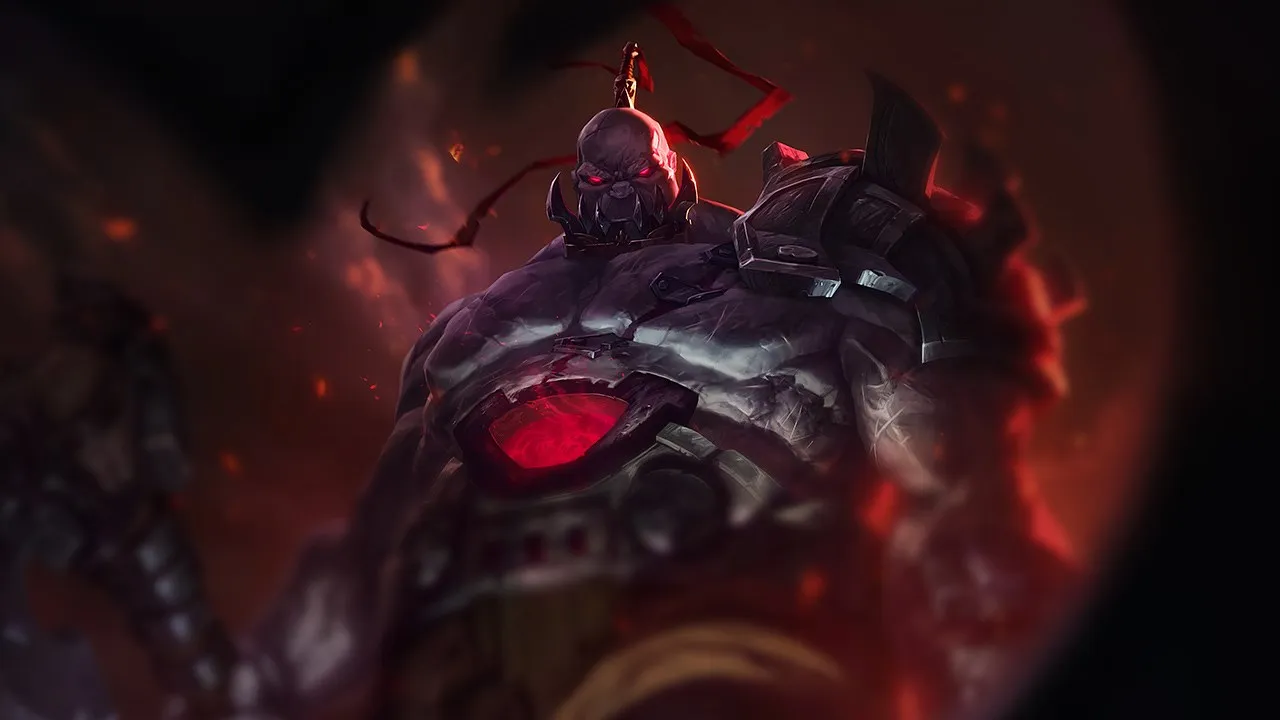
Sion TOP keeps a solid place in the patch because he brings something many solo queue drafts underestimate: durable frontline, constant side-lane pressure, and long-range engage that forces the enemy team to respect the whole map.

By WRC Studio ~ 1 min read Patch 7.2a
Expert note

Expert take

Sion is a discipline champion more than just a wall of health. Average players often reduce him to a tank who pushes and engages from far away, but his real value comes from how he forces the enemy to answer multiple threats at once. He can hold a side lane, break the rhythm of an objective, create a decisive knock-up with Q, or die in the middle of a fight and keep disturbing carries through passive. But all of this requires clear reading: where the wave is, who can follow the ultimate, which opponent can dodge the charge, and whether the team has enough damage behind him. Sion is excellent if you want to stabilize a draft and win through progressive pressure. He becomes weak if you play him like an automatic engage button without preparation.

Weak point

Hidden weakness

Sion’s hidden weakness is not only kiting. It is his dependence on preparation. His Q needs an angle, his ultimate needs a path, his split push needs a wave, and his passive needs him to die in the right place to have real value. When Sion plays without setup, he still looks like a massive tank, but his actions become easy to read. Good opponents do not always beat him by killing him quickly; they beat him by denying the zones where he wants to charge, waiting out his shield, and forcing him to engage before his team is ready.

§ 02 — Strengths & weaknesses Sion Wild Rift strengths and weaknesses

↑ Strengths
  • The patch rewards top laners who remain useful even without dominating lane. Sion can lose some trades, still stack health, absorb pressure, and turn a simple pushed wave into tower threat with Demolish.
  • His ultimate gives a clear answer to messy games: if the enemy team spreads before an objective, Sion can start a long-range engage and force an immediate decision instead of waiting for a perfect front-to-back.
  • Heartsteel and Overgrowth make his scaling windows easy to read. The longer the game goes, the more every enemy mistake against his positioning becomes costly, especially if Sion saves his shield to absorb the first burst.
  • He brings real macro safety: even when his team does not group well, Sion can push, force someone to answer, then rejoin the map with Teleport or ultimate depending on the timing.
↓ Weaknesses
  • Avoid Sion if your team lacks reliable DPS. He can engage, soak damage, and control space, but if no one dies during his first rotation, the enemy team can simply kite back and cut him down.
  • Avoid him against drafts full of mobility, percent-health damage, and champions able to interrupt or dodge his Q timings. In those games, every overcharged Q becomes an invitation to be punished.
  • Do not pick him if your team wants to play only long-range poke without ever committing. Sion needs someone to convert the space he creates; otherwise his ultimate becomes an isolated engage and his body protects no one.
  • Avoid Sion if you absolutely need to win the early 1v1. He can survive and neutralize, but against lane bullies or precise duelists, his plan is often to reduce damage before becoming useful elsewhere.
02

§ 03 — Game planSion Wild Rift game plan: early, mid and late game

I Early

Controlled push, R plates and shifts; avoids…

Niv. 1 → 6

Controlled push, R plates and shifts; avoids unfavorable prolonged trades.

II Mid

Frontline to objectives, force TP plays and side…

Niv. 7 → 11

Frontline to objectives, force TP plays and side control.

III Late

Protects/engages according to compo; looks for…

Niv. 12+

Protects/engages according to compo; looks for wall angles for a decisive R.

Data — Stats per levelSion Wild Rift base stats per level (1-15)

Movement speed 355Attack range 175Bonus attack speed / lvl +1.2%
Show stats per level
LvlHPADArmorMRManaHP regenRes. regen
16306446383457.59
273468.649.5403948.49.7
383873.153424439.410.4
494277.756.54449210.311.1
51,04682.2604654111.311.8
61,15086.863.54859012.212.5
71,25491.3675063913.113.2
81,35895.970.55268814.113.9
91,462100.474547371514.6
101,56610577.5567861615.3
111,670109.5815883516.916
121,774114.184.56088417.816.7
131,878118.6886293318.817.4
141,982123.291.56498219.718.1
152,086127.795661,03120.718.8

Base data : wiki.leagueoflegends.com (CC BY-SA 4.0) · 2026-07-09

§ 05 — Recommended buildBest Sion Wild Rift build for the current patch

Sion TOP keeps a solid place in the patch because he brings something many solo queue drafts underestimate: durable frontline, constant side-lane pressure, and long-range engage that forces the enemy team to respect the whole map. He does not win only through lane duels; he wins by creating uncomfortable decisions. If the enemy answers his tower pressure, Sion opens space elsewhere. If they ignore him, Demolish, Titanic Hydra, and his huge health pool turn every pushed wave into a real threat. His limit is rhythm: a Sion who charges Q without an angle, uses ultimate without follow-up, or dies far from an objective gives the enemy free time. But in games built around waves and objective fights, he remains a highly reliable pick.

Core
1 Heartsteel
Heartsteel
2 Sunfire Aegis
Sunfire Aegis
3 Titanic Hydra
Titanic Hydra
Boots
Plated Steelcaps Plated Steelcaps
/
Mercury's Treads Mercury's Treads
See the full build

§ 06 — The matchup wallSion Wild Rift counters and synergies

Hard Unfav. Skill Fav. Synergy
Gwen
Hard
Gwen
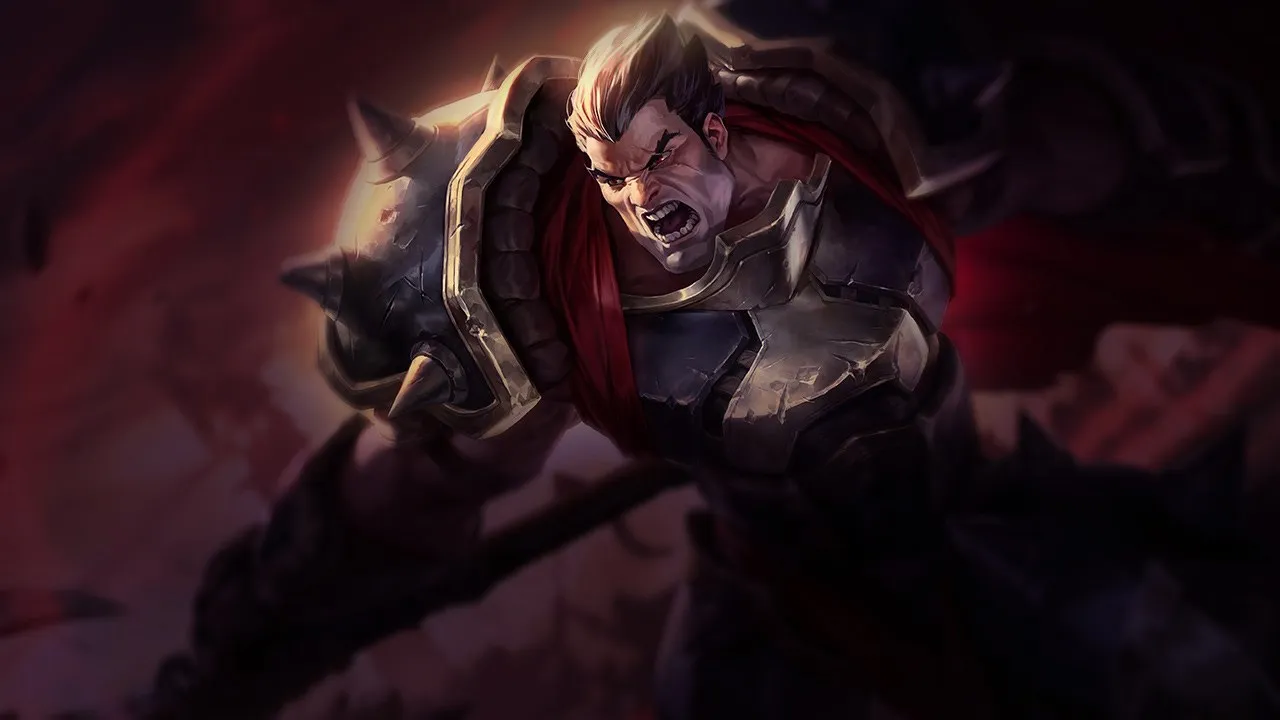
Darius
Unfav.
Darius
Riven
Skill
Riven
Garen
Fav.
Garen
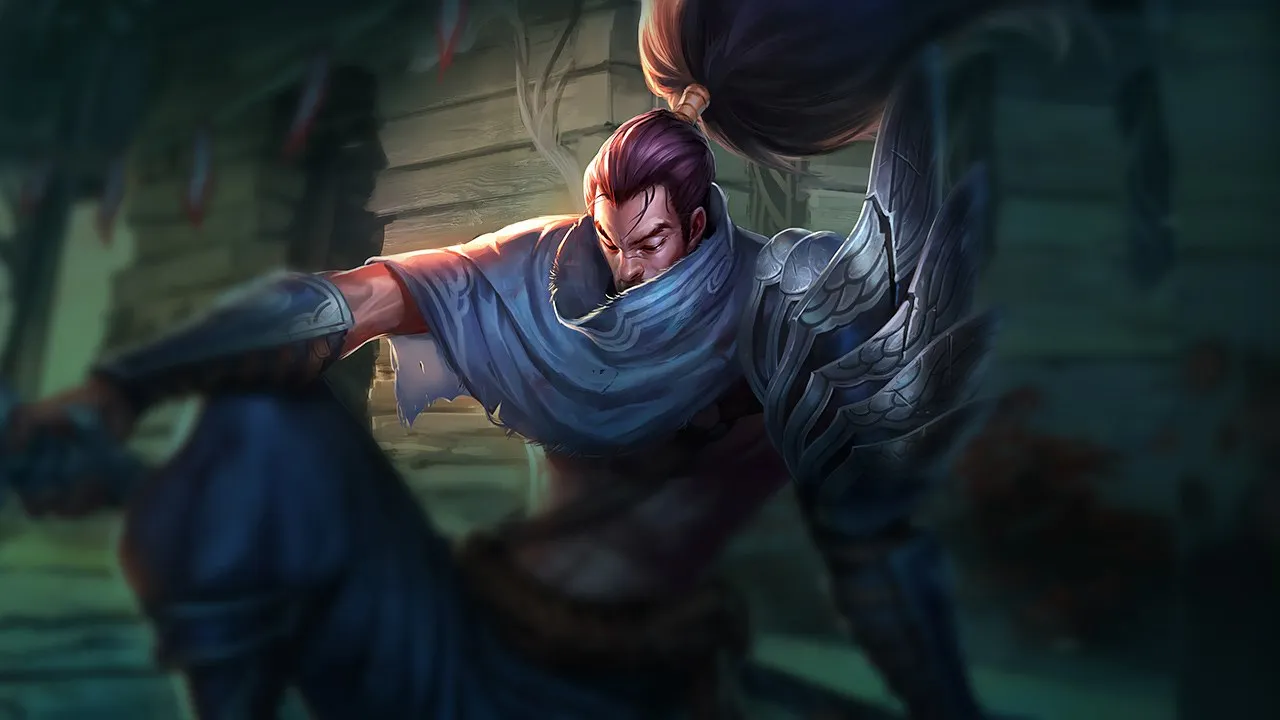
Yasuo
Ideal
Yasuo
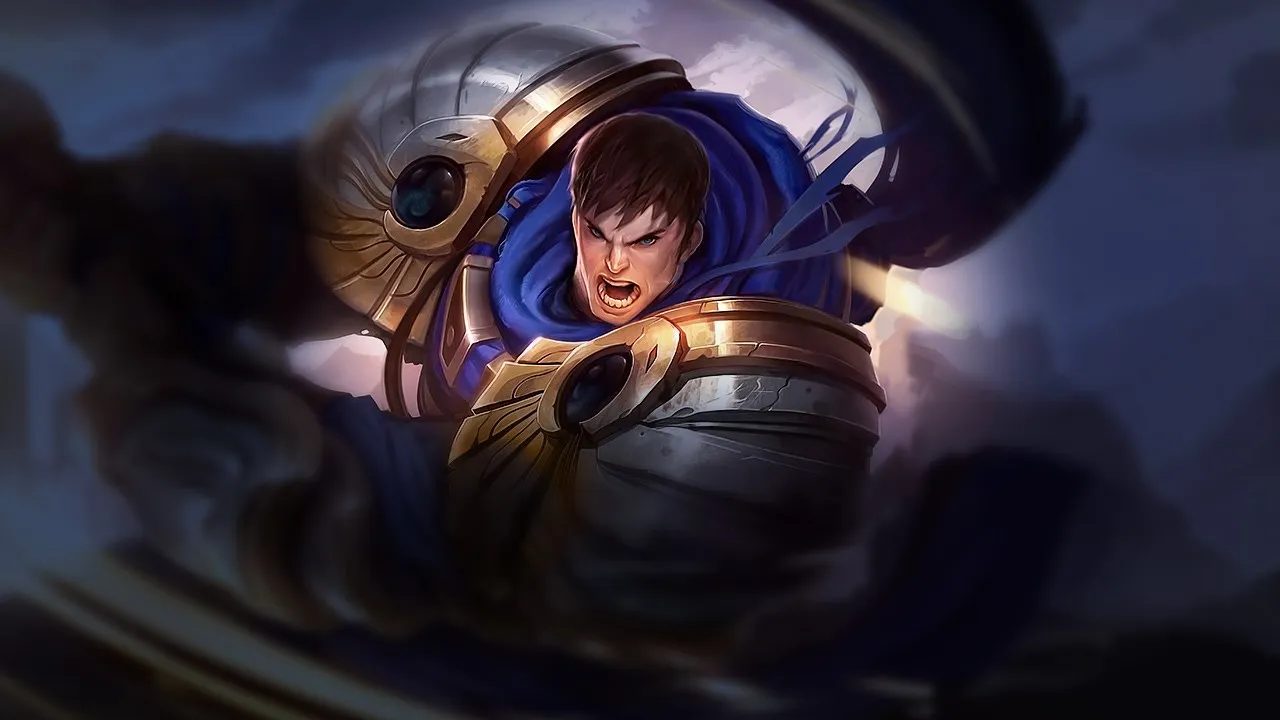
Sion gives Yasuo huge, readable knockups, which massively increases the value of every well-prepared engage. The execution is ideal when Sion starts with Unstoppable Onslaught or lands a charged Decimating Smash, then Yasuo activates Last Breath on the airborne targets before the enemy line can reset. This synergy is extremely strong against grouped drafts or teams with weak responses to direct frontal engages.
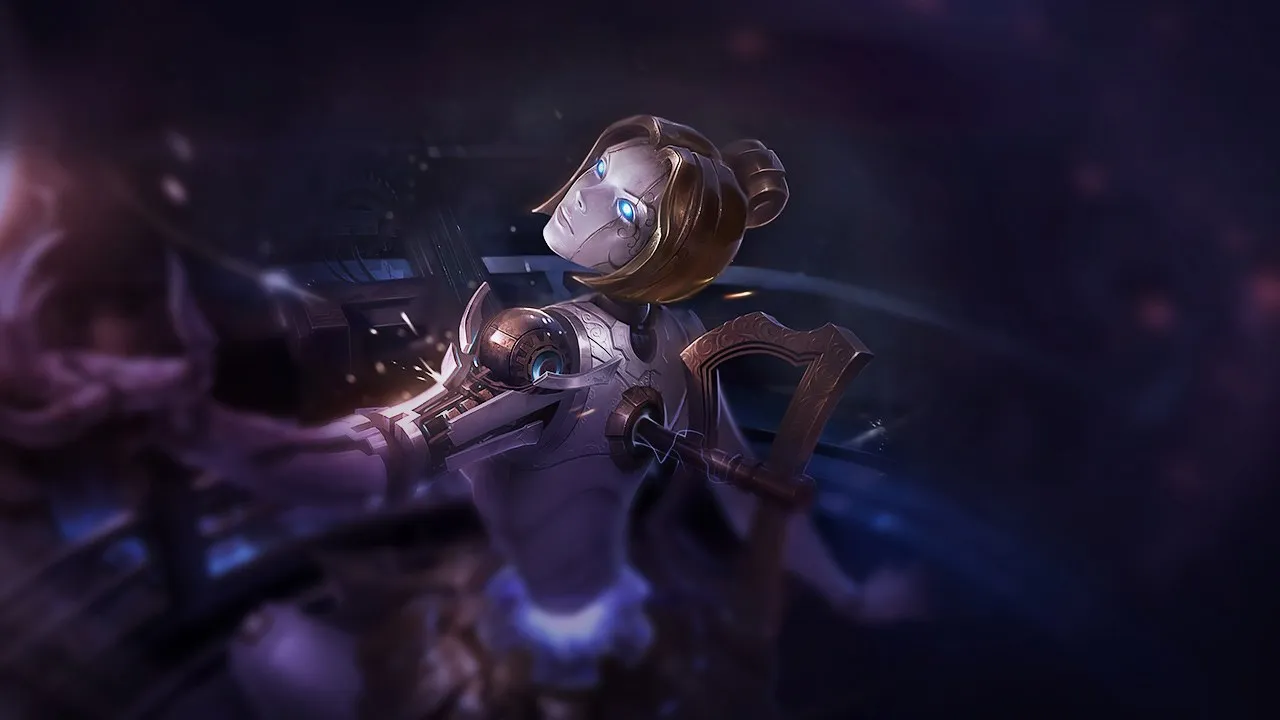
Orianna
Ideal
Orianna
Sion acts as a highly reliable engage vehicle for Orianna thanks to his linear ultimate and unavoidable frontline presence. The execution becomes deadly when Orianna places the ball on Sion before the charge, then triggers Shockwave exactly as the impact or follow-up fear creates chaos. This combination is especially strong around objectives where the enemy has limited lateral space to dodge the path.
Miss Fortune
Strong
Miss Fortune
Sion creates obvious control zones where Miss Fortune can channel Bullet Time with much lower risk of targets instantly walking out. The best execution is to engage with Sion R or zone with a charged Q, then let MF fully channel her ultimate while enemies are slowed, displaced, or forced into awkward paths. This pair punishes tightly packed compositions and objective fights in narrow spaces very hard.
Sejuani
Strong
Sejuani
Sejuani and Sion form a double-control frontline that is miserable for any short-range team to push through. The execution relies on disciplined layering: the first engage from Sejuani or Sion draws initial resources, then the second champion closes the escape route and secures the full fight duration. It is a very powerful duo in front-to-back comps that want to win the terrain before carries even get to play.

§ 07b — Mecánica avanzadaSion: combos & tips Wild Rift

Combo de ir con todo Flash
1 Q Q
2 Flash Flash
3
4 AA
5 E E
6 R R

Carga la Q sigilosamente, Flash sobre el enemigo y suelta para un derribo garantizado que es imposible de esquivar

Combo de iniciación con definitiva
1 R R
2 W W
3 E E
4 Q Q
5 W W
6 AA
7 AA

Usa tu definitiva para una iniciación imparable, usa la habilidad 2 para el escudo, la habilidad 3 para la ralentización y reducción de armadura, Q para el derribo, luego reactiva la habilidad 2 para daño en área

Combo de intercambio a corta distancia
1 W W
2 E E
3 Q Q
4 W W

Escudo primero, ralentización + reducción de armadura de la habilidad 3, Q mínima para daño, reactiva la habilidad 2 si el escudo sigue activo

Consejos mecánicos

  • Carga de Decimating Smash (Q): La Q inflige significativamente más daño y causa un derribo cuando está completamente cargada — se requiere un mínimo de 2 segundos de carga para el derribo; en combate, empieza a cargar tan pronto como el enemigo sea CC'd por otra cosa
  • Pasiva de Soul Furnace (2): La habilidad 2 otorga HP pasivo al matar monstruos/campeones — estas acumulaciones permanentes de HP son la verdadera fortaleza de Sion en el juego tardío
  • Reactivación de Soul Furnace: La habilidad 2 se puede reactivar después de 3 segundos para explotar e infligir daño — si el escudo se destruye antes, aún se reactivará
  • Unstoppable Onslaught (Definitiva): Sion es imparable mientras la definitiva se está cargando — puede atravesar los muros de ciertas áreas [a confirmar en WR]; detenerse en un campeón aturde a los enemigos cercanos

Errores comunes

  • Q cargada incorrectamente: Soltar la Q demasiado pronto (< 2s de carga) solo inflige daño sin derribo — reposiciónate para permitir el tiempo de cargarla completamente
  • Definitiva sin un aliado que siga: Unstoppable Onslaught inicia brillantemente, pero Sion no puede ir con todo por sí solo — usa siempre tu definitiva cuando el equipo pueda seguir en el próximo segundo
  • Soul Furnace activada demasiado tarde: activar la segunda habilidad después de recibir daño explosivo es subóptimo — actívala AL INICIO de la pelea para tener el escudo máximo durante los intercambios

Interacciones notables

  • Sion tiene una mecánica de muerte: cuando su HP llega a 0, se levanta temporalmente como un zombi con su velocidad de ataque y movimiento completas — usa estos segundos para auto-atacar al carry enemigo o correr hacia un objetivo
  • Roar de la Slayer (3) puede rebotar en súbditos/monstruos — en línea, lánzala a un súbdito con un campeón detrás para ralentizar a ambos y reducir su armadura
  • Con Hidra Titánica y acumulaciones de HP de Soul Furnace, una Q completamente cargada puede one-shotear carries frágiles

§ 07 — PreceptsSion Wild Rift tips for ranked

Tip · 01

Play the wave and cross-map: push, take plates, shift with R, then Teleport back lane.

Codex
Tip · 02

Don't charge Q for too long if the enemy has dash; half-charge is often enough.

Codex
Tip · 03

Your passive turns a death into a threat: fall among them during objectives.

Codex

§ 08 — DialoguesSion Wild Rift FAQ

Q.01 Is Sion a good blind pick TOP? +

Sion can be a decent blind pick, but not an automatic one. He brings frontline, health scaling, and macro pressure that remain useful in many drafts. The issue comes from matchups that punish his slowness, dodge his Q, or shred him with percent-health damage. If your team already has enough damage and can follow your engage, the blind is much more comfortable. If you may become the only frontline and damage threat, the pick becomes more fragile.

Q.02 Should Sion play split push or teamfight? +

Sion often needs to alternate between both. His split push is strong when he can clear fast, threaten Demolish, and force an opponent to answer. But he should not stay side lane while a decisive dragon or Baron happens without him. The correct plan is to push the wave before the objective, then choose: stay if the enemy answers poorly, or join with Teleport or ultimate if the fight becomes winnable.

Q.03 Why does my Sion feel tanky but useless in fights? +

The most common reason is that you enter without a usable angle. Sion can absorb a lot of damage, but if he engages too far from his team or charges Q in an easy area to leave, the enemy simply moves around him. His tankiness must create a decision: either the enemy focuses you and wastes time, or ignores you and suffers your control. If neither happens, you probably entered too early or in the wrong place.

Q.04 Should Sion’s passive encourage you to die? +

No. The passive is compensation and sometimes a zoning weapon, not permission to give kills. It becomes useful if your death happens in the middle of an objective, inside a trapped backline, or near a tower that can be finished. It becomes bad if you die alone side lane without a wave, without useful Teleport, and without pressure behind you. A good Sion uses passive to extend an already valuable action, not to justify a bad entry.

§ 09 — EchoesSion Wild Rift related guides

01
Role guide

Split Push and Side Lane Pressure in Wild Rift: How to Create Real Map Threat

Learn how to split push in Wild Rift without throwing: timing, side lane pressure, vision, objectives and macro decisions.

Read
02
Key mechanic

Wave Management in Wild Rift: the expert skill that wins objectives

Master Wild Rift wave management to create tempo, secure objectives, and win more games without forcing bad fights.

Read
03
Key mechanic

Understanding Macro in Wild Rift: The Real Difference Between Playing and Winning

Understand macro in Wild Rift: objectives, rotations, tempo, vision and decisions that help you win more ranked games.

Read
04
Draft read

How to Win More Ranked Games in Wild Rift

A coach-style guide to win more ranked games in Wild Rift: decisions, draft, objectives, invisible mistakes, and climbing mindset.

Read





