July 2026 · Patch 7.2a
Bruiser · Baron Lane

Tryndamere Wild Rift Guide

Bruiser

★ Baron Lane Tier B July 2026 · Patch 7.2a
DMG
UTIL
TANK
DIFF
Win 49.2% #61 · ↓3pt
Pick 2.2% #26
Ban 10.7% #12
§ 01 — Editorial brief

Tryndamere remains a pressure-based top laner more than a traditional teamfight champion.

By WRC Studio ~ 1 min read Patch 7.2a
Expert note

Expert take

Tryndamere is a champion who rewards tempo understanding more than pure mechanics. Of course, Spinning Slash resets, ultimate timing, and Fury management matter a lot, but his real strength appears when he forces opponents to play an uncomfortable map. He is not there to make every teamfight cleaner; he is there to make every enemy decision more expensive. If you enjoy controlling a side lane, counting enemy resources, and winning through repeated pressure rather than one big fight, Tryndamere can carry very hard. If you want a top laner who naturally protects his team, he does not fill that role.

Weak point

Hidden weakness

Tryndamere’s hidden weakness is not only kiting or crowd control: it is his dependence on a properly prepared map. When waves are poorly placed, side vision is missing, or his team cannot threaten elsewhere, his ultimate no longer creates a win condition; it only delays his death. A strong Tryndamere is not the one who survives five seconds longer; it is the one who chooses a zone where those five seconds cost the enemy something.

§ 02 — Strengths & weaknesses Tryndamere Wild Rift strengths and weaknesses

↑ Strengths
  • The pick is very rewarding when the enemy team lacks reliable crowd control to stop his Spinning Slash, Ghost, and ultimate-based all-in.
  • He punishes top laners who must farm under tower or answer waves slowly, because every late rotation can cost a plate, a tower, or an enemy jungle camp.
  • His Blade of the Ruined King into Infinity Edge spikes create a simple win condition: win the duel, push the side lane, force multiple answers.
  • He benefits from disorganized solo queue games where opponents answer cross-map pressure poorly and rotate too late toward deep side lanes.
↓ Weaknesses
  • Avoid Tryndamere if your team already lacks frontline, engage, and clear tools to stall while you play the side lane.
  • Avoid him into drafts full of armor, slows, and hard crowd control that can force your ultimate before you reach an important target.
  • Avoid him if the game is likely to be decided by early front-to-back 5v5s, because Tryndamere offers less than a true tank or utility bruiser in that setup.
  • Avoid him if you cannot play around side-lane vision: without deep wards and rotation awareness, his split-push becomes predictable and dangerous.
02

§ 03 — Game planTryndamere Wild Rift game plan: early, mid and late game

I Early

Build the side priority, collect plates and avoid…

Niv. 1 → 6

Build the side priority, collect plates and avoid unfavorable 1v1s.

II Mid

Two items: split acceleration + quick goal setting

Niv. 7 → 11

Two items: split acceleration + quick goal setting.

III Late

Press the weak side and force a 4v4 elsewhere via…

Niv. 12+

Press the weak side and force a 4v4 elsewhere via TP.

Data — Stats per levelTryndamere Wild Rift base stats per level (1-15)

Movement speed 355Attack range 175Bonus attack speed / lvl +2.2%
Show stats per level
LvlHPADArmorMRHP regen
16905446387.5
281859.549.9408.3
39466553.8429.1
41,07470.557.7449.9
51,2027661.64610.7
61,33081.565.54811.6
71,4588769.45012.4
81,58692.573.35213.2
91,7149877.25414
101,842103.581.15614.8
111,970109855815.6
122,098114.588.96016.4
132,22612092.86217.2
142,354125.596.76418
152,482131100.66618.8

Base data : wiki.leagueoflegends.com (CC BY-SA 4.0) · 2026-07-09

§ 05 — Recommended buildBest Tryndamere Wild Rift build for the current patch

Tryndamere remains a pressure-based top laner more than a traditional teamfight champion. His value comes from turning a side lane into a constant problem: he pushes fast, threatens duels through Fury, forces multiple answers, and can convert one enemy mistake into a tower, objective, or inhibitor. In the current patch, he is most valuable when the game gives room to champions who can play away from the group, punish slow rotations, and break the enemy’s tempo through split-push pressure. He is not the best pick when your team needs clean engage or stable frontline, but he becomes extremely hard to ignore once his early critical damage items are online and his ultimate lets him stay inside danger zones for longer than opponents expect. The real goal is not only to win lane: it is to force the enemy team to play at your pace.

Core
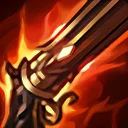
1 Blade of the Ruined King
Blade of the Ruined King
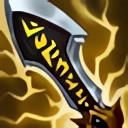
2 Infinity Edge
Infinity Edge
3 Phantom Dancer
Phantom Dancer
Boots
Plated Steelcaps Plated Steelcaps
/
Mercury's Treads Mercury's Treads
See the full build

§ 06 — The matchup wallTryndamere Wild Rift counters and synergies

Hard Unfav. Skill Fav. Synergy
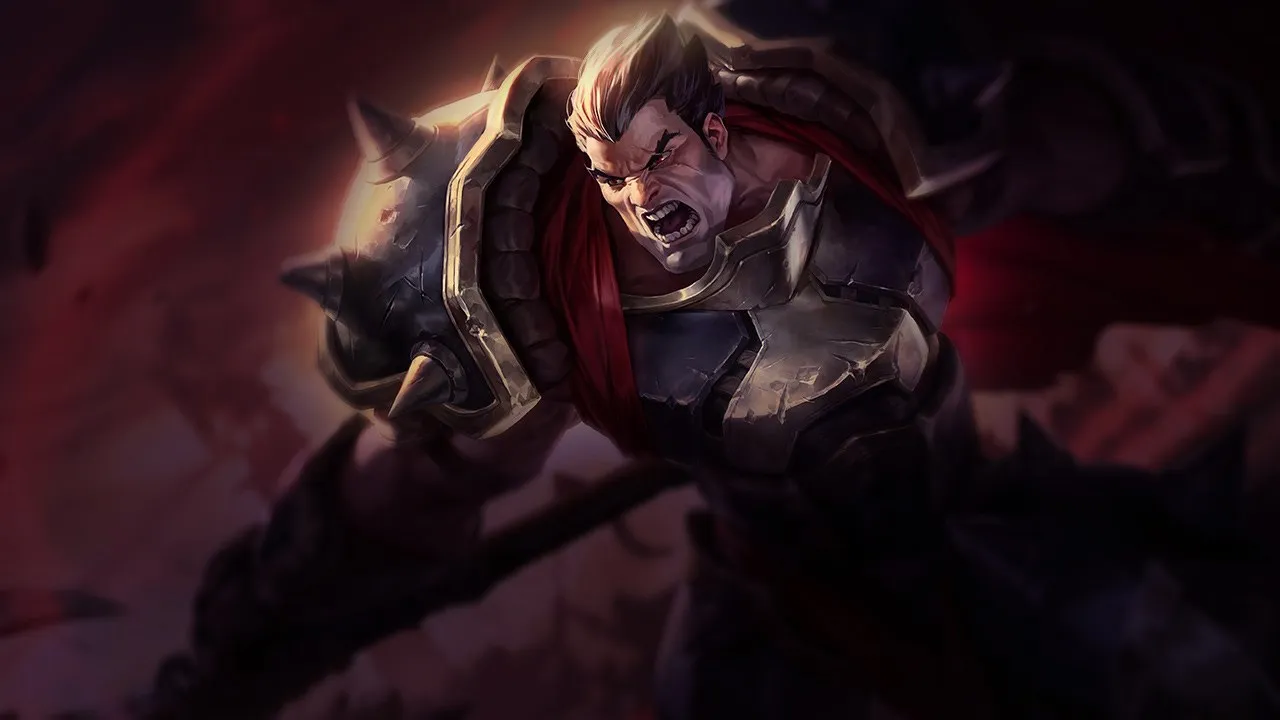
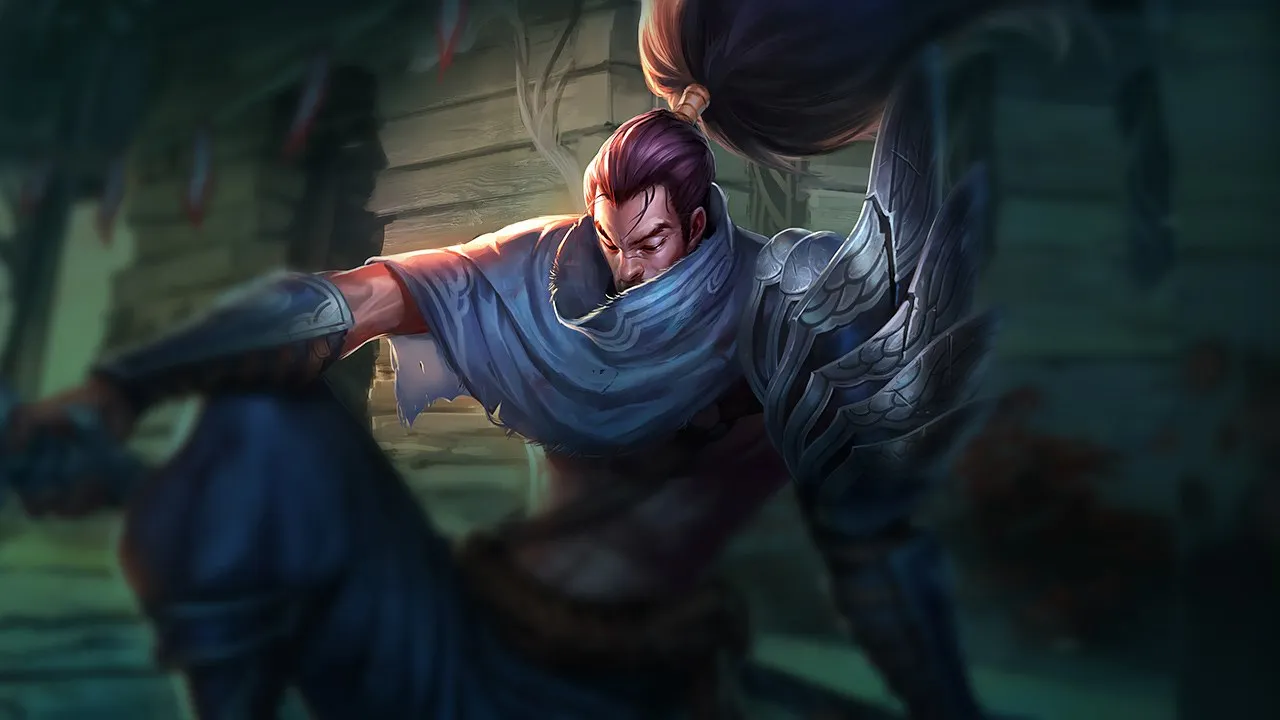
Malphite
Hard
Malphite
Fiora
Unfav.
Fiora
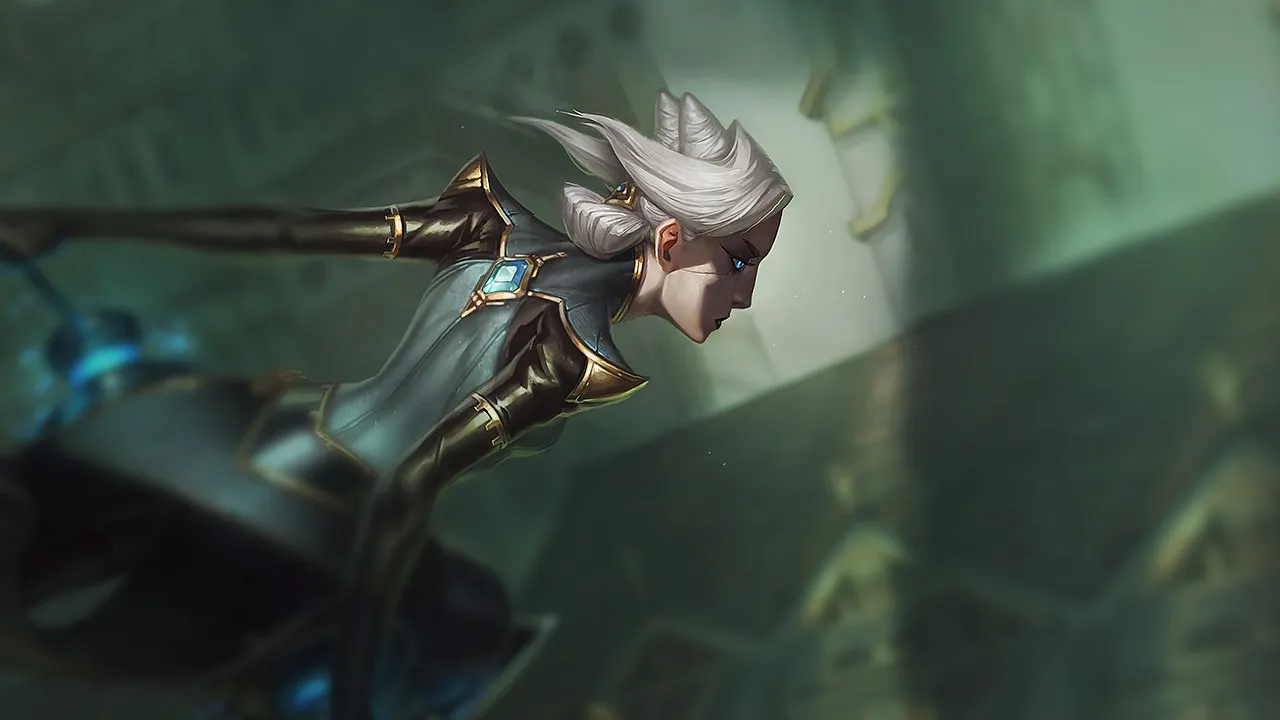
Camille
Skill
Camille
Yasuo
Fav.
Yasuo
Yuumi
Ideal
Yuumi
Yuumi turns Tryndamere into a side-lane or backline missile through movement speed, sustain, and an ultimate that secures his contact time. Tryndamere can enter with Spinning Slash, absorb the first enemy answer, cast Undying Rage, then keep hitting while Yuumi sustains the chase and cuts escape routes. This synergy becomes nightmarish from mid game onward against teams lacking coordinated burst or enough control to stop him before he reaches his target.
Lulu
Ideal
Lulu
Lulu covers all of Tryndamere's structural weaknesses in fights: she helps him reach the target, neutralizes counter-engage, and gives him a second wind when focused. The execution is very clean because Tryndamere only has to play his normal entry timing while Lulu chooses between speed-up, defensive polymorph, and Wild Growth based on the enemy response. The duo is excellent against kite or double-carry comps where a few extra seconds of survival are enough to flip the whole fight.
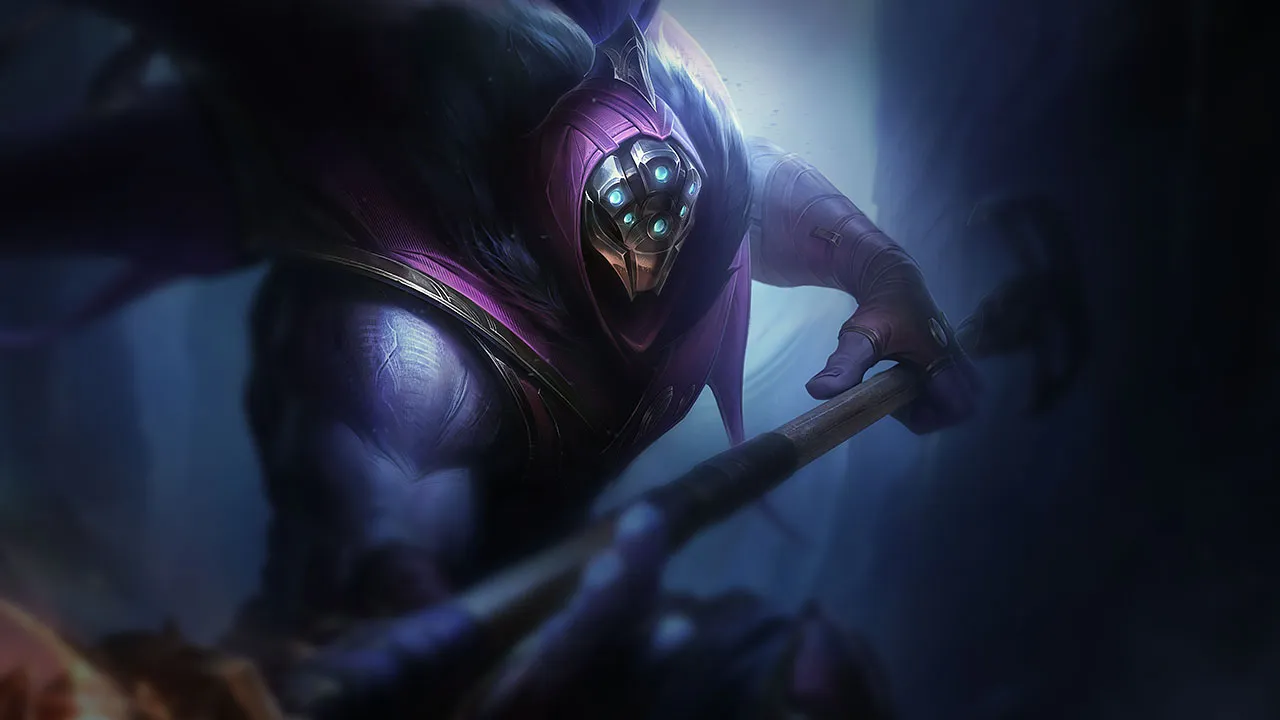
Jarvan IV
Strong
Jarvan IV
Jarvan IV gives Tryndamere what he often lacks: real target fixation and a readable initiation onto the priority carry. Inside Cataclysm, the enemy has less room to kite, allowing Tryndamere to fully cash in on his crits while keeping his dash for adjustment or chase. It is a very useful synergy against ranged compositions that would otherwise be hard to stick to.
Galio
Strong
Galio
Galio supports Tryndamere's risk-taking very well, especially on side lane or aggressive split pushes, because Hero's Entrance converts a tense duel into an instant numbers advantage. Tryndamere often draws pressure, and Galio punishes that reflex by covering his all-in with a massive knockup. This combination is valuable in drafts where Tryndamere must play as a pressure threat without dying for free on collapses.

§ 07 — PreceptsTryndamere Wild Rift tips for ranked

Tip · 01

Short, frequent trades: crit threat + E reset tire out the opponent.

Codex
Tip · 02

Activate R at the last moment; R too early is easily punished.

Codex

§ 08 — DialoguesTryndamere Wild Rift FAQ

Q.01 Is Tryndamere a good blind pick in top lane? +

Tryndamere can be blind picked if your team already has tools to stall fights and if you are willing to play a very macro-oriented game. He becomes much less reliable when the enemy can answer with armor, targeted crowd control, or champions that prevent him from staying in melee range. As a blind pick, he should be treated as a side-lane pressure bet, not a universal top lane answer.

Q.02 Should Tryndamere always split-push? +

No. Tryndamere often wants to play the side lane, but only when that pressure creates a real constraint. If your team cannot threaten an objective, if the wave is not advanced enough, or if you have no vision, staying alone can become a mistake. The right choice is to split-push when it forces an enemy answer; otherwise, you may need to group briefly, cover a wave, or wait for the right timing.

Q.03 What is the most important timing to carry with Tryndamere? +

Level 5 gives the first real threat, but the most decisive timing often comes with Blade of the Ruined King into Infinity Edge. At that point, Tryndamere can both win the duel and quickly convert pressure into towers. If you use this spike only to chase kills, you reduce its value. The real goal is to turn every won duel into map pressure.

Q.04 Should Tryndamere join teamfights? +

He can join teamfights, but he should not behave like a traditional frontline. In fights, Tryndamere usually looks for an angle onto a fragile target, a late flank, or a punish after enemy crowd control has been used. If you walk in from the front against a composition that can slow, control, and wait out your ultimate, you lose your value. A teamfight is good only if your entry creates real threat or forces too many resources.

§ 09 — EchoesTryndamere Wild Rift related guides

01
Role guide

Split Push and Side Lane Pressure in Wild Rift: How to Create Real Map Threat

Learn how to split push in Wild Rift without throwing: timing, side lane pressure, vision, objectives and macro decisions.

Read
02
Role guide

Solo Lane Guide Wild Rift: how to understand Baron Lane and win more games

Learn Solo Lane in Wild Rift: Baron Lane role, laning phase, split push, teamfights and common mistakes to avoid.

Read
03
Key mechanic

Wave Management in Wild Rift: the expert skill that wins objectives

Master Wild Rift wave management to create tempo, secure objectives, and win more games without forcing bad fights.

Read
04
Key mechanic

Wild Rift jungle pathing: how to choose your first route without playing randomly

Learn Wild Rift jungle pathing: routes, ganks, river control, objectives and the early mistakes that ruin your tempo.

Read