July 2026 · Patch 7.2a
Bruiser · Baron Lane

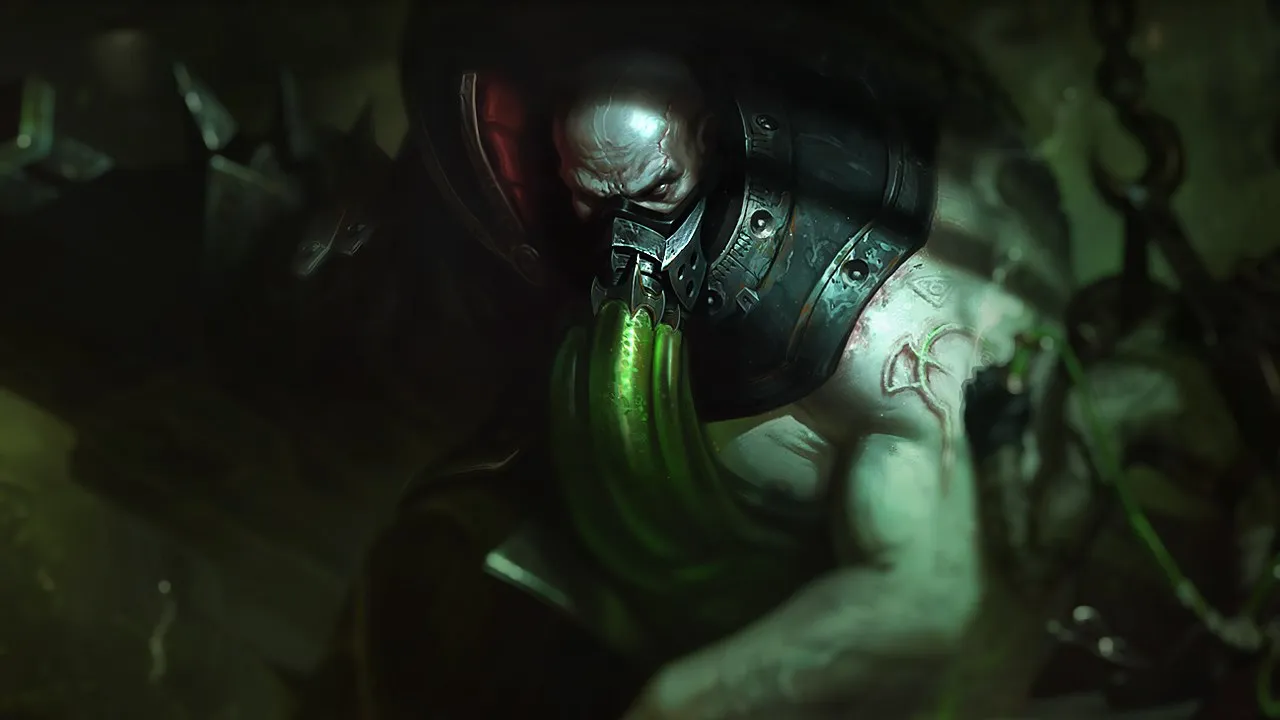
Urgot Wild Rift Guide

Bruiser

★ Baron Lane Tier A July 2026 · Patch 7.2a
DMG
UTIL
TANK
DIFF
Win 49.7% #57 · ↑6pt
Pick 3.7% #17
Ban 0.7% #71
§ 01 — Editorial brief

Urgot TOP holds a very specific position in the current patch: he is not a pure tank, not a basic lane bruiser, and not a classic split-pusher either.

By WRC Studio ~ 1 min read Patch 7.2a
Expert note

Expert take

Urgot is a very valuable champion when the player understands that he is not meant to chase everyone. His best version appears when he turns an area into a trap: he controls space with his body, pressures HP with Purge, forces mistakes around his E and makes every damaged target fear his ultimate. He is not the best choice for every draft, especially if the enemy can constantly refuse contact, but he becomes extremely difficult to deal with when his team agrees to play around his impact point. Pick Urgot if you want a frontline that actually kills, not just a wall that absorbs damage.

Weak point

Hidden weakness

Urgot’s least visible weakness is not just being kited: it is his dependence on a clean contact window. He can look very solid because he has high HP and constant DPS, but if his E is dodged, if his shotgun knees are not triggered in the right sequence, or if his ultimate is forced too early, his impact drops sharply. He cannot fix a bad entry as easily as a mobile champion.

§ 02 — Strengths & weaknesses Urgot Wild Rift strengths and weaknesses

↑ Strengths
  • He converts extended fights very well: the longer the fight lasts, the more his shotgun knees, Purge and Black Cleaver reward every second spent in contact.
  • His execute changes how enemies play objectives: a half-HP target can no longer contest a dragon or Baron as freely.
  • His HP-plus-damage build lets him stay threatening without fully sacrificing his ability to hold the frontline.
  • He punishes drafts that lack clean kiting tools or need to walk through a corridor to engage.
↓ Weaknesses
  • Avoid Urgot if your team has no way to follow your forward movement: without crowd control or pressure around you, your E becomes predictable and your ultimate arrives too late.
  • Avoid him into a draft that can slow, disengage and constantly back away, because Purge loses a lot of value when you cannot stay in range.
  • Avoid him if the game requires pure split-pushing: Urgot can push with Titanic Hydra, but he lacks the mobility and escape tools of a true side-lane specialist.
  • Avoid him if your team already lacks backline access and the enemy has several mobile carries; you may end up stuck hitting the opposing frontline.
02

§ 03 — Game planUrgot Wild Rift game plan: early, mid and late game

I Early

Prioritize the short lane: Q for harassment, E→W…

Niv. 1 → 6

Prioritize the short lane: Q for harassment, E→W on errors, backs on Ruby/Steelcaps.

II Mid

Group around Herald/Dragon: threat of execution…

Niv. 7 → 11

Group around Herald/Dragon: threat of execution and taking space with E.

III Late

Front-to-back: Flash guard to reposition the…

Niv. 12+

Front-to-back: Flash guard to reposition the performer and fear the opposing team.

Data — Stats per levelUrgot Wild Rift base stats per level (1-15)

Movement speed 340Attack range 350Bonus attack speed / lvl +2.2%
Show stats per level
LvlHPADArmorMRManaHP regenRes. regen
16606246403801012
279665.5514243010.812.8
393269564448011.613.6
41,06872.5614653012.414.4
51,20476664858013.215.2
61,34079.571506301416
71,47683765268014.816.8
81,61286.5815473015.617.6
91,74890865678016.418.4
101,88493.5915883017.219.2
112,0209796608801820
122,156100.51016293018.820.8
132,2921041066498019.621.6
142,428107.5111661,03020.422.4
152,564111116681,08021.223.2

Base data : wiki.leagueoflegends.com (CC BY-SA 4.0) · 2026-07-09

§ 05 — Recommended buildBest Urgot Wild Rift build for the current patch

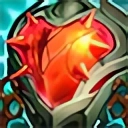
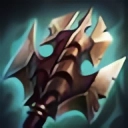
Urgot TOP holds a very specific position in the current patch: he is not a pure tank, not a basic lane bruiser, and not a classic split-pusher either. His real value comes from turning a frontline setup into a continuous threat zone. With Heartsteel, Titanic Hydra and Black Cleaver, he becomes hard to ignore because he walks forward, applies steady DPS, shreds armor and threatens an execute that can flip an entire objective fight. In solo queue, he heavily rewards messy spacing, contested corridors and carries who underestimate the real reach of his ultimate. However, he requires clean timing on his entry: if he activates Purge without an angle, without E, or without a weakened target, he becomes a slow oversized target instead of the center of the fight.

Core
1 Heartsteel
Heartsteel
2 Titanic Hydra
Titanic Hydra
3 Black Cleaver
Black Cleaver
Boots
Mercury's Treads Mercury's Treads
/
Plated Steelcaps Plated Steelcaps
See the full build

§ 06 — The matchup wallUrgot Wild Rift counters and synergies

Hard Unfav. Skill Fav. Synergy
Gwen
Hard
Gwen
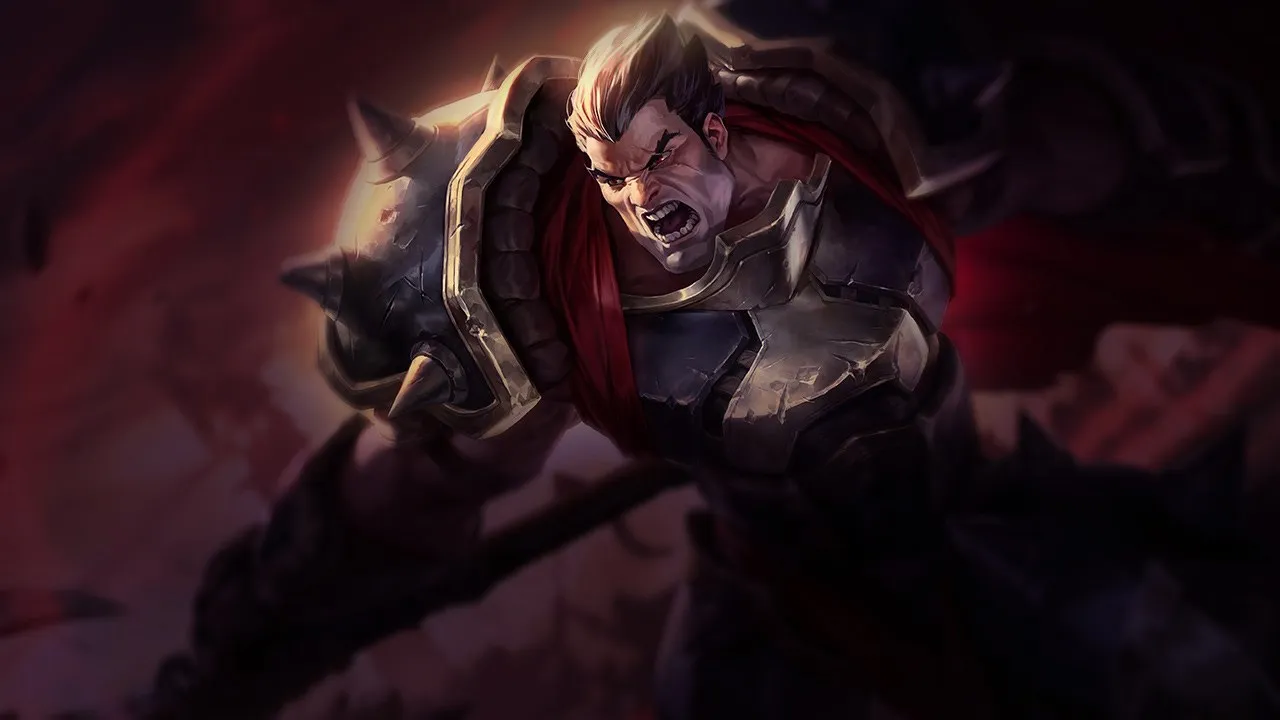
Darius
Unfav.
Darius
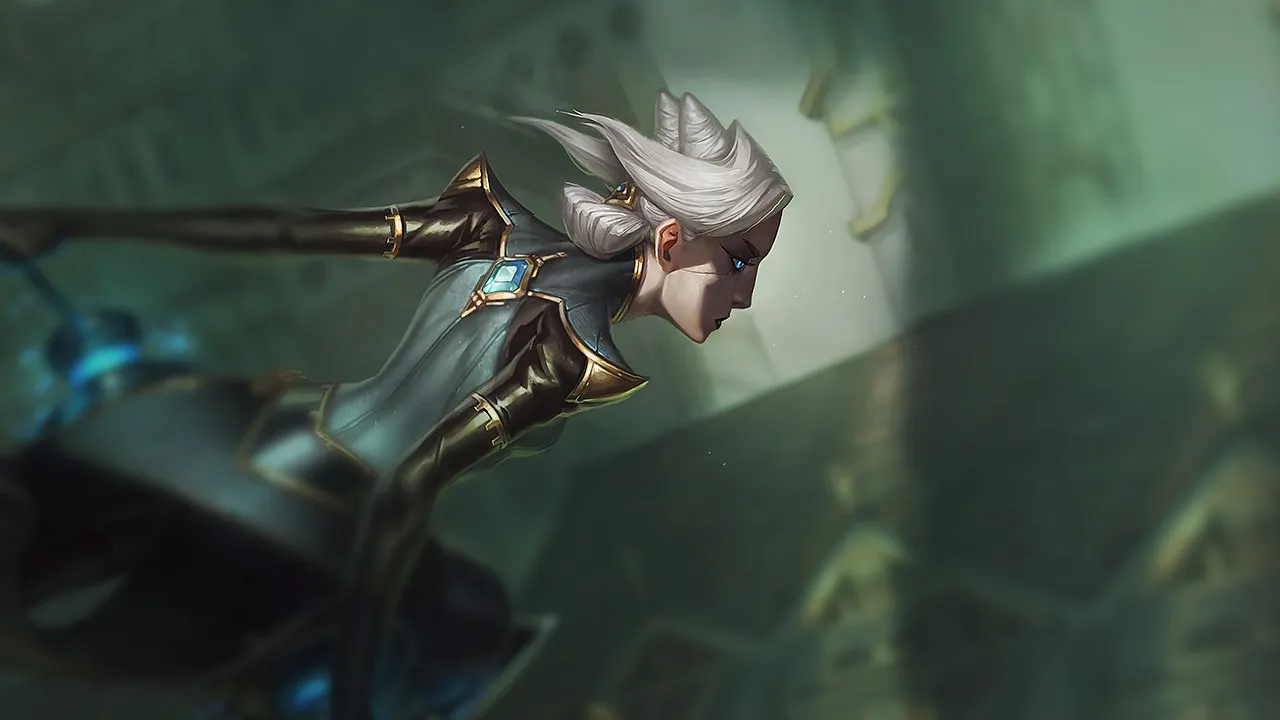
Camille
Skill
Camille
Yasuo
Fav.
Yasuo
Jarvan IV
Ideal
Jarvan IV
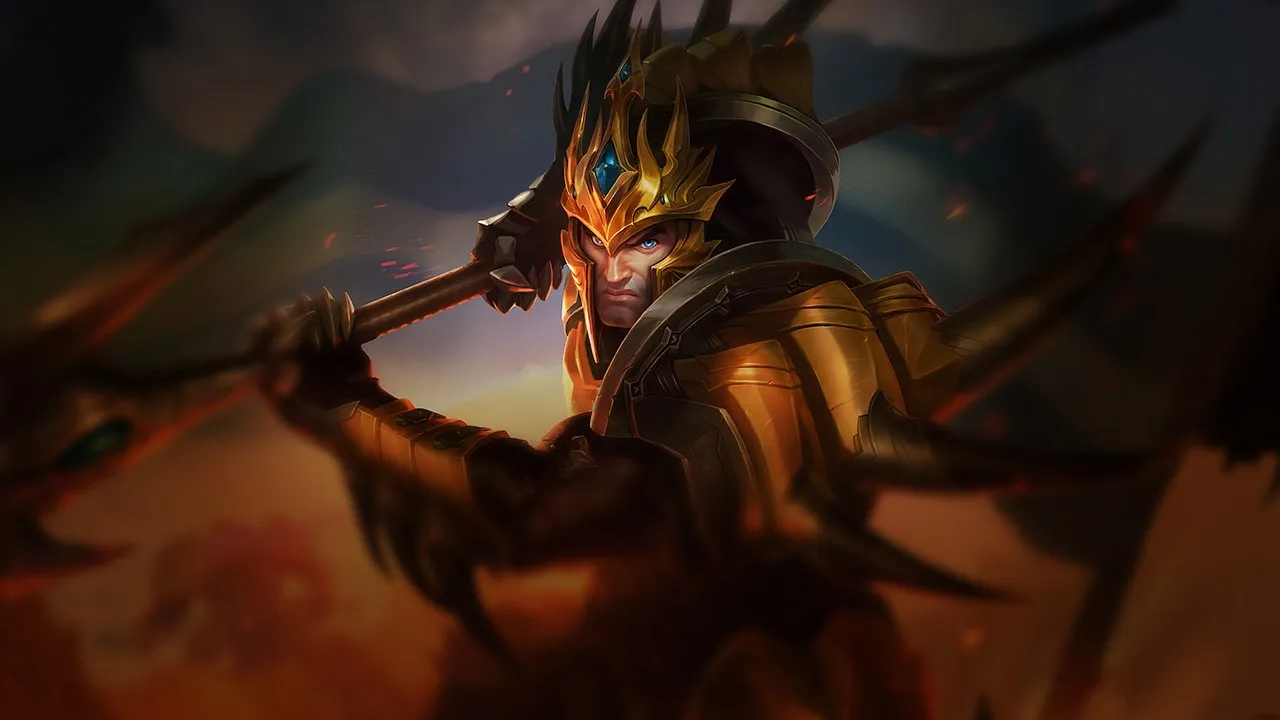
Jarvan IV forces a static fight with his E+Q engage and Cataclysm, removing the space targets need to kite Urgot during Purge. Urgot can then walk a short line, land Disdain on the arena edge, and guarantee Fear Beyond Death on an already chunked target. This synergy peaks against immobile or low-mobility carries because Jarvan's arena turns Urgot into an almost unavoidable executioner.
Leona
Ideal
Leona
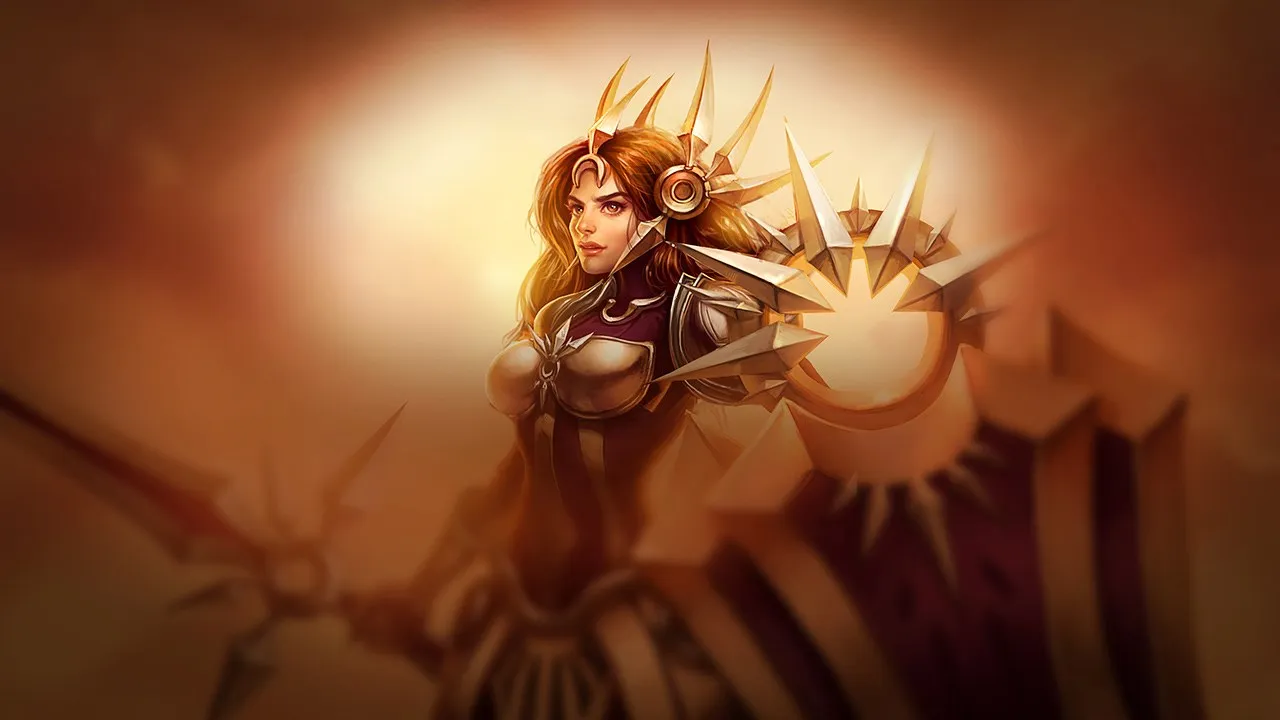
Leona locks a target long enough for Urgot to activate Purge without suffering from his usual short-range issue before contact. Zenith Blade into Shield of Daybreak stabilizes the enemy, and Solar Flare adds a second layer of control that gives Urgot time to circle his target and trigger multiple shotgun legs. It is especially deadly in objective fights where the first controlled target dies before the enemy frontline can properly answer.
Orianna
Strong
Orianna
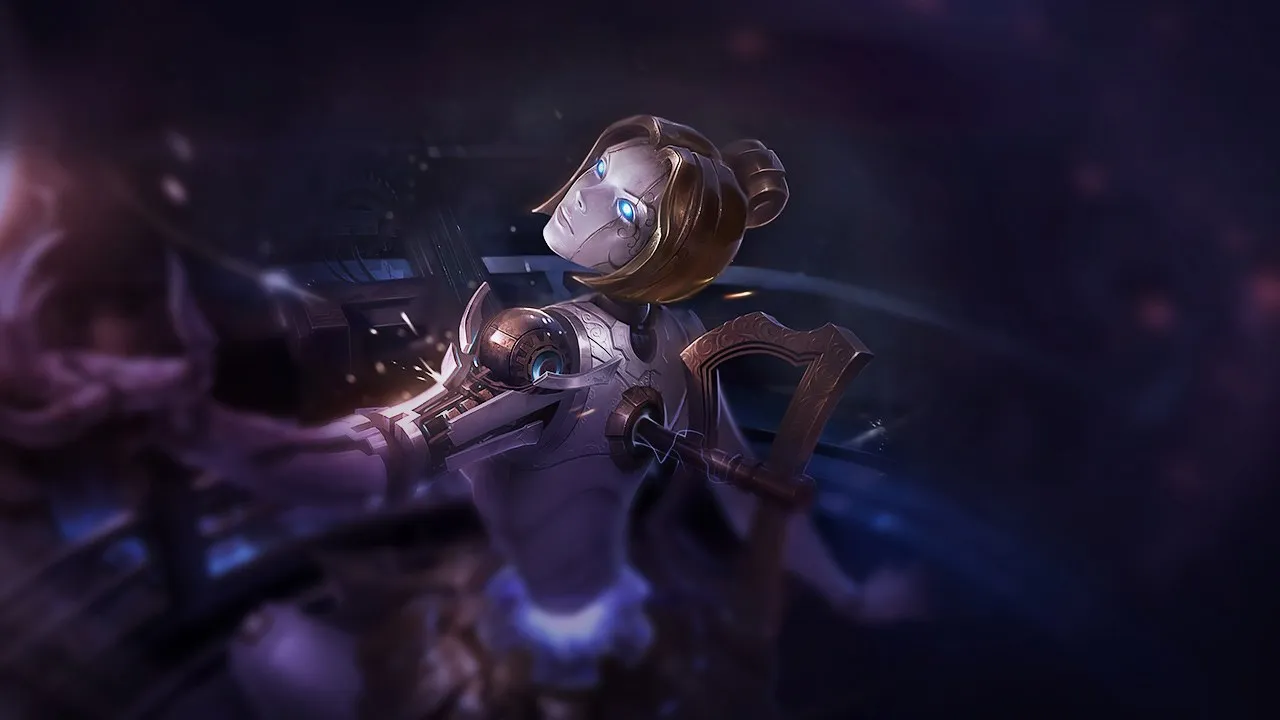
Orianna covers Urgot's lack of immediate burst with heavy magic follow-up on a target he keeps close in melee. Command: Protect gives him safer access into the backline, and Shockwave instantly punishes enemies grouping to peel Urgot's target. The combo is especially strong in mid game when Urgot starts controlling space in front-to-back fights and Orianna converts that space into a lethal zone.
Nami
Strong
Nami
Nami gives Urgot exactly what he wants in extended trades: movement speed, soft control, and extra damage over a short window. Aqua Prison or Tidal Wave hold the target long enough for first contact, while Tidecaller's Blessing helps Urgot stick and extract more value from Purge. Pick this pairing when your team wants a cleaner front-to-back setup instead of a pure hard engage angle.

§ 07b — Mecánica avanzadaUrgot: combos & tips Wild Rift

Combo estándar
1 AA
2 E E
3 AA

Ataca para activar los ataques de las piernas (pasiva), salta con la 3 para acercarte, ataca para activar dos ataques de piernas en rápida sucesión

Disdain Flash combo
1 E E
2 Flash Flash

Un combo similar al Flash-Flay de Thresh — usar Flash mientras saltas con Disdain permite un acercamiento sorpresa a larga distancia

Combo de ráfaga completa
1 Q Q
2 W W
3 AA
4 E E
5 AA
6 R R

Ralentiza con la 1, Purge para disparos rápidos, ataca para disparos de pierna, salta con la 3 para mantener el contacto, usa la definitiva cuando el objetivo tenga poca vida para el golpe final

Purge combo al nivel 7+"
1 W W
2 AA
3 W W
4 AA
5 AA

Al rango máximo, Purge no tiene límite de duración — intercala auto-ataques entre ráfagas de Purge para obtener el máximo DPS de impacto

Consejos mecánicos

  • Cañones de Pierna (pasiva): las piernas disparan en direcciones específicas — rodea al objetivo para que los 6 cañones disparen más rápido y en diferentes ángulos; cuanto más rápido rodees, más frecuentemente se activarán las piernas
  • Purge de impacto: Purge aplica efectos de impacto al 70% de efectividad (proc de Matadragones, etc.) — los objetos de impacto son extremadamente poderosos en Urgot
  • Corrosive Charge (1) ralentización: la primera carga aplica una ralentización masiva — úsala primero para preparar Disdain y mantener al enemigo dentro del rango
  • Fear Beyond Death (Definitiva) Flash: mientras canalizas la definitiva, Urgot puede Flash para reposicionar la cadena y asustar a múltiples enemigos simultáneamente, o atrapar a un objetivo que intente huir

Errores comunes

  • Disdain al aire: usar la Habilidad 3 sin Corrosive Charge primero significa que el enemigo puede saltar o Flash fuera de rango — siempre ralentízalos con la Habilidad 1 ANTES de usar Disdain
  • Split-push al final del juego: Urgot pierde los 1v1 al final del juego contra hiper-carries — agrupa con el equipo para usar su definitiva y sus piernas para daño en área
  • Fear Beyond Death demasiado pronto: la definitiva solo ejecuta por debajo de cierto umbral de vida — activarla demasiado pronto (40% de vida) solo causará miedo sin ejecución; espera el umbral rojo

Interacciones notables

  • Fear Beyond Death ejecuta Y expulsa el cadáver, creando un miedo en área — en una teamfight, ejecutar a un aliado del frente puede paralizar a todo el equipo contrario con miedo
  • Purge se puede cancelar manualmente al volver a lanzar — útil para mantener la movilidad después de un enfrentamiento
  • Con Matadragones + Hoja del Rey Arruinado, los auto-ataques y Purge de Urgot atraviesan eficazmente a los tanques

§ 07 — PreceptsUrgot Wild Rift tips for ranked

Tip · 01

Trade in an arc to link the 6 legs quickly.

Codex
Tip · 02

Don't activate W if you're going to get kite/CC: keep it after E.

Codex
Tip · 03

Your R is an objective win-condition: play around PV thresholds.

Codex

§ 08 — DialoguesUrgot Wild Rift FAQ

Q.01 Is Urgot a good blind pick in TOP? +

Urgot can be blind picked in some conditions, but he is not automatically reliable in every draft. He can handle many lanes thanks to his HP, constant DPS and ability to punish poor approaches, but he struggles when enemies can kite him or dodge his E without putting themselves at risk. If your team already has crowd control and a clear way to play objectives, the blind becomes much more acceptable. If your team lacks engage and you may become the only visible target, the pick becomes more fragile.

Q.02 When does Urgot become truly strong in a game? +

Urgot becomes truly dangerous once he combines execute pressure with the ability to stay in contact for a long time. Level 5 gives him his first real threat, but his tempo changes even more when Purge becomes stable and when Heartsteel plus Titanic Hydra give him enough HP and damage to hold the center of the fight. The real signal is not only your item count: it is your ability to force an objective in an area where the enemy cannot freely back away.

Q.03 Should Urgot play split-push or teamfights? +

Urgot can push a side lane, especially with Titanic Hydra, but he should not be treated as a pure split-pusher. He often lacks the mobility to escape cleanly if multiple enemies collapse on him. His main value comes more from objective fights, corridors and areas where his body, shotgun knees and ultimate force enemies to respect space. Use the side lane to create tempo, then look to convert that tempo around your team.

Q.04 What is the biggest mistake on Urgot? +

The biggest mistake is confusing presence with impact. Many players walk forward, activate Purge and think they are doing their job because they are in the middle of the fight. But Urgot needs meaningful contact: E must threaten something, shotgun knees must be triggered intelligently, and the ultimate must land on a target the team can actually finish or prevent from escaping. Being in front is not enough; you need to be in front at the right place, at the right time, with a real target.

§ 09 — EchoesUrgot Wild Rift related guides

01
Role guide

Split Push and Side Lane Pressure in Wild Rift: How to Create Real Map Threat

Learn how to split push in Wild Rift without throwing: timing, side lane pressure, vision, objectives and macro decisions.

Read
02
Key mechanic

Wave Management in Wild Rift: the expert skill that wins objectives

Master Wild Rift wave management to create tempo, secure objectives, and win more games without forcing bad fights.

Read
03
Role guide

Solo Lane Guide Wild Rift: how to understand Baron Lane and win more games

Learn Solo Lane in Wild Rift: Baron Lane role, laning phase, split push, teamfights and common mistakes to avoid.

Read
04
Key mechanic

Understanding Macro in Wild Rift: The Real Difference Between Playing and Winning

Understand macro in Wild Rift: objectives, rotations, tempo, vision and decisions that help you win more ranked games.

Read