July 2026 · Patch 7.2a
Mage · Mid Lane

Orianna Wild Rift Guide

Mage

★ Mid Lane Tier S July 2026 · Patch 7.2a
DMG
UTIL
TANK
DIFF
Win 51.7% #31 · ↑4pt
Pick 5.2% #12
Ban 0.1% #120
§ 01 — Editorial brief

Orianna remains a reliable MID pick when the game is decided through space control, vision setup, and grouped objective fights.

By WRC Studio ~ 1 min read Patch 7.2a
Expert note

Expert take

Orianna is an excellent test of mid-lane maturity. She rewards preparation more than impulse: manage the wave to arrive before the objective, place the ball before enemies see the angle, read whether Shockwave should engage or protect. She is not always the best choice when the game demands chaos, permanent side pressure, or immediate assassin threat. But in a draft that can play around her, she gives something very rare in solo queue: a clear way to win the next fight. The player who accepts that every R does not need to be a highlight will get far more from Orianna than someone who plays her like a simple burst button.

Weak point

Hidden weakness

Orianna’s hidden weakness is not only her lack of mobility: it is her dependence on having the ball in the right place before the decision starts. If she has to reposition the ball after the fight begins, she often loses a crucial half-second. That half-second lets an assassin enter, a carry step out of range, or an enemy activate Stasis. A strong Orianna makes Shockwave look instant, but that result almost always comes from invisible preparation.

§ 02 — Strengths & weaknesses Orianna Wild Rift strengths and weaknesses

↑ Strengths
  • She gives her team a simple teamfight condition around dragons, Baron, and choke points: place the ball, control the entrance, then punish the enemy stack.
  • Her level 5 immediately changes how enemies can contest mid lane or river, especially when Flash is available to threaten an unexpected Shockwave.
  • She punishes the common ranked mistake of grouping too tightly: one bad step in a corridor can turn a neutral fight into a secured objective.
  • She stays useful even without snowballing thanks to shield, slow, speed-up, and counter-engage threat, which makes her less dependent on a perfect early game.
↓ Weaknesses
  • Avoid Orianna if your team has no champion able to enter or hold space in front of her: without an anchor, the ball becomes too easy to respect.
  • Avoid her into drafts that can constantly force onto her before objectives, especially if multiple threats can reach her backline without going through your frontline.
  • Avoid her if your composition wants permanent split pressure and isolated skirmishes: Orianna loses a lot when fights never gather around a defined space.
  • Avoid her if you know your team will lack river vision: Orianna can control visible space, but she hates being the first champion walking into fog.
02

§ 03 — Game planOrianna Wild Rift game plan: early, mid and late game

I Early

Manage the priority without over-pushing; place…

Niv. 1 → 6

Manage the priority without over-pushing; place the ball to threaten and prepare a jungler setup.

II Mid

Control flank vision, search for a 5v4 via…

Niv. 7 → 11

Control flank vision, search for a 5v4 via Flash-R/Ball delivery, convert to lens.

III Late

Play front-to-back; keep Shockwave for enemy…

Niv. 12+

Play front-to-back; keep Shockwave for enemy backline or counter-engagement depending on the draft.

Data — Stats per levelOrianna Wild Rift base stats per level (1-15)

Movement speed 355Attack range 550Bonus attack speed / lvl +0%
Show stats per level
LvlHPADArmorMRManaHP regenRes. regen
16304628364357.512
275048.73237.24928.113.1
387051.33638.45498.614.2
4990544039.66069.215.3
51,11056.64440.86639.716.4
61,23059.3484272010.317.5
71,35061.95243.277710.818.6
81,47064.65644.483411.419.7
91,59067.26045.689111.920.8
101,71069.96446.894812.521.9
111,83072.568481,0051323
121,95075.27249.21,06213.624.1
132,07077.87650.41,11914.125.2
142,19080.48051.61,17614.726.3
152,31083.18452.81,23315.227.4

Base data : wiki.leagueoflegends.com (CC BY-SA 4.0) · 2026-07-09

§ 05 — Recommended buildBest Orianna Wild Rift build for the current patch

Orianna remains a reliable MID pick when the game is decided through space control, vision setup, and grouped objective fights. She is not the mage who wins every draft through raw side-lane pressure, but she gives her team a very clear fight condition: place the ball before the objective, force enemies to respect its zone, then punish the first tight grouping with Shockwave. In solo queue, where many fights start without proper setup, her value comes from turning one bad enemy position into an immediate decision. She still demands real discipline: if the ball is misplaced, if Flash is unavailable, or if her team engages before she is ready, Orianna loses a large part of her authority.

Core
1 Luden's Companion
Luden's Companion
2 Coiffe de Rabadon
Coiffe de Rabadon
Boots
Ionian Boots of Lucidity Ionian Boots of Lucidity
/
Mercury's Treads Mercury's Treads
See the full build

§ 06 — The matchup wallOrianna Wild Rift counters and synergies

Hard Unfav. Skill Fav. Synergy
Zed
Hard
Zed
Yasuo
Unfav.
Yasuo
Ahri
Skill
Ahri
Annie
Fav.
Annie
Malphite
Ideal
Malphite
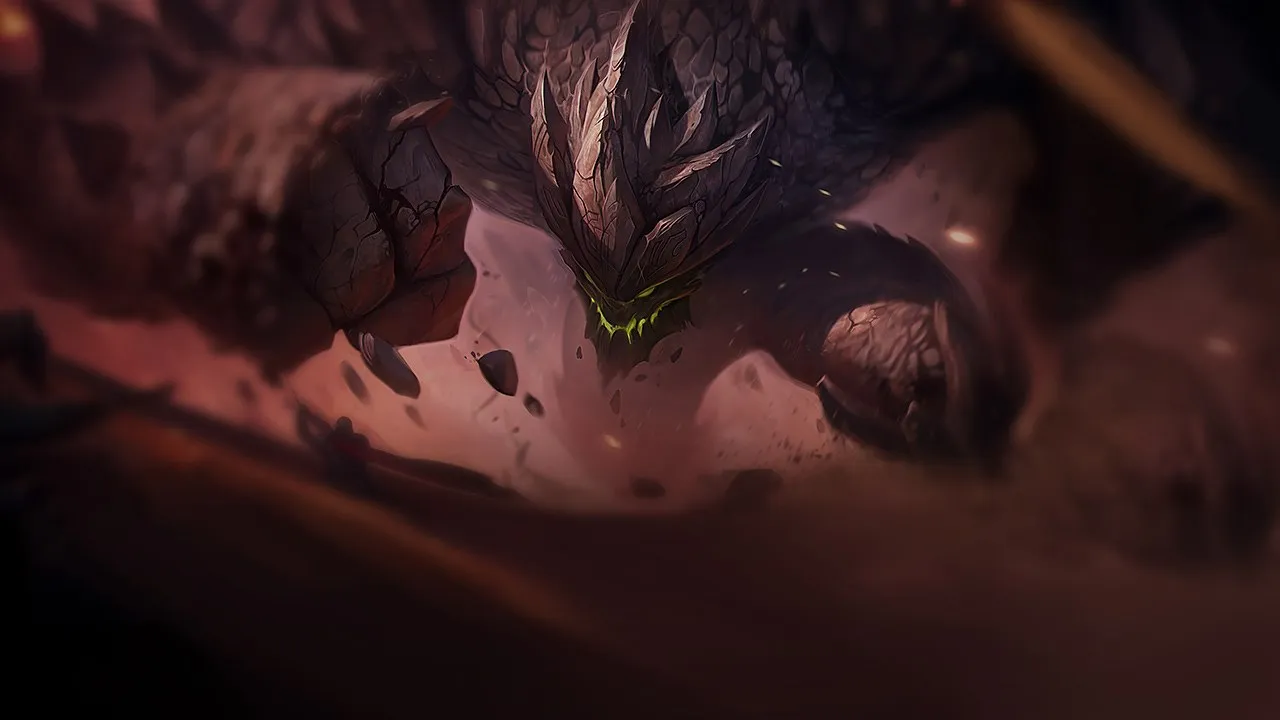
This is the most iconic wombo combo in the game: Orianna places her ball on Malphite with Command: Protect, Malphite dives into the enemy cluster with Unstoppable Force which carries the ball to the center of the enemy, and Orianna triggers Command: Shockwave on the ball freshly deposited amid 3-4 knocked-up targets. No dodge mechanic can break this sequence once started — the ball moves with Malphite throughout his entire ult. Optimal combo when the enemy team is grouped around an objective or inhibitor: signal Malphite to ult, Shockwave 0.1 second after impact.
Jarvan IV
Ideal
Jarvan IV
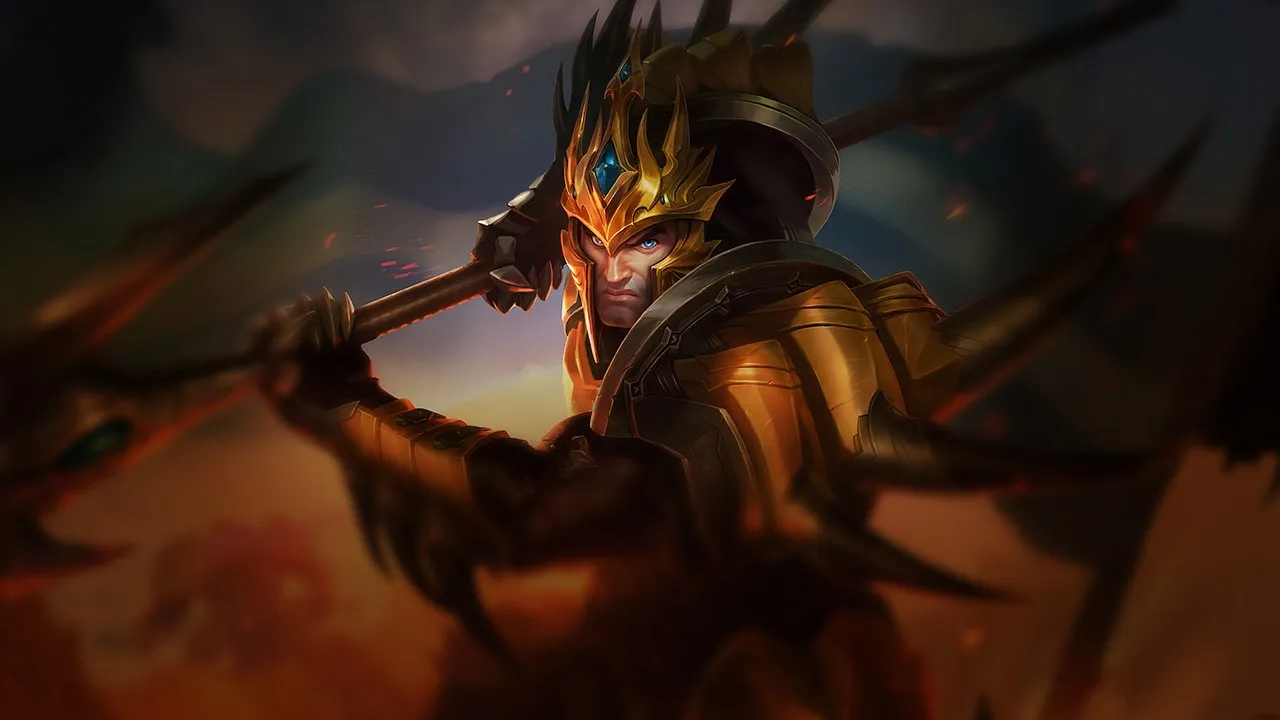
J4's Cataclysm traps targets inside the arena — Orianna drops the ball at the cage center with Command: Attack and triggers Shockwave which clusters already-encircled enemies, making all escape impossible. The ball can be placed inside the arena from outside: Orianna doesn't need to expose herself to command the ball into J4's cage. Total control synergy: J4 creates the prison, Orianna creates CC inside the prison, and the team can engage from any angle while enemies are immobile.
Yasuo
Strong
Yasuo
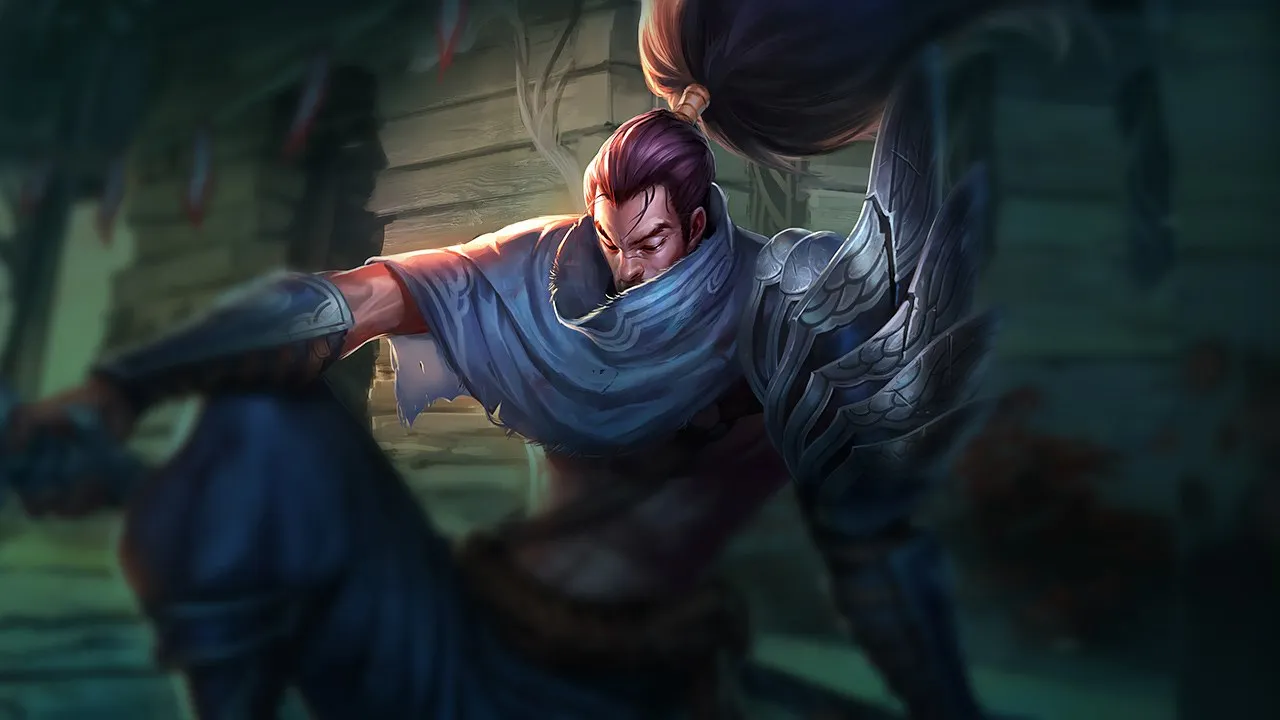
Orianna's ball can trigger a knockup through interaction with Yasuo's Steel Tempest — by positioning the ball on a group, Yasuo creates his Steel Tempest tornado on the ball to knock up all targets in radius, then Orianna triggers Shockwave. The mid-mid synergy creates enormous pressure in rotation phase: both roam toward bot or top and can instantly CC an entire group. Shockwave also amplifies Yasuo's auto-attack potential as clustered targets are harder to kite and receive the armor reduction post-Last Breath.
Lee Sin
Strong
Lee Sin
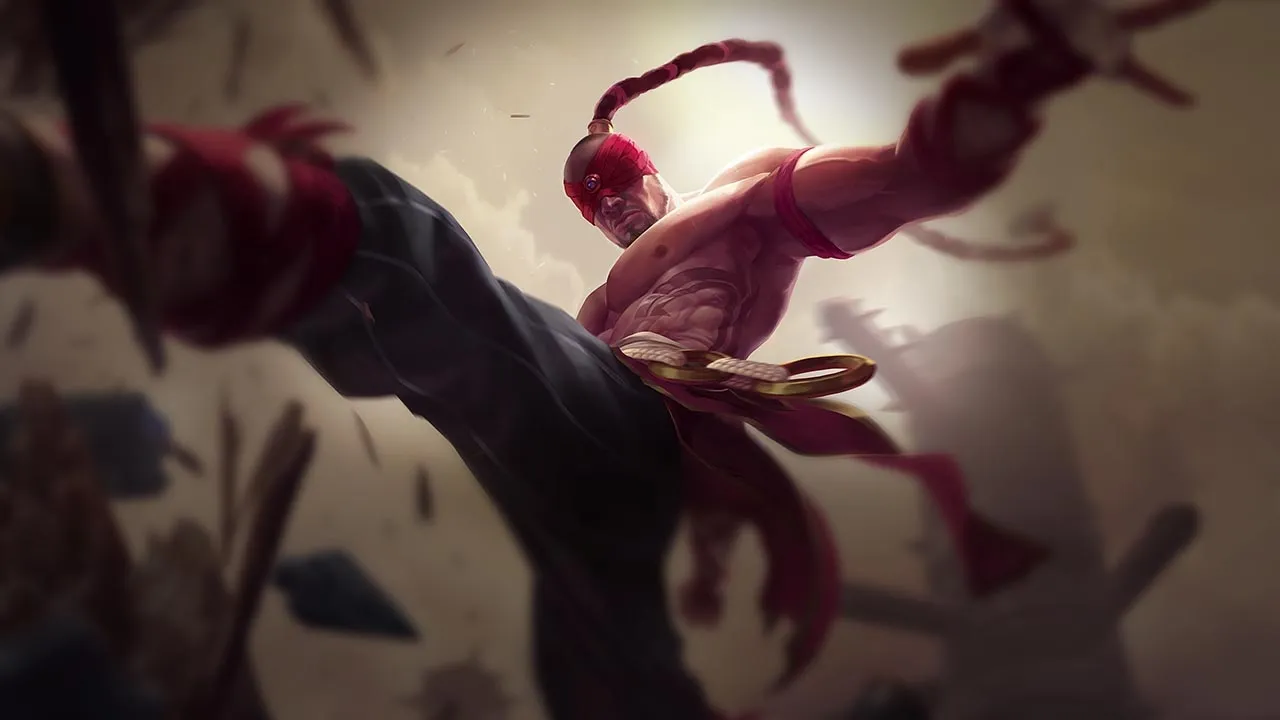
Lee Sin's Dragon's Rage sends a target flying toward the enemy team — if Orianna has her ball positioned behind the enemies, the kicked target lands in Shockwave's radius and clusters enemies around the impact point. The Insec kick (W onto an ally behind enemies, then R kick toward his team) is one of the most spectacular plays in the game and Orianna is the ideal partner to close the combo. Lee Sin can also use Safeguard/Iron Will (W) to project onto Orianna's ball and use Dragon's Rage from an unexpected position.

§ 07b — Mecánica avanzadaOrianna: combos & tips Wild Rift

Combo de pokeo en línea
1 Q Q
2 W W
3 AA
4 E E

Lanza la bola, ralentiza con la habilidad 2, autoataque mientras estás bajo el bonus de velocidad, recupera la bola con la habilidad 3 si estás en peligro

Combo de todo o nada
1 Q Q
2 R R
3 W W
4 AA
5 E E

Envía la bola al medio de los enemigos, usa tu ultimate para atraerlos, aplica una ralentización inmediata con la habilidad 2 (los enemigos no pueden huir), luego autoataque

Combo sorpresa con un aliado
1 E E
2 W W
3
4 R R
5 Q Q
6 W W
7 E E

Adjunta la bola a un tanque aliado que esté iniciando, activa la ultimate en medio de los enemigos para una atracción completa

Consejos mecánicos

  • Posicionamiento de la bola en un aliado: usa Command: Protect para colocar la bola en un aliado que esté iniciando (Jarvan, Malphite) — los enemigos no pueden ver la bola y son sorprendidos por la ultimate
  • Command: Dissonance independiente: La Habilidad 2 se puede activar en la bola incluso si Orianna está fuera de rango — útil para gankear o zonear desde una distancia segura
  • Bola = proyectil: Command: Attack inflige daño a los enemigos que atraviesa antes de alcanzar su objetivo — coloca el objetivo detrás del enemigo para garantizar un golpe al atravesarlo
  • Ultimate después de la atracción: después de Shockwave, activa inmediatamente Command: Dissonance — los enemigos atraídos se agrupan y la ralentización evita que se dispersen

Errores comunes

  • Bola posicionada incorrectamente para la ultimate: Command: Shockwave solo atrae a los enemigos cercanos a la bola, no a Orianna — siempre verifica que la bola esté en el centro del grupo enemigo ANTES de usar tu ultimate
  • Posicionarte en la línea frontal: Orianna no tiene mecanismo de escape — quédate en la línea trasera y controla la bola desde la distancia
  • Olvidar que Command: Dissonance potencia la velocidad de Orianna: La Habilidad 2 otorga un bonus de velocidad cuando la bola está en ti — úsalo para escapar o reposicionarte rápidamente

Interacciones notables

  • Shockwave → Dissonance es el combo de daño más efectivo, ya que la segunda habilidad apunta a la bola, donde terminan todos los enemigos atraídos
  • Orianna se sinergiza bien con Malphite (ultimates simultáneas), Jarvan IV y Hecarim — todos ellos son campeones de tipo engage que atraen a los enemigos hacia la bola
  • Command: Protect (3) otorga un escudo a un aliado — úsalo defensivamente en el ADC enemigo con poca vida para ayudarlo a sobrevivir a un burst

§ 07 — PreceptsOrianna Wild Rift tips for ranked

Tip · 01

Position the ball BEFORE the target: the threat counts as much as the activation.

Codex
Tip · 02

Don't waste W unnecessarily: it's your tool for engaging, peeling and zoning.

Codex
Tip · 03

Announce your R timers and prepare an angle (Flash/E on ally) before pressing.

Codex

§ 08 — DialoguesOrianna Wild Rift FAQ

Q.01 Is Orianna a good blind pick in MID? +

Orianna can be a solid blind pick if your team already has, or can still draft, frontline, engage, or a carry to protect. She has enough tools to lane into many mages through Q, passive, and shield. The problem appears when enemies can stack mobile threats that force her Flash before objectives. As a blind pick, she requires careful draft reading: reliable inside a team structure, much less comfortable if your draft may lack an anchor.

Q.02 Should Shockwave be used to engage or to peel? +

The correct answer depends on your win condition. If your team has a ball carrier who can enter cleanly, Shockwave can be your best engage tool. But if your ADC or fed jungler is the true win condition, holding R to break a dive can be more valuable. Orianna is not only an initiation mage: she is also excellent at punishing enemies who commit too deep. Before the fight starts, decide which use will matter more.

Q.03 Why does Orianna sometimes feel useless even with good damage? +

Because her damage is not enough if the ball does not influence the important space. You can poke well in lane, but still lose real fights if the ball arrives too late in the choke or if you have to walk first without vision. Orianna is strong when her damage forces a decision: retreat, split, use Stasis, or give the objective. If your spells hit without creating a concrete change, the issue is often timing and positioning, not only build.

Q.04 When does Orianna become truly strong in a game? +

Her first real breakpoint comes at level 5 with Shockwave, because enemies suddenly have to respect the ball around mid and river. Luden's Echo then makes her poke threatening enough to prepare objectives, and Rabadon's Deathcap gives her the power to swing a fight even with an imperfect setup. But her strongest spike is often collective: when your team starts grouping with vision, and the ball can be placed before enemies enter.

§ 09 — EchoesOrianna Wild Rift related guides

01
Role guide

Wild Rift MID Lane Guide: lane control, rotations and real map impact

Complete Wild Rift MID guide: lane control, rotations, vision, objectives and common mistakes to avoid when playing mid.

Read
02
Key mechanic

Wave Management in Wild Rift: the expert skill that wins objectives

Master Wild Rift wave management to create tempo, secure objectives, and win more games without forcing bad fights.

Read
03
Key mechanic

Understanding Tempo in Wild Rift: Why You Are Always Late

Learn how tempo works in Wild Rift: recalls, rotations, objectives, and the mistakes that make you arrive too late.

Read
04
Key mechanic

Rotations

Learn how to manage rotations in Wild Rift: wave state, tempo, objectives, vision, and macro decisions so you stop moving randomly.

Read