Anti-engage and shields that break the execution
Pyke wants to turn a displaced or stunned target into a very fast execution threshold. Champions that add a shield, block crowd control, or delay the finish break that logic. Morgana forces Pyke to think before throwing his hook, because one good defensive timing can erase the window he just created. Braum also complicates short trades: he can protect the target, punish Pyke’s step forward, and turn the all-in into an extended fight, exactly the kind of fight Pyke does not want to play.
How the champion adapts. Pyke must first force the defensive spell, not look for the direct execution. Threaten a hook, clear vision, back away, then return when the shield or anti-engage is unavailable. Roaming can also be better than forcing lane.
Instant crowd-control supports that punish the entry
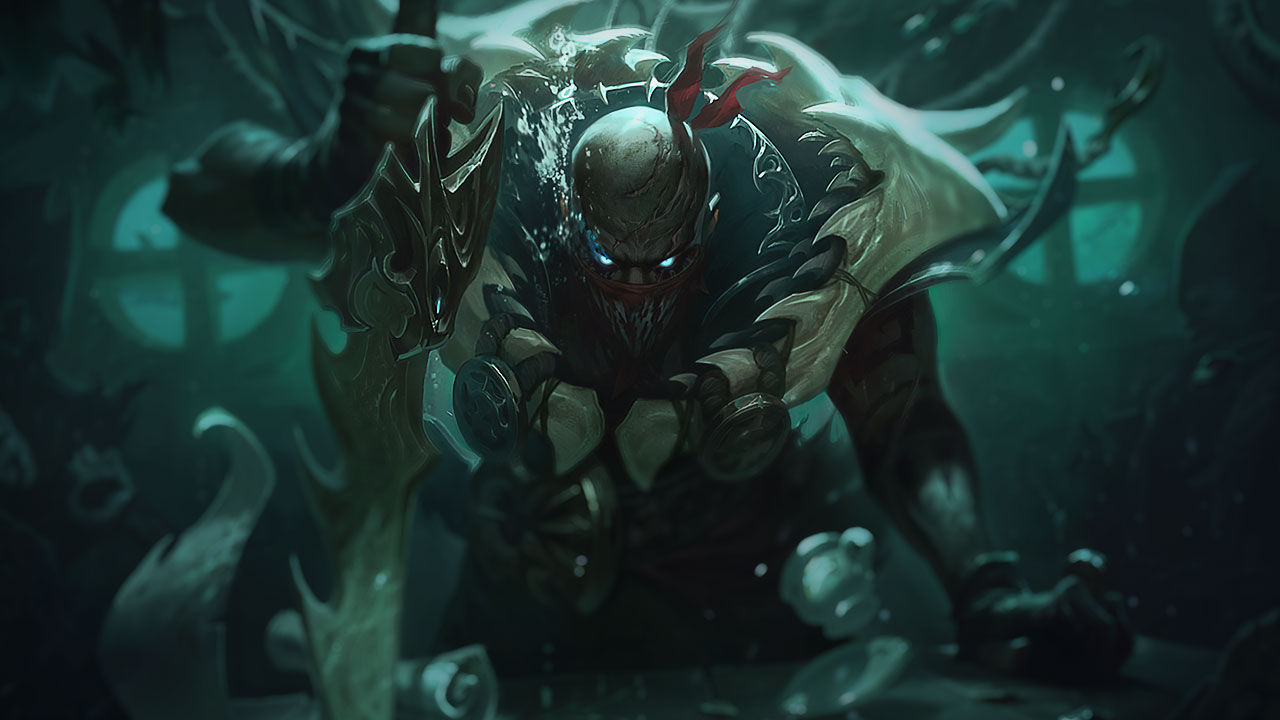
Pyke is dangerous when he chooses the angle and timing. Against Leona, Alistar, or Thresh, that privilege often disappears: if he steps too far to charge Bone Skewer or exit Ghostwater Dive, he can be locked down before finishing his sequence. These matchups mainly punish overconfidence. Pyke may think he is engaging, but the opponent turns his entry into a fixed point, forces his ADC back, and prevents Death From Below from arriving in good conditions.
How the champion adapts. Do not play the frontal engage duel. Let them show their position, abuse side bushes, and look for timings when their main crowd control has just been used. If the enemy support holds lane, attack river or mid instead.
Frontlines that block access to fragile targets
Pyke wants to bypass fight structure to reach a target that is already damaged. Protective frontlines make this plan slower and riskier. Nautilus can occupy space, absorb the entry, and threaten crowd control in return. Alistar and Braum also make Pyke’s path less free: he cannot simply cross the first line without exposing himself. The more organized the fight becomes around a protected carry, the more Pyke must wait for a mistake instead of creating the execution himself.
How the champion adapts. Work before the fight. Clear wards, force the frontline to turn, then attack the sides instead of the center. If you cannot reach the backline, play for reset threat on the first low-health target.
Fragile targets punished by fog and hooks
These matchups are more favorable because Pyke can impose fear through bushes and roams. Lux, Seraphine, Nami, Sona, or Soraka often want to control lane through poke, healing, or zone pressure, but they suffer if Pyke removes vision and finds a diagonal hook. Yuumi is a special case: she can make one target harder to finish, but the lane can become vulnerable if her partner plays too far forward. Pyke must still stay disciplined: if the hook is thrown without setup, these champions can survive, back away, and regain ranged pressure.
How the champion adapts. Do not run straight through poke. Take the bush, force the ward, then threaten when the target must last-hit or follow their ADC. The goal is to shrink their space before looking for the decisive hook.