
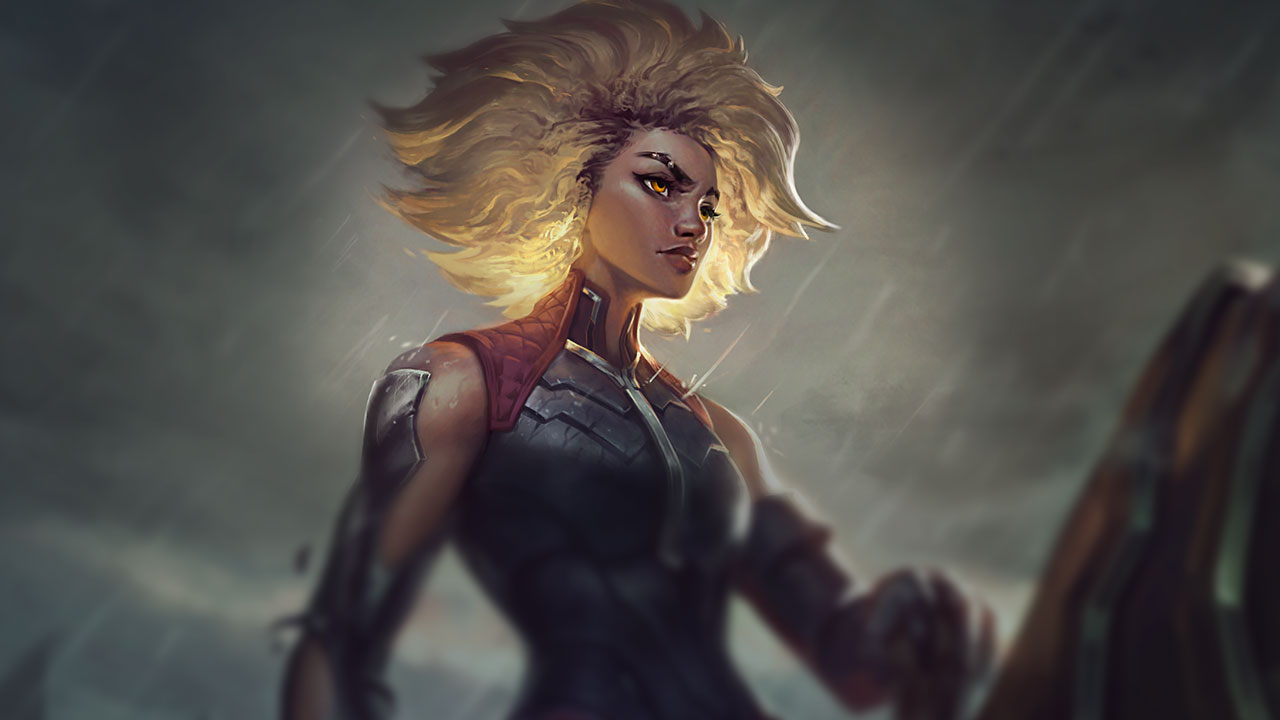
Rell Support Wild Rift Guide: Master the Brutal Engage

 Crash Down or
  Magnet Storm, you find yourself isolated, dismounted, and vulnerable in the heart of the enemy team. Her strength lies in her ability to turn an opponent's positioning into a lock-down opportunity for your team, not just to be the first to enter the fray. The key is to understand that she doesn't poke, doesn't reactively peel like an enchanter, and doesn't have the mobility of a Rakan to reposition after a bad move. She must therefore choose her moments with surgical precision, relying on her massive resistance and crowd control to anchor the fight, not just start it. A common mistake is not synchronizing her engage with her team's damage potential, or not anticipating enemy disengage tools. A well-played Rell is a constant threat that forces the enemy to play around her zone of influence; a poorly played Rell is a health bag that offers free kills. This is why understanding her strengths/weaknesses and her gamePlan is crucial to avoid becoming an easy target for the enemy team. Learn to read the map and enemy intentions before diving into the fray.

Rell's Identity: The Hammer of Crowd Control
Rell is primarily a tank initiator with massive crowd control abilities and impressive resilience. Her unique identity rests on her ability to switch from a mounted state (Full Tilt) to a dismounted state (Crash Down), radically altering her stats and engage options. She is classified as a melee champion with a level 5 engage and level 5 hard CC, making her excellent at locking down priority targets. Her toughness (level 5) and her ability to be a frontline (level 5) are unmatched, allowing her to absorb enormous amounts of damage while disrupting enemy lines. In contrast, her poke is non-existent (level 0) and her mobility (level 2) is very situational, depending on her state transitions. She is not there to harass, but to charge in and immobilize. Her role is to create kill opportunities for her team by engaging decisively, shattering shields with Shattering Strike, and pulling enemies withMagnet Storm. Understanding this mounted/dismounted duality is key to exploiting her maximum potential, as each state offers specific advantages for engage or survival. She is the embodiment of controlled aggression, an unstoppable force if well-directed, capable of transforming a static fight into a chaotic melee where enemies are at the mercy of her team.
Rell Combos: Chaining Control for Guaranteed Kills
Mastering Rell's combos is essential to turn her engage potential into concrete kills. Her kit is designed to chain crowd control and break enemy defenses, but this requires precise execution and a good read of enemy positioning. The secret is not to spam abilities, but to use them in the correct order to maximize lockdown and your team's damage. The synergy between her mounted and dismounted abilities allows for a variety of engage and counter-engage sequences, making Rell unpredictable to the enemy if you know how to adapt your approach. Don't forget that her passive, Break the Mold, is activated with each hit, reducing enemy resistances and transferring them to Rell, which makes every auto-attack and area-of-effect spell even more impactful. Using Shattering Strike to break shields is also a crucial, often underestimated, mechanic. Your role is to create the window of opportunity, and these combos are your tools to achieve it. The combos listed below are foundations, but true mastery comes from real-time adaptation, based on enemy champions and the combat situation. Don't just recite; learn to anticipate enemy movements to place your crowd control at the most impactful moment.
Build and Skill Order: Equipping Rell for Maximum Impact
Rell's build is centered around her ability to engage and survive in the heart of the melee, while providing crucial utility to her team. Every item choice and skill order must reinforce her role as a frontline and crowd controller. Prioritizing resistances, mana regeneration, and on-hit effects for allies is the most effective strategy to maximize her influence on the map. Don't just follow a list; understand why each piece of equipment is relevant to her gamePlan. Boots and enchantments are equally important for adapting Rell to specific threats in the game. This build is optimized for patch 20260910 (Nexus Core data) and the specificities of Wild Rift. Bulwark of the Mountain is your first support item, offering defensive stats and a reliable source of income. Then, items like Zeke's Convergence empower the ADC and the team. For protecting your allies or increasing your own resilience, choices like Redemption (for area healing) or (for a massive shield in combat) are excellent, transforming Rell into a true human shield that amplifies her allies' damage while protecting them. The skill order prioritizes Crash Down for its engage and control potential, followed by Shattering Strike for armor reduction and shield destruction, and finally Full Tilt for mobility and resistances. Maximizing the ultimate


 Magnet Storm as soon as possible is obvious for its teamfight impact. The runes
  Ice Tyrant,
  Font of Life,
  Bone Plating,
  Overgrowth, and
  Hextech Flashtraption perfectly complement her kit, offering her more sustain, tankiness, and creative engage options. Always adapt your boot enchantment to the situation: to survive burst, against CC, or for an area shield.



Rell's Power Spikes: When to Strike Hard and Dominate the Rift
Understanding Rell's power spikes is fundamental to capitalize on her moments of strength and dictate the pace of the game. These power peaks are not only linked to items but also to key levels that unlock or enhance her abilities. A Rell who exploits her power spikes can transform a neutral lane phase into overwhelming domination, creating an irreversible advantage for her team. Rell's power curve shows early strength in early game (level 3) which slightly decreases in mid game (level 2) before significantly rising again in late game (level 1), indicating that she remains relevant throughout the game if played well. The first crucial spike occurs at level 2, where access to Crash Down and Shattering Strike (or Full Tilt) gives her surprising all-in potential. Level 4 is another key moment, often ignored, as it allows for a second point in her main ability, increasing the reliability of her engage. Finally, level 6 with the acquisition ofMagnet Storm and the purchase of transforms Rell into a teamfight machine. It is at these moments that you should look for aggressive engage opportunities, whether in lane, on objectives, or during roams. Never leave a power spike unexploited; it is a window to gain an advantage, as each power peak gives you the tools to force winning trades and secure crucial objectives before the enemy can react.
Macro, Lane, and Roam: Rell's Game Plan
Rell's game plan revolves around her ability to force fights and control objectives. As a tank support, your role is not limited to the bot lane, but extends to map management and engage coordination. A good Rell knows when to temporarily abandon her lane to create pressure elsewhere, transforming her presence into a global threat. In the lane phase, your objective is to maintain constant pressure on the enemy, looking for engage windows on fragile carries or immobile supports. Use bushes to mask your intentions and surprise your opponents. Don't waste your engage spells on desperate attempts; wait for the right timing and the correct enemy positioning. Roaming is an essential facet of Rell. After pushing the wave or forcing an enemy back, look to gank the mid laner or help your jungler with objectives. Your Full Tilt and Crash Down are excellent tools for surprising enemies on the sides or behind walls. In mid-game, focus on vision control around Dragons and Baron, and be ready to initiate teamfights as soon as the opportunity arises. Your presence is a threat; use it to dictate the tempo. A Rell who doesn't roam is a Rell who doesn't fully exploit her potential for hard engage and mobile frontline. Vision is your most valuable ally for successful roams, so never forget to place your wards strategically. Rell's ability to quickly pivot between peeling for her ADC and aggressive initiation across the map is what distinguishes her from other tank supports.Rell Counters: Adapting to Overcome Obstacles
Even the most robust of iron maidens has her weaknesses. Understanding Rell's counters is not a matter of fear, but of strategic adaptation. Knowing how to identify champions who can neutralize your engage or crowd control will allow you to adjust your playstyle and find unexpected windows of opportunity. Don't just endure the lane; every unfavorable matchup is a puzzle to solve. Against hard counters like Janna or Morgana, your role is to force their disengage tools before fully committing. Janna can ruin your

 Crash Down with her tornado or ultimate, while Morgana's Black Shield cancels your CC. Thresh and Alistar are also difficult, as they can interrupt your entry or stall your all-ins. Faced with these opponents, peeling for your ADC might become a priority, or you'll need to look for engages on isolated targets or via flanks. Unfavorable matchups like Lulu, Nami, and Karma can make your lane phase complicated with their poke and shields. Against them, play patiently, wait for them to use their defensive abilities, and look for roams to create an advantage elsewhere. Skill matchups like Leona, Rakan, and Pyke are duels of reading and timing. Leona is an engage mirror, Rakan a cat-and-mouse game with dashes, and Pyke an execution threat. In these cases, victory will depend on who best anticipates the other's movements and uses their cooldowns more judiciously. Finally, against favorable matchups like Yuumi, Soraka, Sona, and Seraphine, you can play more aggressively, as they have fewer ways to stop you once you've initiated. Press your advantage and force them to play under your constant pressure. Adaptation is the key to survival and domination on the Rift; each type of counter requires a different approach, transforming the challenge into an opportunity to demonstrate your mastery.











Concrete Scenario: The First Dragon and the Perfect Engage
Imagine the situation: the first Dragon is about to spawn, around 5 minutes into the game. Your team has bot lane priority, and you've managed to force the enemy duo back. This is your window of opportunity. You have your and you are level 6, withMagnet Storm unlocked. You and your jungler head towards the Dragon. Vision is crucial: place a control ward in the pit and regular wards on the access points. The enemy team arrives, but their mid laner is late. You spot their jungler and support advancing a little too close to the Dragon wall. This is the moment. Don't charge directly; use vision to mask your approach and surprise the enemy from an unexpected angle. You use Full Tilt to quickly get closer, then follow up with Crash Down, hitting the enemy jungler and support. Immediately after the knockup, activate Magnet Storm to keep them grouped, preventing any escape. Your ADC and mid laner follow with their damage, and your jungler secures the Dragon. This isn't just an engage; it's a coordinated execution that capitalizes on the objective's timing, enemy positioning, and your power spikes. That's playing Rell: transforming a simple skirmish into a decisive advantage for map control and progression towards victory.
- Prioritize learning engage timings. Don't dive in without knowing who can follow up and who can disengage you.
- Adapt your build and runes to enemy threats. A Thornmail against heavy healing, a Mantle of the Twelfth Hour against AD burst.
- Master the mounted/dismounted cycle to optimize your mobility and resistances. This is your survival.
- Use Shattering Strike to break shields at the right moment, turning enchanter supports into easy targets.
- Actively roam to extend your influence beyond the bot lane, creating opportunities on other lanes and objectives.
- Communicate your engage intentions with your team. A Rell without follow-up is an isolated and ineffective Rell.
- Analyze team compositions to identify priority targets and disengage threats even before the fight begins.


Frequently asked questions
What is Rell's primary role in Wild Rift?
Rell is a tank support whose primary role is teamfight initiation and crowd control. She excels at diving into the heart of enemy lines to immobilize priority targets, shatter their defenses with Shattering Strike, and keep them grouped with Magnet Storm, thereby creating kill opportunities for her team.
What are the best items for Rell Support?
The basic build for Rell includes for income and defensive stats, followed by to amplify ADC damage. For survival and utility, (area healing) or (massive shield) are good choices. Plated Steelcaps boots are standard.
How to best use Rell's passive, Break the Mold?
The passive Break the Mold reduces the armor and magic resistance of enemies hit, and transfers them to Rell. To optimize it, aim to hit multiple enemies with your area-of-effect spells (Shattering Strike, Magnet Storm) and your auto-attacks. The more targets you hit, the tankier Rell becomes and the more damage your allies deal.
Which champions does Rell counter best?
Rell is particularly effective against immobile enchanter supports and fragile champions who lack immediate disengage. She has favorable matchups against champions like Yuumi, Soraka, Sona, and Seraphine, as her brutal all-in can severely punish them before they can react or heal.
How to deal with Rell's hard counters like Janna or Morgana?
Against hard counters like Janna or Morgana, the approach must be more patient. Force their disengage tools (Janna's tornado, Black Shield from Morgana) before fully committing. Look for flanks or engages on isolated targets. Roaming can also be an excellent option to create an advantage elsewhere on the map if the bot lane is too difficult.
When does Rell have her main power spikes?
Rell's main power spikes occur at level 2 (unlocking two abilities for an early all-in), at level 4 (strengthening the main ability), and at level 6 with her ultimate Magnet Storm. The purchase of also reinforces her impact in the early and mid-game.