B
September 2026 · Patch 7.2d
Tank · Support

Rell Wild Rift — Tier, Stats & Overview

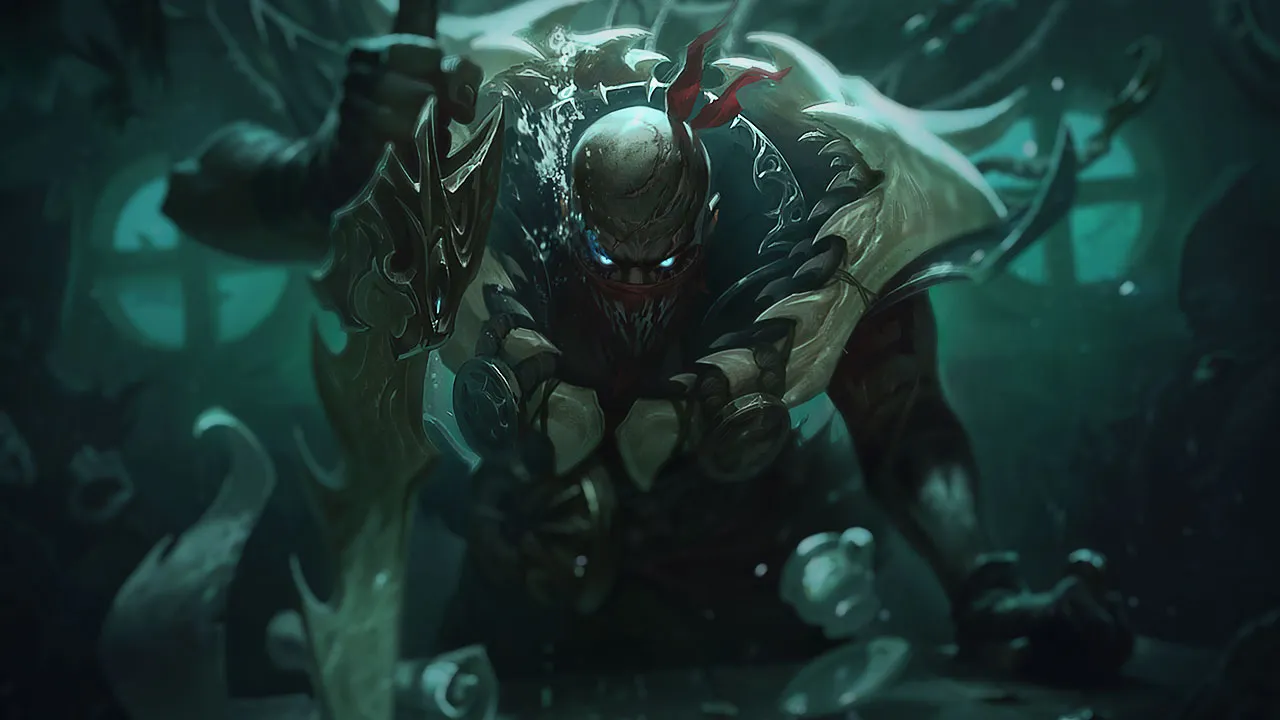
Rell is a tank support in Wild Rift, an iron knight specializing in shared resistances with allies and magnetic mass engages.

Best build Bulwark of the Mountain Zeke's Convergence Yordle Trap Radiant Virtue Locket of the Iron Solari Full build →

Rell
★ Support Tier B September 2026 · Patch 7.2d supporttankengage
DMG
UTIL
TANK
DIFF
Win 51.2% #36 · ↑7pt
Pick 3.3% #22
Ban 2.1% #62

Start here

Master everything about Rell

The complete Rell breakdown, and the micro and macro skills that actually decide games on this champion.

All guides →
Win Rate (30d) 51.20%+1.21 pts
Pick Rate 3.32%
Ban Rate 2.14%
50.0%51.0%52.0%7.2c7.2d08/0823/0807/09

Rell's win rate has climbed +1.21 pts over the last 30 days, now at 51.20%. See the full Wild Rift meta trends for more biggest movers.

§ 01 — Editorial brief

Rell has a very specific place as a support: she is not picked to slowly chip away at lane, but to violently reshape a fight.

By Updated 8 Sept 2026 Patch 7.2d

Rell is a tank support in Wild Rift, an iron knight specializing in shared resistances with allies and magnetic mass engages. Her kit alternates between a fast mounted form and a slow but powerful dismounted form, offering a rush engage, magnetic attraction, and a Attract and Repel pulling enemies toward her. She excels in dense frontline compositions seeking to provide resistances and engage in a single champion. In Wild Rift, her ability to share resistances with nearby allies creates a collective survival bubble rare among tank supports.

Rell excels in coordinated engage compositions seeking to cluster enemies and lock them down. She benefits from AoE burst allies who can convert her immobilizes into multiple kills. Frontline teamfight compositions are her ideal terrain.

Rell is vulnerable against poke or disengage compositions that prevent her from maintaining engage in close combat. Her slowness outside her mount makes her predictable and exposed to enemy repositioning. Fast burst compositions can neutralize her before she immobilizes multiple targets.

With Rell, combine your ultimate with other mass CC to create execution windows. Stay close to your ADC to share resistances and protect the carry. Your transition between mounted and dismounted states must be managed contextually — don't dismount unnecessarily.


§ 06 — The matchup wallRell Wild Rift counters and synergies

Hard Unfav. Skill Fav. Synergy

Build enginePatch 7.2d build — computed

  1. Core 01 Bulwark of the Mountain Bulwark of the Mountain
  2. Core 02 Zeke's Convergence Zeke's Convergence
  3. Core 03 Yordle Trap Yordle Trap
  4. Core 04 Radiant Virtue Radiant Virtue
  5. Core 05 Locket of the Iron Solari Locket of the Iron Solari
  6. Boots Plated Steelcaps Plated Steelcaps
Full variants, runes & power spikes

§ 02 — Strengths & weaknesses Rell Wild Rift strengths and weaknesses

↑ Strengths
  • She gives a very clear initiation tool to compositions lacking reliable first contact, especially around objectives where enemies must move through narrow spaces.
  • Her mounted threat forces enemies to play farther back, which can be enough to win space before Rell even commits.
  • She converts positioning mistakes very well in solo queue: a carry standing too close, a support walking too far up, or a team grouping too early can be punished immediately.
  • Her crowd control keeps value even without offensive build investment, making her useful in games where the support must operate with limited resources.
↓ Weaknesses
  • Avoid Rell if your team lacks immediate damage behind your engage: she can create the opening, but she cannot convert a controlled target alone.
  • Avoid her if your team wants to play heavily split across side lanes, because Rell loses a lot when nobody can use her point of impact.
  • Avoid her when the enemy can constantly step back, slow, or break your entry before contact, because her commit then becomes too predictable.
  • Avoid locking her if your ADC needs a very protected lane without accepting all-in timings, because Rell does not win lane through constant poke.

§ 07b — Advanced MechanicsRell: combos & tips Wild Rift

Main engage combo
1 E E
2 W W
3 R R
4 Q Q

Dash towards enemies with Ability 3, use Crash Down to knock them up on impact, immediately use your ultimate to pull grouped enemies in, then use Ability 1 to destroy their shields

Flash engage combo
1 Flash Flash
2 W W
3 R R
4 Q Q

Flash into the centre of the enemy team for an AoE Crash Down, then use your ultimate to prevent them from escaping

Surprise HexFlash combo
1 HexFlash
2 W W
3 R R

Use HexFlash from behind a wall to flank the enemy when they least expect it

Mount cycle
1 Crash Down
2
3 Mount Up
4 AA
5 Crash Down

Cycling between mounted and dismounted states to chain together shields and knock-ups

Mechanical Tips

  • Break the Mold (passive): each enemy hit has their armour and magic resistance reduced by 2.5%, which is transferred to Rell — hitting multiple enemies with Ability 1 or the Ultimate massively increases Rell’s resistance
  • Shattering Strike (1) hold: hold down Ability 1 to target a specific enemy shield rather than firing it immediately — the other abilities provide enough crowd control so there’s no need to rush
  • Magnet Storm timing: keep track of enemy Flashes and dashes, as they can break free from the Ult’s pull — use the Ult when Flashes are on cooldown or after a Flash + Crash Down that has used up their escape abilities
  • Peeling role: don’t always engage — Magnet Storm can also be used defensively on the ADC to pull in an enemy who’s diving and apply CC in return

Common Mistakes

  • Poor target selection in teamfights: Rell must decide whether to engage the carries or peel for her allies — engaging without a plan leaves the allied ADC exposed
  • Losing Mounted status: Dismounting without having secured a good position reduces her mobility and her combos — only use Crash Down when correctly positioned
  • Forgetting her defensive role: Rell can protect carries with Magnet Storm to pull enemies who are diving them — don’t always look to initiate offensively

Notable Interactions

  • Shattering Strike (1) breaks shields (Lulu, Janna, Karma) before they can protect the enemy — high priority against compositions with lots of shields
  • Full Tilt (3) activates the effects of speed items (Shurelya’s, Locket) whilst charging — synergises well with support items
  • HexFlash is a go-to rune for Rell to maximise unexpected engagement angles
Go deeper Mechanics & Tips — Rell Every combo, the advanced tips, the common mistakes and the full game plan. Open the section

§ 08 — DialoguesRell Wild Rift FAQ

Q.01 Is Rell a good blind pick as support? +

Rell can be blind picked if your team is willing to play around an engage support and if you can adapt your pace. The issue is not that she has no value without information: it is that she becomes much riskier when your allies cannot follow or when the enemy has tools to slow her entry. As a blind pick, she remains playable, but you must be ready to play more patiently, threaten without forcing, and use your crowd control as protection if frontal engage becomes too dangerous.

Q.02 When should Rell engage in teamfights? +

Rell should engage when her entry creates a real conversion, not simply when she can hit someone. The right timing often appears when the enemy crosses a narrow area, when a carry stands too close to the frontline, or when your team is already in position to deal damage. If you engage while your allies are backing away, vision is missing, or the target is too tanky to finish, you risk giving the enemy the opening instead. Her engage must be a team decision, even if you are the one pressing the button.

Q.03 Should Rell always play aggressively in lane? +

No. Rell threatens all-ins very well, but she does not need to jump on every window. In lane, her priority is creating positional pressure: stepping forward when the enemy wastes a spell, protecting her ADC when the wave is bad, and punishing overly close positioning. If you engage into a large enemy wave or without your ADC being able to move forward, you often lose more than you gain. A good Rell lane alternates intimidation, brush control, and targeted all-ins.

Q.04 What is the most common mistake with Rell? +

The most common mistake is reducing Rell to her engage. Her kit makes you want to go in, but her real value comes from choosing between several jobs: engaging, counter-engaging, zoning, protecting, or delaying the enemy entry. If you always spend your first timing to rush forward, good opponents will wait for your commit and punish your team while you are poorly positioned. Rell becomes much stronger when you sometimes keep your crowd control to answer the fight instead of always starting it.

Data — Stats per levelRell Wild Rift base stats per level (1-15)

Movement speed 350Attack range 175Bonus attack speed / lvl +0%
Show stats per level
LvlHPADArmorMRManaHP regenRes. regen
1660624636380810
27806550.5384208.910.7
39006855404609.711.3
41,0207159.54250010.612
51,14074644454011.412.6
61,2607768.54658012.313.3
71,38080734862013.213.9
81,5008377.5506601414.6
91,62086825270014.915.2
101,7408986.55474015.715.9
111,86092915678016.616.5
121,9809595.55882017.517.2
132,100981006086018.317.8
142,220101104.56290019.218.5
152,340104109649402019.1

Base data : wiki.leagueoflegends.com (CC BY-SA 4.0) · 2026-07-09

Interactive tool

Try Rell in the Draft Simulator

Build your team around Rell, analyze enemy counters in real time and get pick recommendations aligned with the current patch meta.

Launch the Draft Simulator →