


July 2026 · Patch 7.2a
Support · Support

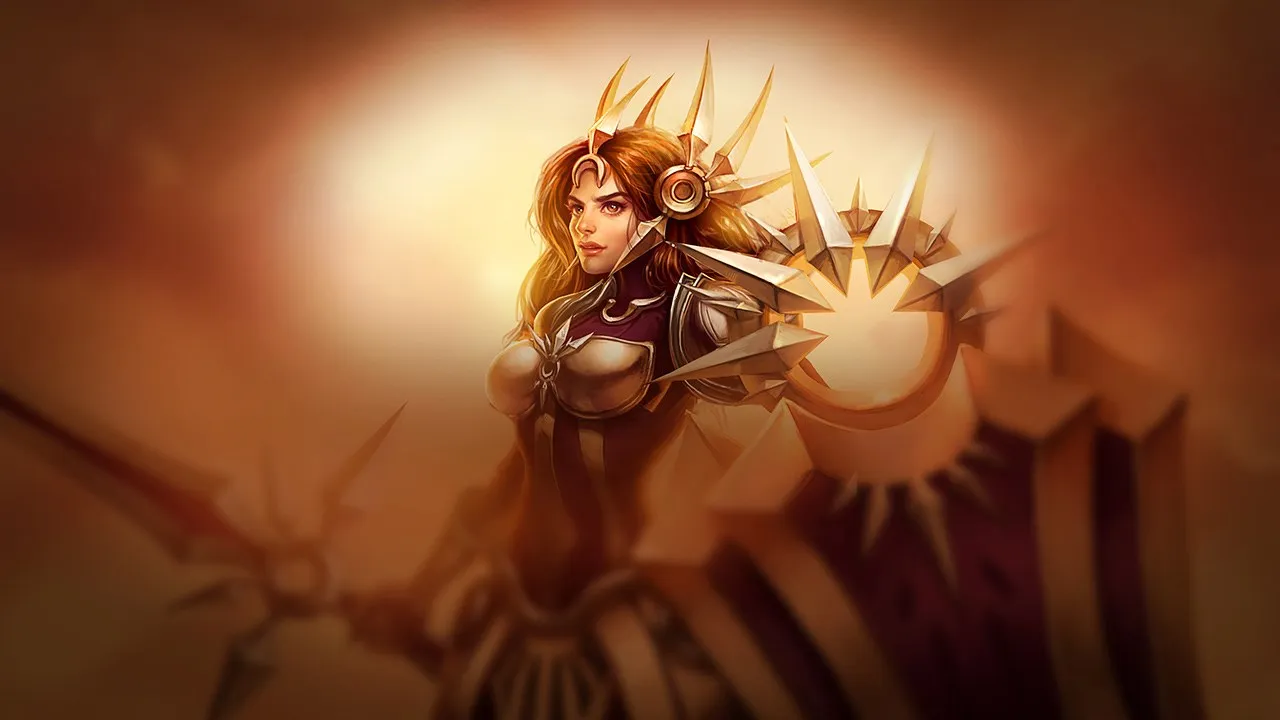
Leona Wild Rift Guide

Support

★ Support Tier S July 2026 · Patch 7.2a
DMG
UTIL
TANK
DIFF
Win 50.6% #36 · ↓6pt
Pick 3.4% #20
Ban 0.3% #57
§ 01 — Editorial brief

Leonaは今パッチでも安定したピックですが、それは単に「CCが多いから」という理由だけではありません。彼女の強みは、多くのチーム構成がミスなく対処するのが難しいエンゲージのテンポを強制できることです。レーンでプレイヤーがまだオーバーエクステンドし、midのローテーションに規律が欠けている環境では、Leonaはポジショニングのミスを即座のキルに変えます。彼女の影響力は、単にキットだけでなく、ターゲットをロックダウンし、敵の完全な反応を強制する能力にあります。これにより、平均的な連携のゲームでは非常に効果的ですが、相手が適切にディスエンゲージツールや防御的なタイミングを管理している場合は、より要求が高くなります。

By WRC Studio ~ 1 min read Patch 7.2a
Expert note

Expert take

Leonaは、生のメカニクスよりもゲームセンスをはるかに報いるチャンピオンだ。彼女のキットはシンプルだが、彼女の決断はそうではない。すべてのエンゲージは、フォローアップ、敵のクールダウン、そしてキャリーの位置取りを考慮する必要がある。彼女はテンポを支配するゲームで輝くが、毎回同じようにエンゲージすると予測可能になる。マスターすれば、平均的なチームをピック製造マシンに変えることができる。誤って使用すると、敵にとって無料のエントリーポイントになってしまう。

Weak point

Hidden weakness

Leonaの隠された弱点は、カイトやディスエンゲージだけではなく、フォローアップへの構造的な依存性だ。一度コミットすると、簡単に抜け出す方法はない。もし彼女のチームが準備できていなかったり、位置取りが悪かったりすると、彼女は補償するダメージもなく孤立したターゲットになってしまう。これは、すべてのエンゲージがテストではなく、完全なコミットメントであることを意味する。状況の読み間違いは、めったに回復できない。

§ 02 — Strengths & weaknesses Leona Wild Rift strengths and weaknesses

↑ Strengths
  • 彼女はE + Qコンボでポジショニングのミスを即座に罰します。
  • 彼女のレベル5は、Solar Flareで目標の周りに絶え間ないプレッシャーを生み出します。
  • 彼女はZeke’s Convergenceのようなチーム指向のアイテムと強くシナジーを発揮します。
  • 彼女はsolo queueでしばしば下手な実行を伴う、迅速な敵の意思決定を強制します。

↓ Weaknesses
  • あなたのチームがエンゲージの即時フォローアップを欠いている場合。
  • ヘビーなディスエンゲージまたはクレンズツールを持つ構成に対して。
  • あなたのADCがポークまたはパッシブスケーリングのプレイスタイルを好む場合。
  • エンゲージ角度を作成するためのビジョンコントロールが不足している場合。
02

§ 03 — Game planLeona Wild Rift game plan: early, mid and late game

I Early

Look for short all-in windows on stills

Niv. 1 → 6

Look for short all-in windows on stills. Roam as soon as the wave is pushed and your summoner timers are superior.

II Mid

Control the jungle entrances and force a Flash-R…

Niv. 7 → 11

Control the jungle entrances and force a Flash-R pick. Play around the carry fed.

III Late

Keep R to engage key or counter opponent init

Niv. 12+

Keep R to engage key or counter opponent init. Zone threats targeting your ADC.

Data — Stats per levelLeona Wild Rift base stats per level (1-15)

Movement speed 345Attack range 175Bonus attack speed / lvl +1.2%
Show stats per level
LvlHPADArmorMRManaHP regenRes. regen
1750625538390912
28626559.74043110.113.1
39746864.44247211.114.2
41,0867169.14451312.215.3
51,1987473.84655413.316.4
61,3107778.54859514.417.5
71,4228083.25063615.418.6
81,5348387.95267716.519.7
91,6468692.65471817.620.8
101,7588997.35675918.621.9
111,870921025880019.723
121,98295106.76084120.824.1
132,09498111.46288221.825.2
142,206101116.16492322.926.3
152,318104120.8669642427.4

Base data : wiki.leagueoflegends.com (CC BY-SA 4.0) · 2026-07-09

§ 05 — Recommended buildBest Leona Wild Rift build for the current patch

Leonaは今パッチでも安定したピックですが、それは単に「CCが多いから」という理由だけではありません。彼女の強みは、多くのチーム構成がミスなく対処するのが難しいエンゲージのテンポを強制できることです。レーンでプレイヤーがまだオーバーエクステンドし、midのローテーションに規律が欠けている環境では、Leonaはポジショニングのミスを即座のキルに変えます。彼女の影響力は、単にキットだけでなく、ターゲットをロックダウンし、敵の完全な反応を強制する能力にあります。これにより、平均的な連携のゲームでは非常に効果的ですが、相手が適切にディスエンゲージツールや防御的なタイミングを管理している場合は、より要求が高くなります。

Core
1 Zeke's Convergence
Zeke's Convergence
2 Protector's Vow
Protector's Vow
3 Abyssal Mask
Abyssal Mask
Boots
Plated Steelcaps Plated Steelcaps
/
Mercury's Treads Mercury's Treads
See the full build

§ 06 — The matchup wallLeona Wild Rift counters and synergies

Hard Unfav. Skill Fav. Synergy
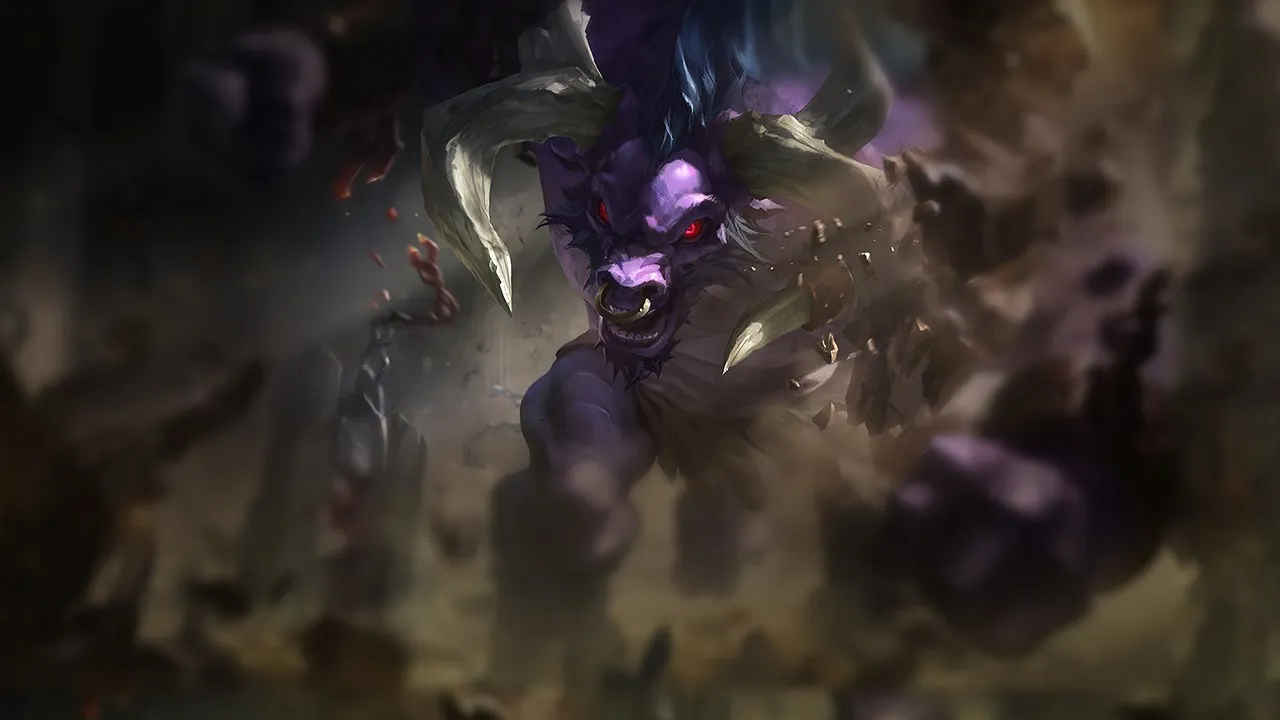
Morgana
Hard
Morgana
Thresh
Unfav.
Thresh
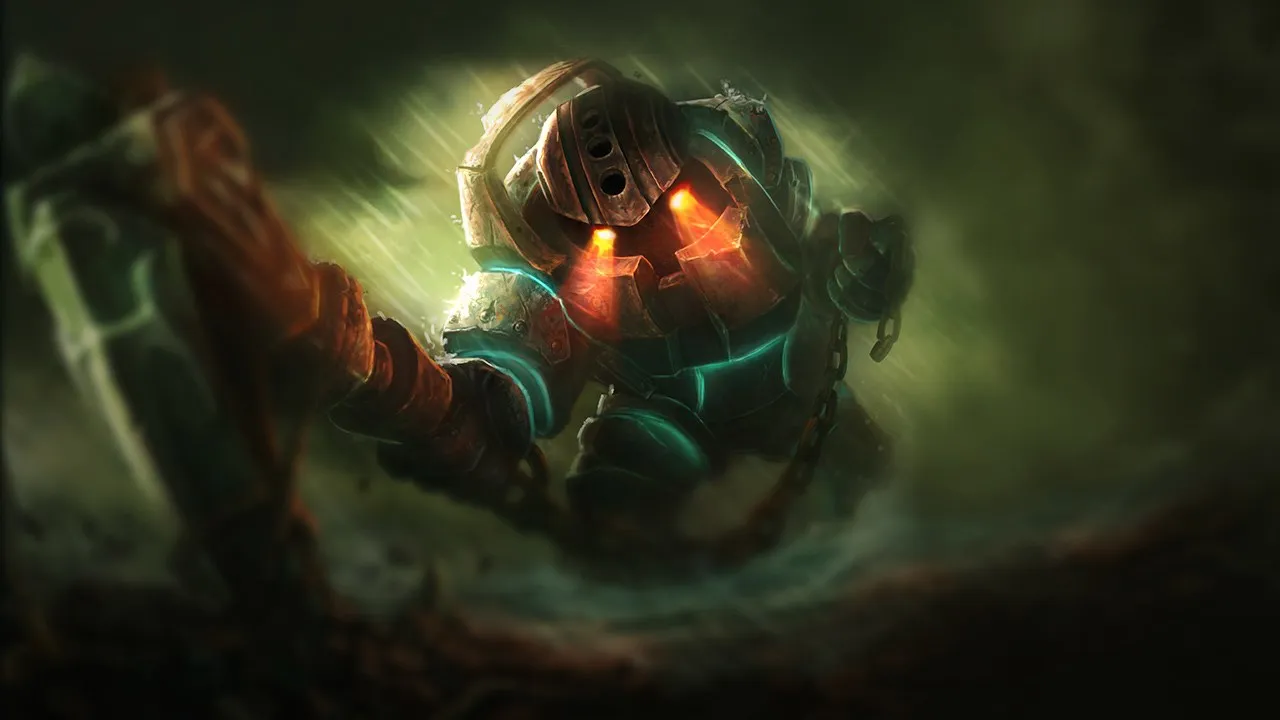
Nautilus
Skill
Nautilus
Soraka
Fav.
Soraka
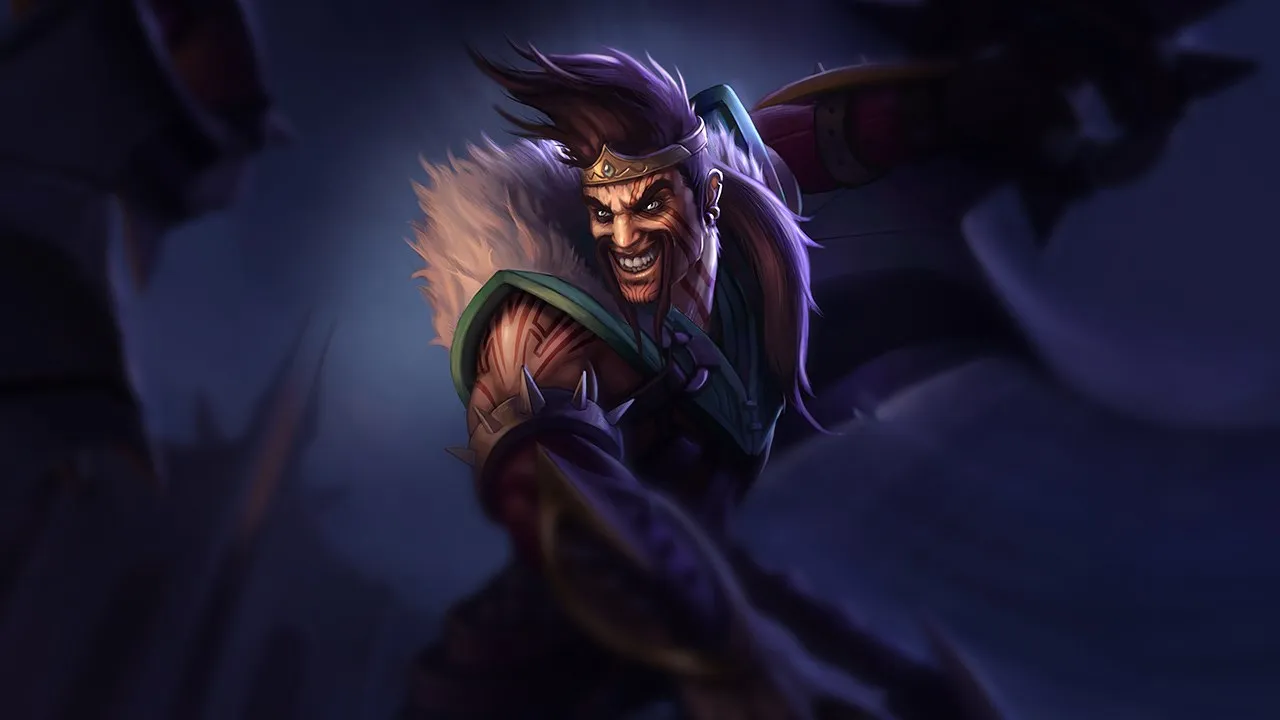
Draven
Ideal
Draven
Leona's Zenith Blade + Shield of Daybreak form one of the most deterministic CC chains in the game — guaranteed dash onto target then stun with no skillshot condition. Draven can throw both Spinning Axes onto the stunned target and be certain to recover them as she is immobile, massively stacking Adoration from level 2. The synergy is particularly brutal in early lane as both champions have enormous low-experience power, often a level 2 or 3 all-in is enough for first blood.
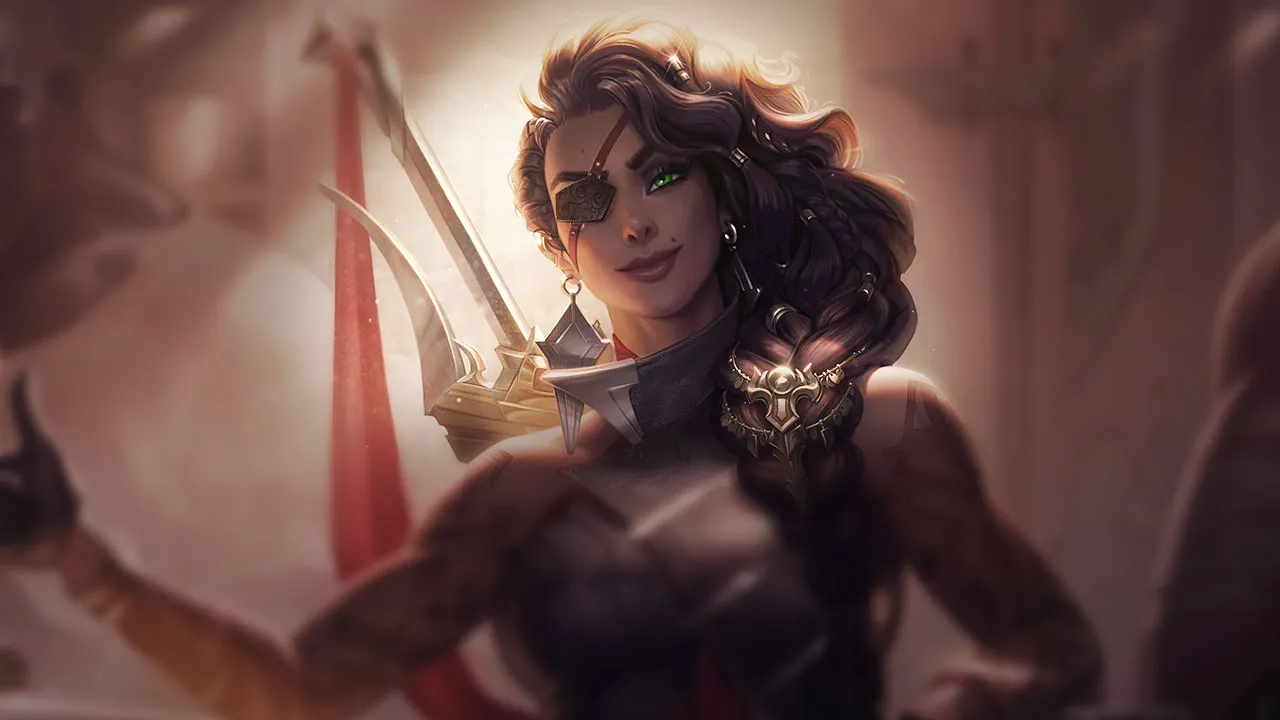
Samira
Ideal
Samira
Each of Leona's CCs (E, Q, R) is an opportunity for Samira to accumulate Style stacks — Zenith Blade dash, then Shield of Daybreak stun, then Samira dashes to the target with Flair to attack in melee, then Solar Flare, each distinct CC counts toward the rising grade to S. Samira's Inferno Trigger requires S grade (7 stacks) — Leona is the support that creates the most stacks per engagement thanks to her 3 distinct CC sources. The Leona engage + Samira ult combination creates a duo whose kill window lasts almost indefinitely if Samira's resets work.
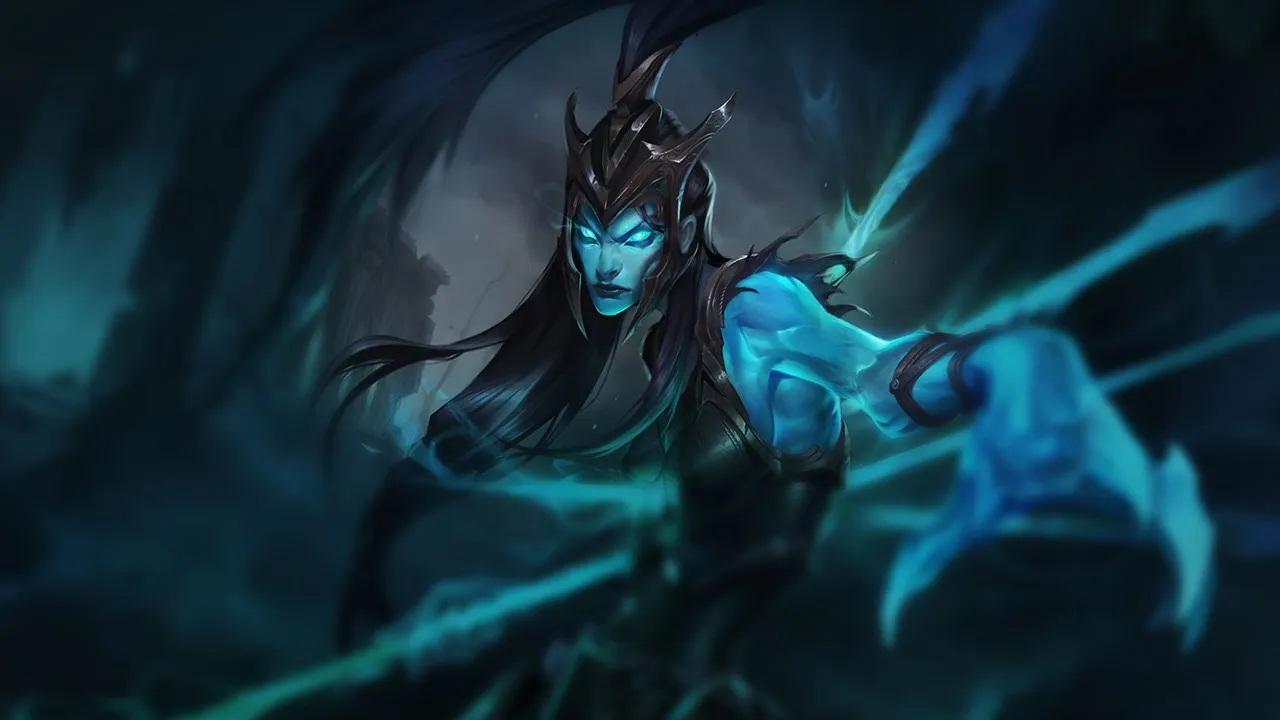
Kalista
Strong
Kalista
Zenith Blade + Shield of Daybreak lets Kalista safely stack E Rend on an immobilized target with no counter-engage risk, then Fate's Call repositions Leona for Solar Flare at the ideal angle on the enemy cluster. The synergy works both ways: Leona initiates then Kalista Rend, or Kalista Fate's Call launches Leona who lands with E+Q already on cooldown and can Solar Flare the group. Particularly strong around objectives where tight space guarantees Solar Flare hits at least 2-3 targets.
Jinx
Strong
Jinx
Leona peels and engages for Jinx during her vulnerable early phase, then in teamfights Solar Flare cluster gives Jinx a perfect central target for her AoE Fishbones explosions. Jinx's Get Excited triggers on kills offered by Leona, and Leona's natural tankiness absorbs damage that would normally target Jinx. The duo starts taking off at Jinx level 6: before that Leona must play safe and protect rather than engage.

§ 07b — 応用テクニックLeona:コンボ & 立ち回りガイド Wild Rift

標準的なエンゲージコンボ
1 E E
2 Q Q
3 AA
4 W W

Eでダッシュとスネア、Qで範囲スタン、通常攻撃、Wで防御力とダメージ。

Flash コンボ
1 Flash Flash
2 Q Q
3 E E
4 R R

奇襲Flash、Qスタン、Eで敵にダッシュ、Rで範囲スタン。

フルコンボ
1 W W
2 E E
3 Q Q
4 AA
5 R R

エンゲージ前にWを発動して防御力を上げ、Eで距離を詰め、Qスタン、通常攻撃、Rで範囲スタン。

優先エンゲージコンボ
1 E E
2 Q Q
3 W W
4 AA
5 R R

Eでエンゲージ、Qスタン、Wで防御力、通常攻撃、R。

操作のコツ

  • Zenith Blade (E): ターゲットに向かってダッシュ + 短いスネア。敵が静止していれば、Eはほぼ確実にヒットします。距離を詰めるためにまずこれを使用してください。
  • Shield の Daybreak (Q): 次の通常攻撃でスタン。Qを発動してからすぐに通常攻撃をしてください — スタンはQのキャストではなく、通常攻撃によってトリガーされます。
  • Eclipse (W): エンゲージに発動 — 2秒間の戦闘後、防御力をブーストし、範囲ダメージを与えます。茂みの中で事前に発動してください。
  • Solar Flare (R): 中心ターゲットに範囲スロウとスタン。複数のスタンを狙うには、集団に使いましょう。
  • サンライト (パッシブ): レオナのアビリティは敵にマーク (サンライト) を付けます。味方はこれらのマークをアクティブにして、次のヒットでボーナスダメージを与えることができます。

よくあるミス

  • サンライトマークを味方と共有しないでください — マークは味方がフォローアップしないと期限切れになります。
  • エンゲージ後にWを発動してください。接近中に防御力を失うことになります。
  • 散らばったターゲットにRをキャストしてください — 正確な中心にいるターゲットのみスタンします。

注目のインタラクション

  • 味方によるサンライト発動 — 素早い通常攻撃を持つADC (ジンクス、ケイトリン) と相性が良いです。
  • E + Q = 2連続CC (スネア + スタン) — ターゲットに約2秒間のCCチェーン。
  • Wの最終爆発はダメージを与え、敵の防御力を低下させます — 味方のバーストダメージと組み合わせてください。

§ 07 — PreceptsLeona Wild Rift tips for ranked

Tip · 01

Always announce your target before entry: Sunlight must be consumed by your carrys.

Codex
Tip · 02

Don't spam the engage without vision. Create an angle through the fog and synchronize your CDs with your jungler.

Codex
Tip · 03

W must be activated before impact (E/Q) to absorb the return damage.

Codex

§ 08 — DialoguesLeona Wild Rift FAQ

Q.01 Leonaはプレイしやすい? +

メカニクスはシンプルだが、意思決定をマスターするのは難しい。彼女のコンボは簡単だが、いつ、誰に、どのような状況でエンゲージするかを知ることが、本当に重要なことだ。悪いエンゲージの決断は、めったに回復できない。

Q.02 ソーラーフレアはいつ使うべき? +

ソーラーフレアは、キーターゲットへのエンゲージ、または戦闘の継続をロックダウンするために使用します。フォローアップや即時のプレッシャーなしに使用すると、その影響は大きく低下します。最適なタイミングは、フラッシュや敵の位置の間違いが関わってくることが多いです。

Q.03 なぜエンゲージが失敗するの? +

ほとんどの場合、メカニカルな問題ではなく、状況の問題です。味方がついてこれないか、倒しにくいターゲットにエンゲージしているかのどちらかです。コミットする前に、必ず味方の位置を確認しましょう。

Q.04 Leonaは終盤でも通用する? +

はい、ただし役割は変化します。孤立したピックを狙うのではなく、フロントラインへのエンゲージやカウンターエンゲージが中心になります。一人でキルを確保するのではなく、防御的なクールダウンを強制したり、キャリーのために openings を作る必要があります。

§ 09 — EchoesLeona Wild Rift related guides

01
Key mechanic

Understanding Macro in Wild Rift: The Real Difference Between Playing and Winning

Understand macro in Wild Rift: objectives, rotations, tempo, vision and decisions that help you win more ranked games.

Read
02
Role guide

Wild Rift Support Guide: understand your real job in bot lane

Learn how to play Support in Wild Rift: vision, roaming, peel, engage, lane phase and decisions that win games.

Read
03
Key mechanic

Vision and wards in Wild Rift: the simple guide to stop playing in the dark

Learn where to ward in Wild Rift: dragon, Baron, river, bushes, timings, sweep and common vision mistakes explained simply.

Read
04
Key mechanic

Drake and Baron Objectives in Wild Rift: how to decide fast without throwing

Learn when to contest Drake, when to start Baron, when to give an objective, and how to avoid objective throws in Wild Rift.

Read