
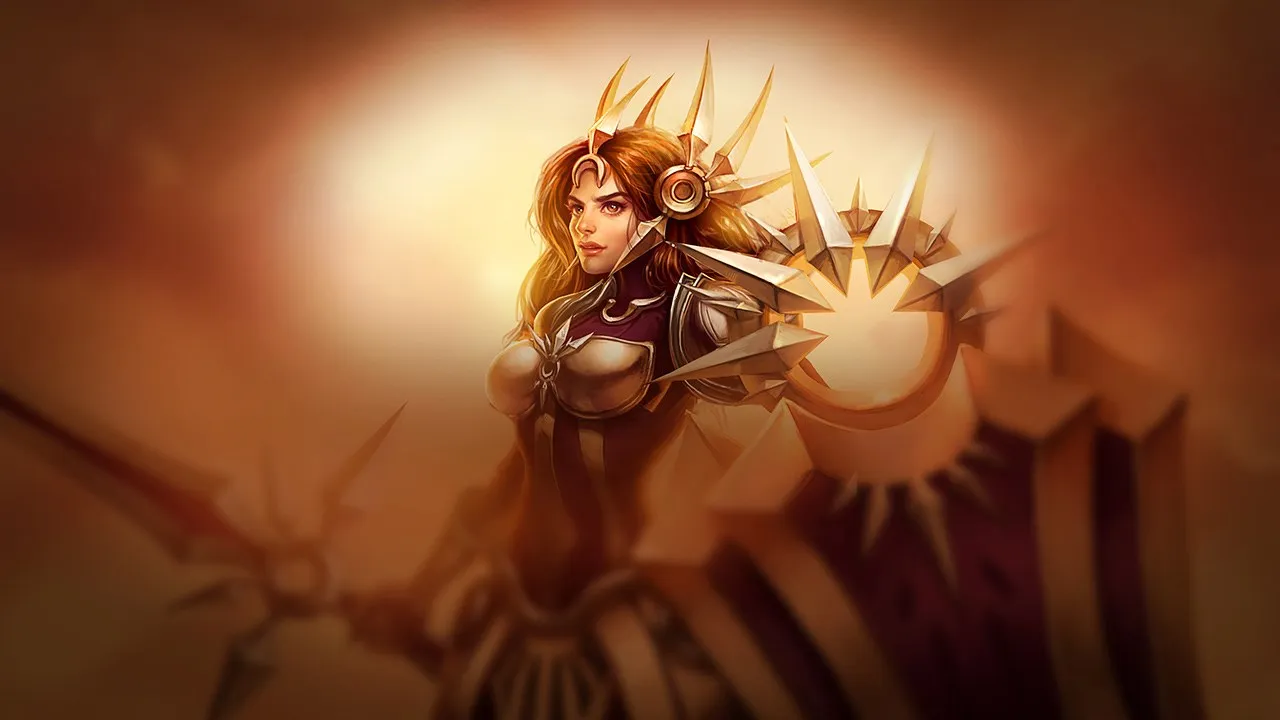
Leona: Complete Guide to Dominate the Botlane

Leona's Identity: The Shield of the Botlane
Leona is the ideal support for players who like to dictate the pace of the game and force fights. Her identity is based on her ability to engage decisively and lock down a target for her allies. With a 4/5 rating in robustness and 4/5 in utility, she is designed to be at the heart of the action, absorbing damage while applying devastating crowd control. Her kit is almost entirely dedicated to engage and peel, with a 3/5 engage and a 5/5 peel, complemented by a 4/5 hard CC. Leona is a vanguard tank, meaning she excels at initiating fights and resisting damage, but she must rely on her allies to deal the necessary damage to secure eliminations. Her Zenith Blade allows her to dash towards an enemy, followed by
  Shield of Daybreak for an instant stun.
  Eclipse grants her massive resistances, and her ultimate,
  Solar Flare, is an area initiation tool that can turn the tide of a teamfight. She shines in the early and mid-game with a 3/5 scaling in these phases, but her impact slightly decreases in the late game (2/5) if she fails to secure an advantage.
Mastering Leona's Combos: Chaining Crowd Control
To maximize Leona's impact, it's crucial to master her ability chains that allow her to lock down a target and optimize the damage from her Sunlight passive. The key is to pre-activate Eclipse before engaging to benefit from increased resistances, then quickly chain crowd control to prevent the enemy from reacting. Here are the essential combos and mechanical tips for executing them perfectly:
- Standard engage combo: Zenith Blade → Shield of Daybreak → AA → Eclipse — Use E for the dash and root, then Q for the instant stun, an auto-attack, and W for resistances and area damage.
- Surprise Flash combo: Flash → Shield of Daybreak → Zenith Blade → Solar Flare — A quick Flash to surprise, followed by Q for the stun, E to stick to the enemy, and R for an additional area stun.
- Full combo with pre-activation: Eclipse → Zenith Blade → Shield of Daybreak → AA → Solar Flare — Activate W before engaging for resistances, E for approach, Q for stun, an auto-attack, and R for area stun.
- Priority engage combo: Zenith Blade → Shield of Daybreak → Eclipse → AA → Solar Flare — Engage with E, stun Q, W for resistances, AA, and R.
Mechanical Tips:
- Zenith Blade: Aim behind the minion wave to hit the target behind them. Flash can be used during E's animation to adjust your landing spot.
- Shield of Daybreak: Buffer Q during E's animation for a near-instant root-to-stun chain. Q can reset an auto-attack (AA→Q→AA) to optimize damage and Sunlight procs.
- Eclipse: Always activate W *before* the impact of your engage to fully benefit from resistances.
- Solar Flare: Use R to engage from afar or to counter an enemy engage. Pre-cast on the path of an enemy dash to guarantee the central stun.
Common Mistakes:
- Not communicating Sunlight marks to allies, which wastes bonus damage.
- Activating Eclipse after engaging, losing resistances during the critical approach phase.
- Casting Solar Flare on targets that are too spread out, only stunning the center.
Build and Skill Order: The Foundation of Your Engage
Leona's build focuses on robustness and optimizing her engage and peel abilities, allowing her to initiate fights and survive in the thick of the melee. Each item is chosen to strengthen her ability to tank and control, ensuring you remain a constant threat to the enemy team while protecting your carries.Standard Build (engage/peel):
- bulwark-of-the-mountain: Essential support item that provides durability, mana regeneration, and the ability to share gold.
- zekes-convergence: Empowers your ADC after an ultimate, adding damage and a slow to auto-attacks.
- knights-vow: Bond with your strongest carry to redirect a portion of the damage they take to you, while increasing your movement speed towards them.
- radiant-virtue: Provides HP, magic resistance, and an aura that heals and speeds up nearby allies after using your ultimate.
- yordle-trap: For vision and area control, ideal for objectives.
Boots:
- plated-steelcaps: Reduces damage from basic attacks, essential against AD-heavy teams.
Runes:
- keystone: ice-tyrant: Increases your ability to engage and slow enemies, facilitating follow-up from your allies.
- minors: fortitude, secondwind, overgrowth, hextech-flashtraption:
 Fortitude and
  Second Wind improve your durability in lane and in combat.
  Overgrowth increases your max HP.
  Hextech Flashtraption offers additional engage options from bushes or over walls.
Skill Order:
The priority is Eclipse > Zenith Blade > Shield of Daybreak. Here is the leveling sequence:
- Level 1: Zenith Blade (for engage and root)
- Level 2: Shield of Daybreak (for stun)
- Level 3: Eclipse (for resistances)
- Max Eclipse first for durability and damage, followed by Zenith Blade to reduce its cooldown and increase its range. Level up Solar Flare at levels 5, 9, and 13.
Situational Items:
- thornmail: Against champions with high healing or lifesteal (Soraka, Aatrox).
- mantle-of-the-twelfth-hour: Against AD burst (Zed, Rengar).
- gargoyle-stoneplate: Against AP burst (Syndra, Fizz).
››
2121415
3468
17911
51013››
2121415
3468
17911
51013

Leona's Power Spikes: When to Strike Hard
Understanding Leona's power spikes is essential to know when to take risks and when to play more passively. Leona is a champion who shines through her windows of opportunity, and exploiting them at the right time can turn a balanced lane into an overwhelming victory. Her early game is strong, with a 3/5 scaling, followed by an equally powerful mid-game.- Level 3 (W rank 1): This is your first true spike. With Zenith Blade, Shield of Daybreak, and Eclipse unlocked, you have your full kit for a devastating all-in. Activate Eclipse before engaging to tank damage and maximize your survival. This is the ideal time to look for an aggressive trade or a kill if the opponent is poorly positioned.
- Level 5 (Ultimate): Unlocking Solar Flare is a huge power spike. Your ability to engage from very far away or counter an enemy engage is tenfold. You can now force fights around objectives or on distant targets, turning poke situations into kill opportunities thanks to the range and stun of your ultimate. This is often when you can roam mid to help your team.
- Key Item: zekes-convergence: Once this item is completed, your ability to amplify your ADC's damage after an ultimate is significant. This adds extra pressure to every engage and makes your all-ins even more lethal. This item is usually completed in the mid-game, strengthening your presence in teamfights and skirmishes.
Macro, Lane Phase, and Roaming: Leona's Game Plan
Leona is a support who excels at dictating the pace of the game, from the laning phase to teamfights. Your game plan must be aggressive and proactive, constantly seeking to create opportunities for your team and punish enemy positioning mistakes.Early Game (Laning Phase):
Your goal is to dominate the botlane. Look for short all-in windows on immobile targets. Use bush control to threaten and surprise your opponents. Activate Eclipse before engaging with Zenith Blade and Shield of Daybreak. Focus on the exposed ADC. Coordinate with your jungler for tower dives, with your Eclipse allowing you to tank effectively. Do not spam engage without vision. Create an angle through the fog of war and synchronize your cooldowns with your jungler. Always announce your target before engaging so your carries can consume Sunlight.
Mid Game (Roaming and Objectives):
As soon as the minion wave is pushed and your summoner spell timers are up, roam to mid or the jungle to create gank or pick-off opportunities, especially after the first tower plate. Leona is excellent for roaming thanks to her reliable engage. Control jungle entrances and force a pick with a Flash-Solar Flare. Play around your most fed carry to maximize the impact of your engages. Deep vision around objectives is crucial: place wards to anticipate enemy movements and prepare your engages.
Late Game (Teamfights and Peel):
In the late game, your role shifts slightly towards frontline and peel. Save your Solar Flare to engage a key target or to counter enemy initiation. Your ability to zone threats and protect your ADC is paramount; soak up damage, force enemy defensive cooldowns, then re-engage the team around the next pick.
Synergies:
- Kai'Sa: Your hard-engage locks down the target for her follow-up (Supercharge + Killer Instinct).
- Lucian: Explosive trades on your Sunlight procs. Short engage, Lucian's dash to stick.
- Draven: Constant kill pressure; each stun can force a flash.
- Tristana: Jump reset after elimination; you create the first window, she extends the fight.
- Jinx: Less early burst but huge DPS if you hold the frontline. Protect her after the initial engage.
- Varus: Poke + chain-CC: announce your timers so he can land his R behind your E/Q.
- Jarvan IV: Chain CC for bot ganks.







Matchups and Counter-strategies: Adapting to the Enemy
Understanding matchups is vital for Leona, as your aggressive playstyle can be either your greatest strength or your greatest weakness depending on the opponent. Knowing when to engage, who to target, and how to adapt your build is key to turning difficult situations into opportunities for victory.Hard Counters:
- Morgana: She disables your identity with
 Black Shield, nullifying your engage. Force her shield with small engages or poke before looking for a decisive all-in when it's on cooldown.
 - Janna: She breaks your engage logic with her disengage tools. Look for the engage when Janna has already used a tool (missed tornado, shield consumed).
- Alistar: He can knock you back or pulverize you, turning your engage into an all-in on yourself. Pressure Alistar himself when he steps forward, and engage when his
 Headbutt is on cooldown.
 - Braum: His shield reduces your follow-up and his passive can stun you. Look for staggered engages, not frontal ones, and aim for a "hit & run."
- Karma: She chips away at you with her poke and can shield + speed to break your window. Punish Karma when she steps forward to poke and has consumed her shield/Mantra.





Unfavorable Matchups:
- Thresh:
 Flay can interrupt your entry, and
  Lantern reduces the value of your picks. Play around Lantern, engage when he's too far or has just used it.
 - Nami: Her bubble can disrupt your timing and her heals can turn a trade. Be patient with the angle, force Nami to show the bubble before committing.
- Rakan: He can steal your moment with his counter-engage and mobility. Avoid opening the fight without information on his position and cooldowns.
- Lux: She controls distance with her bind and punishes you if you walk straight. Vary your path, use the wave to break skillshot lines.
- Yuumi: She reduces the value of your engages if you don't convert them quickly. Think in terms of explosive windows, engage when you have a clear advantage and aim for quick executions.





Skill Matchups:
- Nautilus: A duel of vision and positioning. Play the bushes, prioritize engages where your ADC is in range.
- Blitzcrank: The lane comes down to who respects the hook. Never offer a free hook angle. "Hook miss = go."
- Pyke: A game of reading. Aggressively ward bushes, play close to your ADC when Pyke disappears.



Favorable Matchups:
- Soraka: Immobile and dependent on her positioning. Target Soraka herself if she no longer has flash.
- Sona: Fragile in the early game. Gain psychological priority, punish her positioning mistakes.
- Senna: Low mobility and reliant on poke. Punish her greed and positioning errors.


Items Against Leona:
- : Emergency cleanse against Q/R stuns.
- : Stops burst during a dive.
- : Area shield to counter her engage.



Concrete Scenario: The First Dragon
Imagine the classic situation: the first Dragon appears at 5:00. You have reached level 5, unlocking yourSolar Flare, and your ADC has completed their first item. This is the ideal time to capitalize on your power spike and force a fight around the objective, turning your advantage into a decisive Dragon take.Action:
- Preparation (4:30): Your objective is to gain vision control around the Dragon. Use your wards to secure key bushes in the river and the enemy jungle entrance. If possible, force the enemy support to retreat or use their defensive wards.
- Wave Push (4:45): Aggressively push the botlane wave under the enemy tower. This puts pressure on the enemy ADC, forcing them to choose between losing minions or joining the fight for the Dragon.
- Rotation (4:55): As soon as the wave is under the enemy tower, quickly roam towards the Dragon with your jungler and midlaner if possible.
- The Engage (5:00): If the enemy team approaches the Dragon, look for an angle for a Flash-Solar Flare on the most vulnerable carry or on multiple targets. Pre-activate Eclipse before engaging, then chain with Zenith Blade towards your target and Shield of Daybreak for a prolonged stun. Clearly communicate your target so your allies can follow instantly and consume the Sunlight marks.
- Follow-up: Once the engage is successful and a target is eliminated, secure the Dragon. If the fight prolongs, stay on the frontline to protect your carries and continue applying crowd control on threats.
- Communicate your engage intentions and targets to your team before going in.
- Pre-activate Eclipse systematically before each engage to maximize your survival.
- Adapt your build and runes based on enemy threats (AD/AP burst, healing).
- Roam aggressively to mid or the jungle as soon as botlane is pushed and you have your ultimates.
- Punish enemy positioning mistakes in lane, especially against fragile supports.
- Secure vision around major objectives to facilitate your engages and picks.
- Protect your carries in the late game, using your kit to peel and zone threats.
Frequently asked questions
What is Leona's main role in Wild Rift?
Leona is a tank support whose main role is to initiate fights and control priority targets. She excels at locking down enemies with her numerous crowd controls (Zenith Blade, Shield of Daybreak, Solar Flare) and absorbing damage thanks to Eclipse, allowing her allies to deal their damage safely.
What are the best items for Leona?
Leona's standard build includes bulwark-of-the-mountain for durability and mana, zekes-convergence to amplify ADC damage after the ultimate, and knights-vow to protect the carry. Situational options like thornmail against healing or mantle-of-the-twelfth-hour against AD burst are also very effective.
How to maximize the impact of Leona's Sunlight passive?
Sunlight, Leona's passive, marks enemies hit by her abilities. To maximize its impact, it is crucial to communicate the marked target to your allies so they can consume the mark with their damage. This adds a significant damage bonus and helps secure eliminations, especially in the early game.
How to handle difficult matchups like Morgana or Janna?
Against Morgana, the trick is to force her Black Shield with threats or poke before fully engaging. Against Janna, who can disengage, look to engage her when she has already used her knockback or shield abilities. Adaptation and reading enemy cooldowns are essential in these matchups.
When is Leona strongest in the game (power spikes)?
Leona has significant power spikes at level 3, when she unlocks her full kit (Zenith Blade, Shield of Daybreak, Eclipse), and at level 5 with her ultimate Solar Flare which gives her massive engage range. The completion of zekes-convergence is also a key moment to increase her team's damage.
What are the recommended runes for Leona?
The recommended keystone rune for Leona is ice-tyrant, which improves her engage and control. For minor runes, fortitude, secondwind, overgrowth, and hextech-flashtraption are solid choices to increase her durability, regeneration, and offer her additional engage options from unexpected angles.
How should Leona play the laning phase?
In the laning phase, Leona should play aggressively, seeking to control bushes and punish enemy positioning mistakes with short all-ins. The goal is to gain lane priority to facilitate roaming and objective securing, always communicating with her ADC to optimize trades and kills.