S
September 2026 · Patch 7.2d
Assassin · Baron Lane

Ambessa Wild Rift — Tier, Stats & Overview

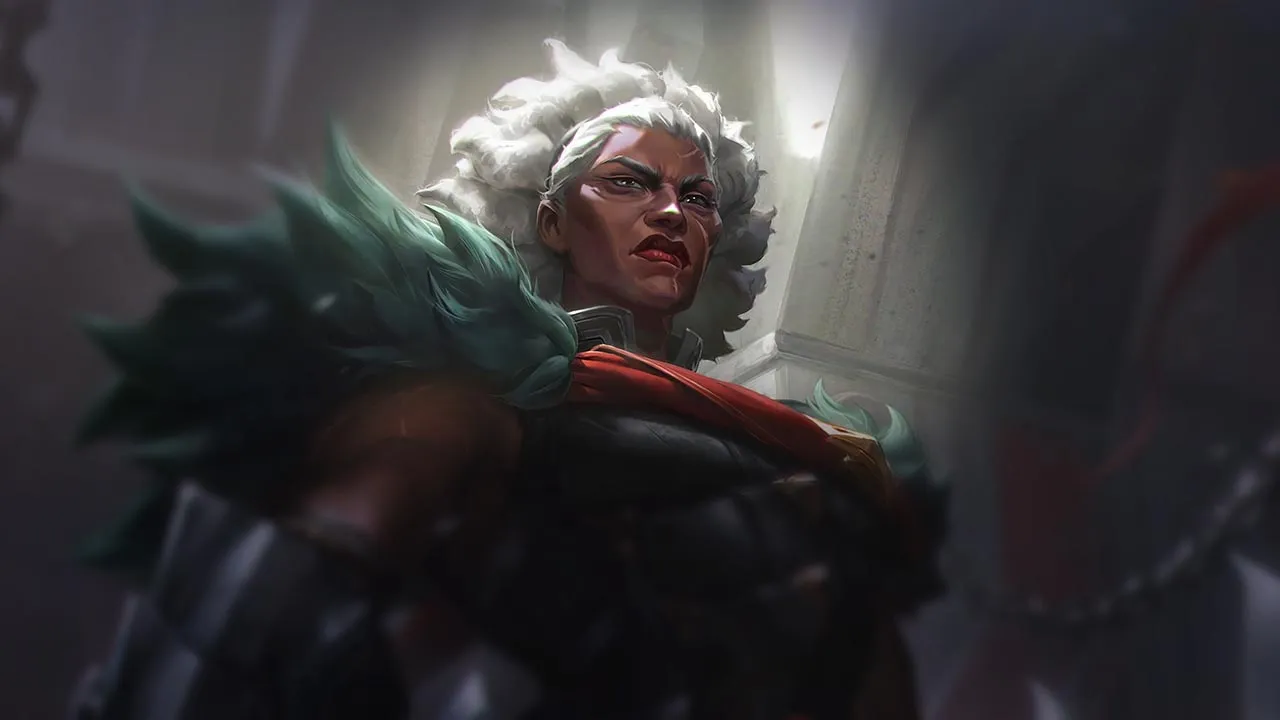
Ambessa is a mobile bruiser playable in Baron Lane or Jungle in Wild Rift, an imperial fighter specializing in aggressive assaults and close-combat control.

Best build Sundered Sky Black Cleaver Guardian Angel Death's Dance Sterak's Gage Full build →

★ Baron Lane Tier S September 2026 · Patch 7.2d bruiserbaron lanejungle
DMG
UTIL
TANK
DIFF
Win 49.7% #67 · ↑9pt
Pick 2% #31
Ban 1.2% #82

Start here

Master everything about Ambessa

The complete Ambessa breakdown, and the micro and macro skills that actually decide games on this champion.

All guides →
Win Rate (30d) 49.67%-1.38 pts
Pick Rate 1.96%
Ban Rate 1.15%
49.0%50.0%51.0%7.2c7.2d08/0823/0807/09

Ambessa's win rate has dropped -1.38 pts over the last 30 days, now at 49.67%. See the full Wild Rift meta trends for more biggest movers. Measured effect of the nerf in 7.2b (30/07): +0.51 pts of win rate over 10 days, and -2.44 pts of pick rate.

§ 01 — Editorial brief

Ambessa positions herself as a pressure and decision-based pick in the current patch.

By Updated 8 Sept 2026 Patch 7.2d

Ambessa is a mobile bruiser playable in Baron Lane or Jungle in Wild Rift, an imperial fighter specializing in aggressive assaults and close-combat control. Her kit revolves around chained dashes allowing her to cross enemy lines, burst damage, and superior resilience through melee defensive effects. She excels in dive compositions seeking to reach enemy carries despite frontline resistance. In Wild Rift, her burst mobility enables devastating flanks that are difficult to anticipate.

Ambessa fits well in compositions that favor frequent skirmishes and constant map pressure. She benefits from allies who provide engage or crowd control to lock down targets. Aggressive fighting teams maximize her potential.

Ambessa, a Baron Lane / Jungle fighter, relies on mobility and staying in melee range to deal sustained damage. Compositions with strong kite, crowd control, or fast burst can limit her effectiveness. If she cannot maintain close combat pressure, her impact drops considerably.

With Ambessa, focus on controlling the pace of close-range fights. Use her mobility to isolate targets and maintain dueling pressure. In teamfights, aim for fragile targets instead of the frontline.

§ 06 — The matchup wall · TopAmbessa Wild Rift Top counters and synergies

Hard Unfav. Skill Fav. Synergy

Build enginePatch 7.2d build — computed

  1. Core 01 Sundered Sky Sundered Sky
  2. Core 02 Black Cleaver Black Cleaver
  3. Core 03 Guardian Angel Guardian Angel
  4. Core 04 Death's Dance Death's Dance
  5. Core 05 Sterak's Gage Sterak's Gage
  6. Boots Plated Steelcaps Plated Steelcaps
Full variants, runes & power spikes

§ 02 — Strengths & weaknesses Ambessa Wild Rift strengths and weaknesses

↑ Strengths
  • Ability to instantly punish positioning mistakes with her ultimate.
  • Highly efficient short trades with Eclipse, enabling snowballing.
  • Very strong in solo queue where enemy coordination is weak.
  • Can convert a winning lane into global pressure through roams.
↓ Weaknesses
  • When your team lacks immediate follow-up after engage.
  • Against compositions with heavy peel and crowd control.
  • If enemies have multiple Stasis or Quicksilver tools.
  • In drafts focused on extended front-to-back fights.
02

§ 03 — Game planAmbessa Wild Rift game plan: early, mid and late game

I Early

Seeks short fights with viewpoint advantage

Lvl. 1 → 6

Seeks short fights with viewpoint advantage. Uses Q(1) outer-edge then pulls back if the trade goes wrong.

II Mid

Plays objectives and flanks

Lvl. 7 → 11

Plays objectives and flanks. R is used to isolate a carry or punish an isolated one.

III Late

Don't force first without vision

Lvl. 12+

Don't force first without vision. Coordinated engagement with protection ready.

§ 07b — Advanced MechanicsAmbessa: combos & tips Wild Rift

Short-range combo
1 Q Q
2 Passif AA
3 E E
4 AA

Strike with the outer arc of Cunning Sweep, which transforms into Sundering Slam, then trigger the Drakehound’s Step passive to dash and auto-attack.

All-in engage combo
1 E E
2 Q Q
3 Passif AA
4 W W
5 R R

Close the gap with a passive dash, cast Q to poke/slam, auto-attack, then use Concussive Blow (W) to stun and finish with Public Execution (R) on the isolated target.

Backline pick combo
1 R R
2 Q Q
3 AA
4 W W

Use the ultimate to blink onto an isolated enemy carry, burst them with Q and stun them with W.

Extended trade combo
1 Q Q
2 AA
3 E E
4 Q Q
5 AA
6 W W
7 Q Q
8 AA

Weave passive dashes between each ability to stack the passive 3 times and maximise damage.

Mechanical Tips

  • Drakehound’s Step passive: after each ability, input a direction or an attack to trigger a short dash. Each dash stacks up to 3 times, granting a bonus to range, attack speed and damage on the next auto-attack.
  • Cunning Sweep (Q) outer arc: maximum damage is dealt at the edge of the arc — aim for the outer edge, not the centre, and the cast transforms into Sundering Slam (follow-up).
  • Public Execution (R): Blink towards the farthest enemy in a straight line — be careful which target you choose; the ultimate can hit a tank if misdirected.
  • Short exchanges: in the early game, prioritise quick trades with passive-enhanced auto-attacks between abilities — don’t get bogged down in prolonged fights before you’ve got your items.

Common Mistakes

  • Not using the passive dash after every ability — every skill without a dash = missed DPS.
  • Misdirecting Public Execution (R) at a tank instead of the intended carry.
  • Hitting the centre of Q instead of the outer edge — reduced damage and no Sundering Slam transformation.

Notable Interactions

  • Public Execution (R) provides damage reduction and is unstoppable whilst casting — safe against CC.
  • R can be chained after other abilities for maximum damage or used as an opener when a carry is isolated.
  • Ambessa excels at initiating fights and disrupting enemy formations thanks to her passive’s mobility.
Go deeper Mechanics & Tips — Ambessa Every combo, the advanced tips, the common mistakes and the full game plan. Open the section

§ 08 — DialoguesAmbessa Wild Rift FAQ

Q.01 Is Ambessa a good blind pick? +

Ambessa is not a reliable blind pick. She can be very strong in certain matchups or compositions, but struggles heavily against champions that can control or stall her engage. If you don’t know the enemy draft, you risk ending up in a situation where your ultimate loses all value.

Q.02 When should you use her ultimate? +

Her ultimate should be used to create immediate advantage, not to start long fights. The goal is to isolate a key target and turn the situation into a 5v4. If your team isn’t ready to follow, it’s better to wait than to force an entry that won’t be converted.

Q.03 Why does Ambessa fall off in late game? +

In late game, teams are more grouped and have more defensive tools. This makes isolation much harder. Additionally, mistakes are less frequent, reducing engage opportunities. Ambessa relies on these mistakes to be effective, which explains her drop in impact.

Q.04 How do you play against Ambessa? +

You need to reduce the value of her ultimate. Stay grouped, save crowd control for her engage, and use items like Stasis or Quicksilver to break her all-in. If she cannot isolate a target, she loses a lot of impact and becomes much more predictable.

Data — Stats per levelAmbessa Wild Rift base stats per level (1-15)

Movement speed 355Attack range 175Bonus attack speed / lvl +2.2%
Show stats per level
LvlHPADArmorMREnergyHP regen
16605843362008
278062.548382008.8
39006753402009.6
41,02071.5584220010.4
51,14076634420011.2
61,26080.5684620012
71,38085734820012.8
81,50089.5785020013.6
91,62094835220014.4
101,74098.5885420015.2
111,860103935620016
121,980107.5985820016.8
132,1001121036020017.6
142,220116.51086220018.4
152,3401211136420019.2

Base data : wiki.leagueoflegends.com (CC BY-SA 4.0) · 2026-07-09

Interactive tool

Try Ambessa in the Draft Simulator

Build your team around Ambessa, analyze enemy counters in real time and get pick recommendations aligned with the current patch meta.

Launch the Draft Simulator →