

July 2026 · Patch 7.2a
Support · Support

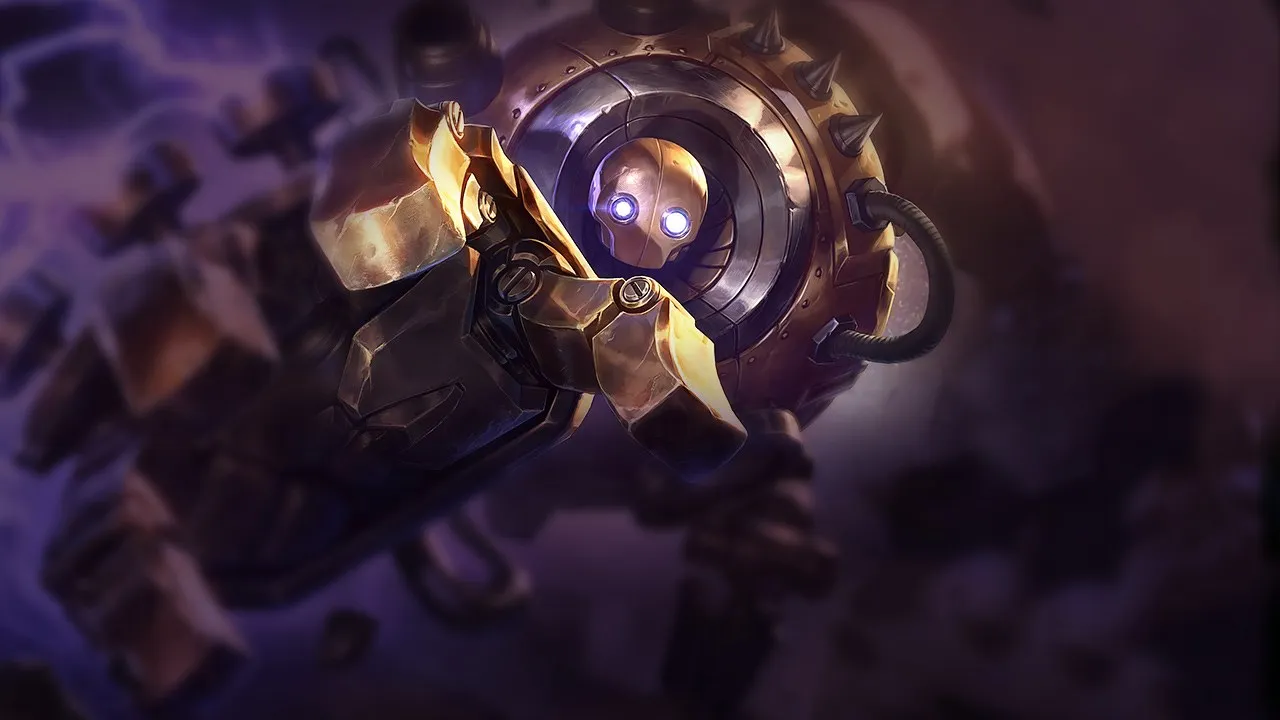
Blitzcrank Wild Rift Guide

Support

★ Support Tier S July 2026 · Patch 7.2a
DMG
UTIL
TANK
DIFF
Win 47.8% #47 · ↓15pt
Pick 5.7% #11
Ban 0.2% #65
§ 01 — Editorial brief

Blitzcrankは現在のパッチで非常に賛否両論あるピックだ。エンチャンターや伝統的なエンゲージサポートのような安定した存在感はないが、ゲームのペースを再構築する絶え間ないピックの脅威でそれを補っている。ポジションミスが頻繁に起こるsolo queueでは、1回のフックをオブジェクトや決定的な有利に変換する彼の能力が、彼を関連性の高いものにしている。彼は時間とともに安定しているわけではないが、彼が作り出すウィンドウ内では残忍だ。これはコントロールチャンピオンではなく、不均等な戦いを強制する妨害ツールだ。

By WRC Studio ~ 1 min read Patch 7.2a
Expert note

Expert take

Blitzcrankは安定したチャンピオンではなく、それがまさに彼の強みだ。彼は構造化された戦闘よりもピックの機会にゲームを転換させる。タイミング、角度、そして特にエンゲージしない時を理解していれば、彼は非常に強力になる。しかし、draftを意識せずにメカニカルにプレイすると、彼は無用になる。彼は純粋なメカニカルチャンピオンではなく、意思決定ベースのチャンピオンだ。

Weak point

Hidden weakness

Blitzcrankはゲームテンポに大きく依存する。チームが適切に集まり、キャリーが距離感を尊重するようになると、彼のインパクトは著しく低下する。特に味方がフックに即座に追従できない場合、彼は予測可能で無力化されやすくなる。

§ 02 — Strengths & weaknesses Blitzcrank Wild Rift strengths and weaknesses

↑ Strengths
  • 1回のフック成功でゲームをひっくり返すユニークな能力。
  • メタで一般的な壊れやすいバックラインに対して非常に強力。
  • エンゲージにコミットしなくても、絶え間ないプレッシャー。
  • レーン外でピックを作成するための効果的なローミング。
↓ Weaknesses
  • 敵チームに複数の防御ツール(シールド、クレンズ、ピール)がある場合。
  • フックに対する即時のフォローアップがチームに欠けている場合。
  • バーストするのが難しい非常にタンクの構成に対して。
  • 標準的なフロント・トゥ・バックの戦いを強いられた場合。
02

§ 03 — Game planBlitzcrank Wild Rift game plan: early, mid and late game

I Early

Vision control and pick threat

Niv. 1 → 6

Vision control and pick threat.

II Mid

Coordinated roams and picks around the targets

Niv. 7 → 11

Coordinated roams and picks around the targets.

III Late

Look for the decisive angle; avoid frontal 5v5s

Niv. 12+

Look for the decisive angle; avoid frontal 5v5s.

Data — Stats per levelBlitzcrank Wild Rift base stats per level (1-15)

Movement speed 335Attack range 175Bonus attack speed / lvl +2.2%
Show stats per level
LvlHPADArmorMRManaHP regenRes. regen
1660584938300912
27806054.1403419.813.1
39006259.24238210.614.2
41,0206464.34442311.415.3
51,1406669.44646412.216.4
61,2606874.54850513.117.5
71,3807079.65054613.918.6
81,5007284.75258714.719.7
91,6207489.85462815.520.8
101,7407694.95666916.321.9
111,860781005871017.123
121,98080105.16075117.924.1
132,10082110.26279218.725.2
142,22084115.36483319.526.3
152,34086120.46687420.327.4

Base data : wiki.leagueoflegends.com (CC BY-SA 4.0) · 2026-07-09

§ 05 — Recommended buildBest Blitzcrank Wild Rift build for the current patch

Blitzcrankは現在のパッチで非常に賛否両論あるピックだ。エンチャンターや伝統的なエンゲージサポートのような安定した存在感はないが、ゲームのペースを再構築する絶え間ないピックの脅威でそれを補っている。ポジションミスが頻繁に起こるsolo queueでは、1回のフックをオブジェクトや決定的な有利に変換する彼の能力が、彼を関連性の高いものにしている。彼は時間とともに安定しているわけではないが、彼が作り出すウィンドウ内では残忍だ。これはコントロールチャンピオンではなく、不均等な戦いを強制する妨害ツールだ。

Core
1 Zeke's Convergence
Zeke's Convergence
2 Protector's Vow
Protector's Vow
3 Dead Man's Plate
Dead Man's Plate
Boots
Mercury's Treads Mercury's Treads
/
Plated Steelcaps Plated Steelcaps
See the full build

§ 06 — The matchup wallBlitzcrank Wild Rift counters and synergies

Hard Unfav. Skill Fav. Synergy
Morgana
Hard
Morgana
Karma
Unfav.
Karma
Thresh
Skill
Thresh
Sona
Fav.
Sona
Jhin
Ideal
Jhin
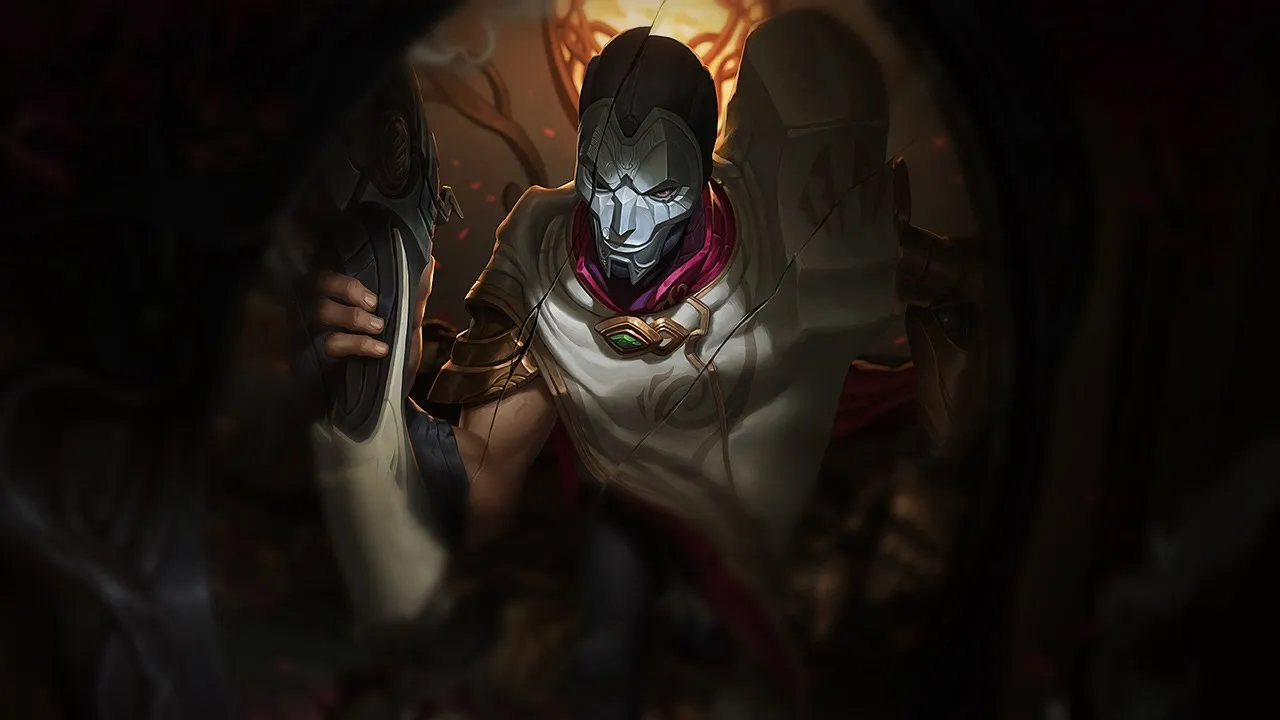
Blitzcrank and Jhin operate on a very simple rule: a successful hook should almost always convert into extended control and lethal burst. Rocket Grab forces the target into Jhin’s ideal space, letting him immediately chain damage and follow-up control without needing to chase. The duo is especially oppressive against immobile lanes or comps that leave a key carry poorly protected during rotations.
Caitlyn
Ideal
Caitlyn
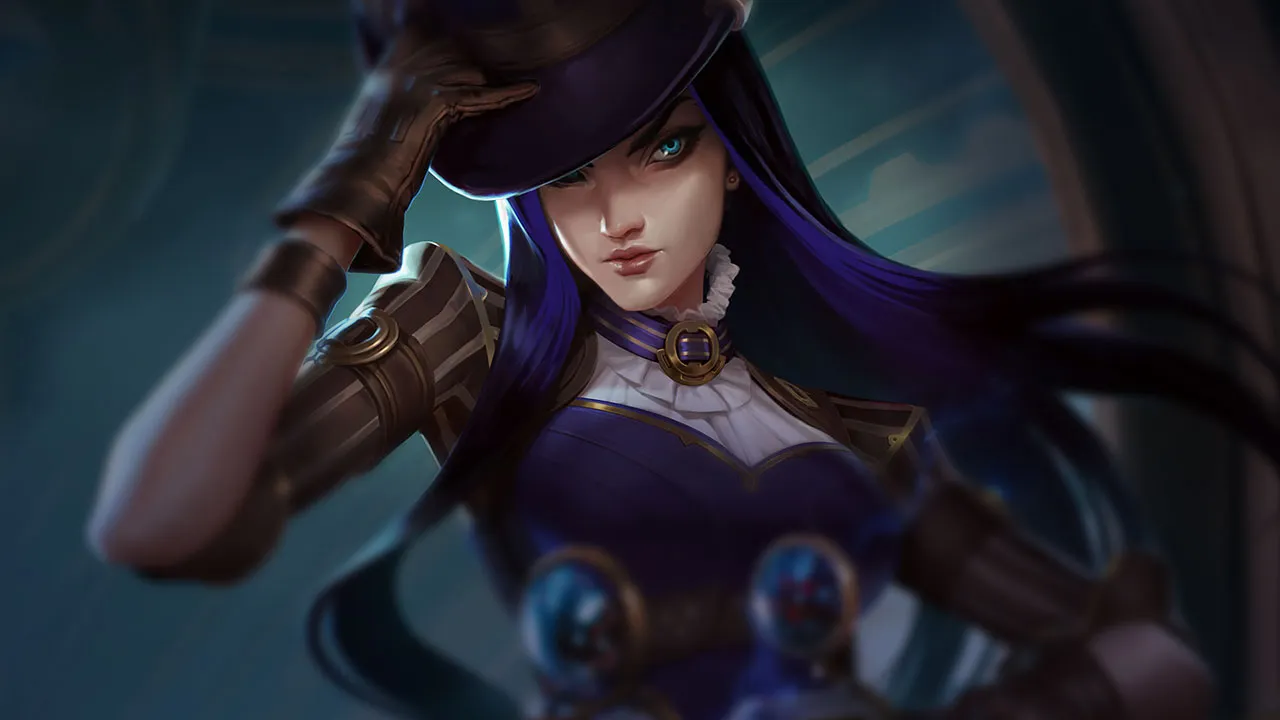
Caitlyn loves crowd control that forces a target into a small and predictable space, which is exactly what Blitzcrank does. The hook gives a perfect window to cash out burst and trap setup without requiring an extended trade. This combination is deadly in lane to punish every positioning mistake, and it stays excellent for picks in mid game.
Ahri
Strong
Ahri
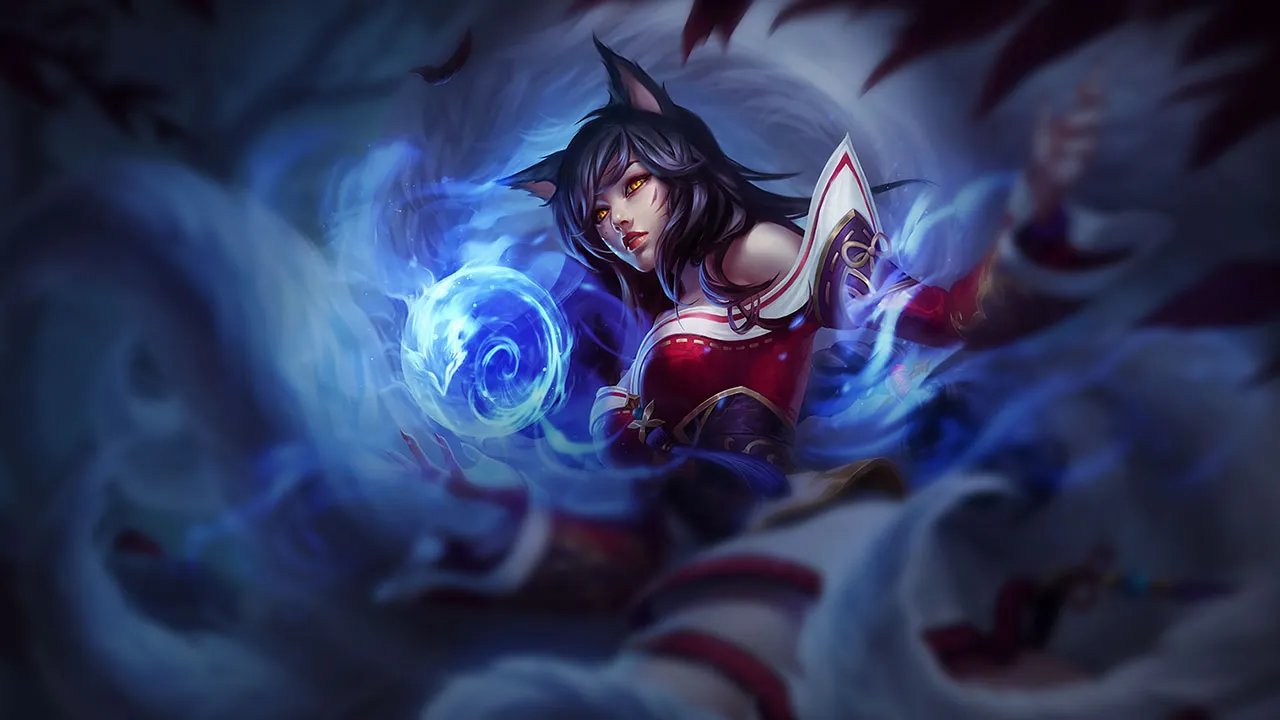
Blitzcrank creates a very readable pick that Ahri loves to convert thanks to her short and precise burst. A target pulled into melee range is almost always a target Charm can hit with minimal risk, making the kill sequence extremely stable. This synergy becomes especially valuable against teams that play with a fragile backline and few tools to quickly save a caught target.
Miss Fortune
Strong
Miss Fortune
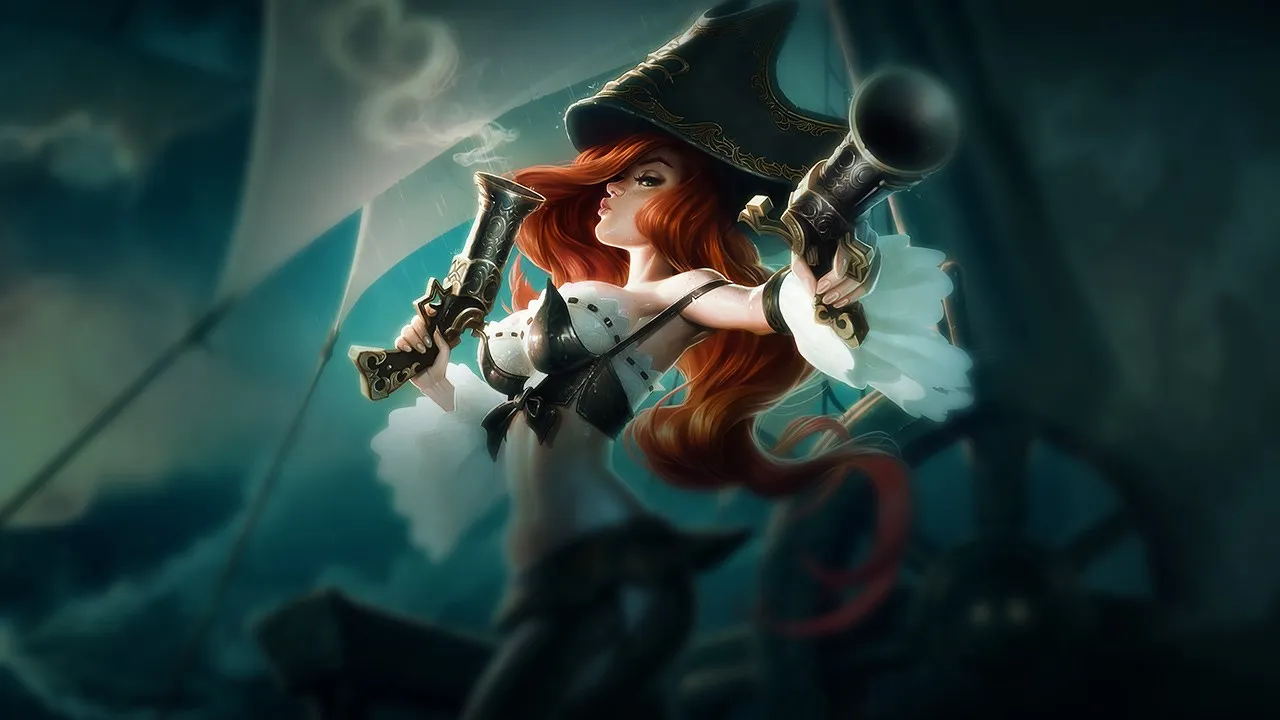
Even though Miss Fortune often prefers large area lockdown, Blitzcrank gives her a real explosive pick profile. Every successful hook instantly places the target inside a damage cone that is hard to leave if the knockup and silence are layered correctly. The duo is less consistent in huge teamfights than with some tanks, but very strong for snowballing lane and punishing vision catches.

§ 07b — 応用テクニックBlitzcrank:コンボ & 立ち回りガイド Wild Rift

基本フックコンボ
1 Q Q
2 AA
3 E E
4 R R

敵をフックし、AAですぐにパッシブを発動させ、Eでノックアップさせ、Rでサイレンスとダメージを与える。

Overdriveを使ったエンゲージコンボ
1 W W
2 Q Q
3 AA
4 E E
5 R R

Overdriveを発動してターゲットに突進し、近距離でフックしてからフルCCチェイン。

Power Fist先行フックコンボ
1 E E
2 Q Q

場合によっては、CCを繋げるためにQの前にEを使用する(ノックアップからのプル)。

Flashフックコンボ
1 Flash Flash
2 Q Q

通常範囲外のターゲットに奇襲するため、Flashで前進。

操作のコツ

  • Rocket Grab (Q):ブリッツクランクのメインスキル。クールダウンごとに1回使用可能。ブッシュからや、予想外の角度から使用してフックの成功率を最大化しよう。
  • Power Fist (E):E後の通常攻撃は即座にノックアップを付与する。Qの後に繋げるには、通常攻撃の直前にEを発動する。
  • Static Field (R)パッシブ:発動前にサイレンスを付与する。フック直後にRを使用し、ターゲットのエスケープスキルを防ごう。
  • Overdrive (W):一時的なダッシュ+攻撃速度ボーナス。通常範囲外のターゲットをフックする前に距離を詰めるために使用する。
  • マナBarrier (パッシブ):HP35%未満でマナ量に応じて自動シールドが付与される。より大きなシールドのためにマナを積もう。

よくあるミス

  • 視界の良い場所からQを使用するな。敵は簡単に回避できる。常にブッシュからか、角を曲がってフックしよう。
  • 最大射程からまっすぐ分かりやすい線でQを使用するな。角度を変えよう。
  • Qの直後に追撃するな。すぐにEを繋げないと、敵はフックされた後にフラッシュやダッシュで離脱できる。

注目のインタラクション

  • 良いフック=トレード勝利かキルほぼ確定。ブリッツクランクの価値は、Qの精度に全てかかっている。
  • Qは、ブリッツクランクとターゲットの間にミニオンがいない場合、ミニオンを貫通してフックできる。
  • Static Field (R)は、永続的なパッシブAoEサイレンスを付与する。チームファイトで敵キャスターを妨害する。

§ 07 — PreceptsBlitzcrank Wild Rift tips for ranked

Tip · 01

Don't show your shoulders: play the fog/the walls and vary Q's timings.

Codex
Tip · 02

After a pick, quick reset instead of an extended 5v5 if your R is down.

Codex

§ 08 — DialoguesBlitzcrank Wild Rift FAQ

Q.01 Blitzcrankはsolo queueで有効ですか? +

はい、非常に強力です。プレイヤーがミスをする環境では、彼のピックポテンシャルは非常に価値がある。しかし、彼はチームのフォローアップに依存する。マップを読み、タイミングを選ぶことができれば、彼は強力な間接的なキャリーツールになる。

Q.02 なぜフックが成功しても負けるの? +

フックだけでは足りないからです。味方が追撃できるか、ターゲットが本当に弱っているかを確認する必要があります。タンクや守られているターゲットをフックすると逆効果になることがあります。フックの状況が、フックそのものよりも重要です。

Q.03 Blitzcrank の時はいつローミングすべき? +

レーンが安定したか、勝てなくなった時です。ブリッツは、レーンに留まるよりも、他の場所でピックを作る方が役立つことが多いです。重要なタイミングは、リセット後や、ADC が安全にファームできる時などです。

Q.04 Blitzcrank はプレイが難しい? +

メカニック的には難しくありませんが、判断面では難しいです。真のスキルは、タイミング、角度、エンゲージの判断から生まれます。いつフックしないかを知ることが、いつフックするかを知ることよりも重要であることがよくあります。

§ 09 — EchoesBlitzcrank Wild Rift related guides

01
Key mechanic

Vision and wards in Wild Rift: the simple guide to stop playing in the dark

Learn where to ward in Wild Rift: dragon, Baron, river, bushes, timings, sweep and common vision mistakes explained simply.

Read
02
Key mechanic

Understanding Macro in Wild Rift: The Real Difference Between Playing and Winning

Understand macro in Wild Rift: objectives, rotations, tempo, vision and decisions that help you win more ranked games.

Read
03
Key mechanic

Drake and Baron Objectives in Wild Rift: how to decide fast without throwing

Learn when to contest Drake, when to start Baron, when to give an objective, and how to avoid objective throws in Wild Rift.

Read
04
Role guide

Wild Rift Support Guide: understand your real job in bot lane

Learn how to play Support in Wild Rift: vision, roaming, peel, engage, lane phase and decisions that win games.

Read