


July 2026 · Patch 7.2a
Tank · Jungle

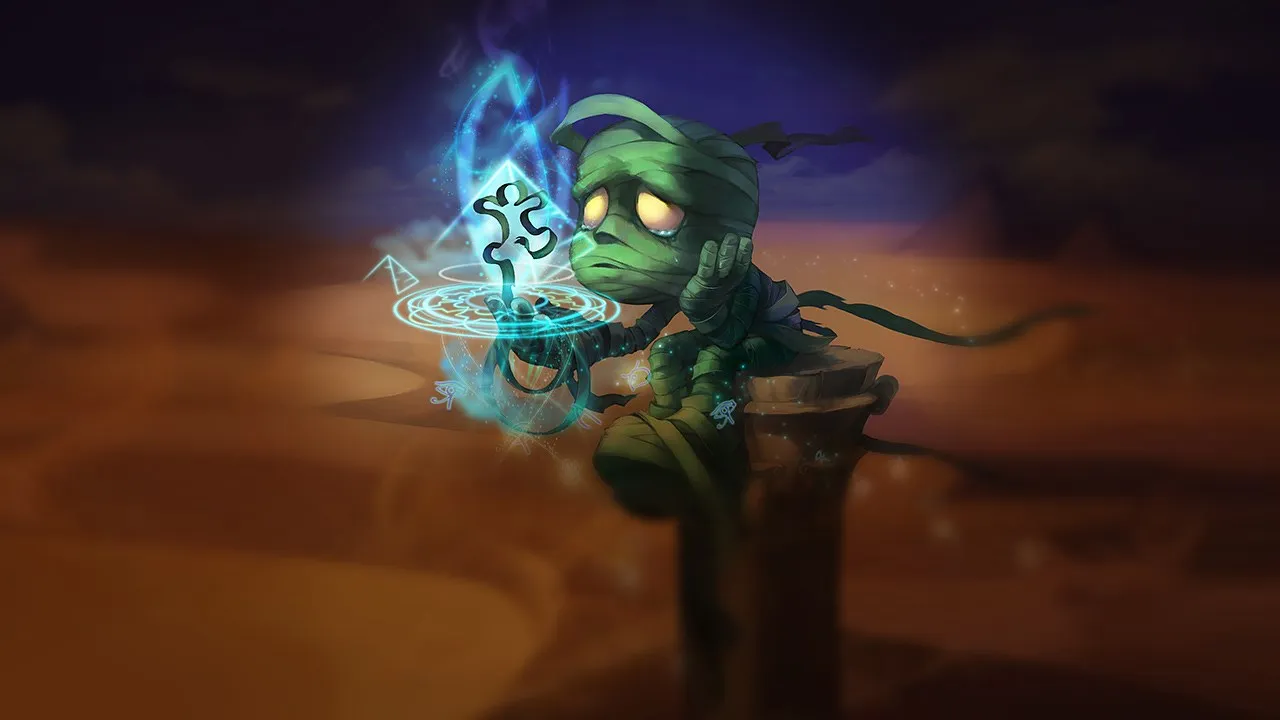
Amumu Wild Rift Guide

Tank

★ Jungle Tier S July 2026 · Patch 7.2a
DMG
UTIL
TANK
DIFF
Win 47.7% #55 · ↓11pt
Pick 2.5% #31
Ban 0% #95
§ 01 — Editorial brief

Amumuは現在のパッチで非常に読みやすく、それでいて常に危険なジャングラーであり続けています。彼の価値は序盤の支配力から来るのではなく、レベル5やオブジェクト周辺で勝利につながる戦闘を作り出す能力から来ています。プレイヤーがしばしば構造の悪い小競り合いを強行するメタにおいて、彼のフラッシュ+アルティメットによるエンゲージは直接的な勝利条件であり続けます。しかし、彼は依然として、彼のピーク前に彼を罰するアグレッシブなジャングラーに対して苦戦するため、レーン規律に依存することになります。彼は柔軟なピックではありませんが、ドラフトが集団戦を有利にする場合には非常に強力な条件付きピックです。

By WRC Studio ~ 1 min read Patch 7.2a
Expert note

Expert take

Amumuは、メカニカルなチャンピオンというよりは、判断ベースのチャンピオンだ。彼は、戦闘が勝てる瞬間を正確に読み取れるプレイヤーに報酬を与える。彼の明白なシンプルさの裏には、タイミング、視界、連携に対する強い要求が隠されている。うまくプレイすれば、敵のたった一つのミスを勝利につながる戦闘に変えることができる。ミスをすれば、彼は何もないところにエンゲージし、敵にテンポを与えてしまう。彼は、彼を中心にプレイするように構築されたドラフトで輝く。

Weak point

Hidden weakness

Amumuの本当の弱点は、序盤の弱さだけでなく、チームのタイミングに依存しすぎることだ。たとえ良いエンゲージができても、すぐに追撃がなければ、彼は何も影響力のないただのタフなターゲットになってしまう。また、フラッシュがないとエンゲージの角度が予測されやすく避けられやすくなるため、価値が大きく低下する。

§ 02 — Strengths & weaknesses Amumu Wild Rift strengths and weaknesses

↑ Strengths
  • 戦闘で距離感の悪いチームに対する強力な罰。
  • フラッシュ+Rによるオブジェクト周りの明確な勝利条件。
  • 一貫したmid/終盤のインパクトによる信頼性の高いタンクのスケーリング。
  • 現在のパッチでのAoEメイジとの自然なシナジー。
↓ Weaknesses
  • アグレッシブな序盤の侵略ジャングラーに対して。
  • エンゲージのフォローアップが信頼できない場合。
  • 非常に散らばった、またはポーク構成に対して。
  • バックラインに確実に到達できない場合。
02

§ 03 — Game planAmumu Wild Rift game plan: early, mid and late game

I Early

Avoid duels, control your jungle and set the…

Niv. 1 → 6

Avoid duels, control your jungle and set the vision to prepare for level 5.

II Mid

Play each R window to transform into a…

Niv. 7 → 11

Play each R window to transform into a dragon/herald.

III Late

Look for Flash→R flanks, protect your carry if…

Niv. 12+

Look for Flash→R flanks, protect your carry if the enemy splits.

Data — Stats per levelAmumu Wild Rift base stats per level (1-15)

Movement speed 345Attack range 175Bonus attack speed / lvl +2.2%
Show stats per level
LvlHPADArmorMRManaHP regenRes. regen
1690524038390915
279455.644.7404559.815.7
389859.249.44252010.616.4
41,00262.854.14458511.417.1
51,10666.458.84665012.217.8
61,2107063.54871513.118.5
71,31473.668.25078013.919.2
81,41877.272.95284514.719.9
91,52280.877.65491015.520.6
101,62684.482.35697516.321.3
111,7308887581,04017.122
121,83491.691.7601,10517.922.7
131,93895.296.4621,17018.723.4
142,04298.8101.1641,23519.524.1
152,146102.4105.8661,30020.324.8

Base data : wiki.leagueoflegends.com (CC BY-SA 4.0) · 2026-07-09

§ 05 — Recommended buildBest Amumu Wild Rift build for the current patch

Amumuは現在のパッチで非常に読みやすく、それでいて常に危険なジャングラーであり続けています。彼の価値は序盤の支配力から来るのではなく、レベル5やオブジェクト周辺で勝利につながる戦闘を作り出す能力から来ています。プレイヤーがしばしば構造の悪い小競り合いを強行するメタにおいて、彼のフラッシュ+アルティメットによるエンゲージは直接的な勝利条件であり続けます。しかし、彼は依然として、彼のピーク前に彼を罰するアグレッシブなジャングラーに対して苦戦するため、レーン規律に依存することになります。彼は柔軟なピックではありませんが、ドラフトが集団戦を有利にする場合には非常に強力な条件付きピックです。

Core
1 gide solaire
gide solaire
2 Abyssal Mask
Abyssal Mask
3 Thornmail
Thornmail
Boots
Mercury's Treads Mercury's Treads
/
Plated Steelcaps Plated Steelcaps
See the full build

§ 06 — The matchup wallAmumu Wild Rift counters and synergies

Hard Unfav. Skill Fav. Synergy
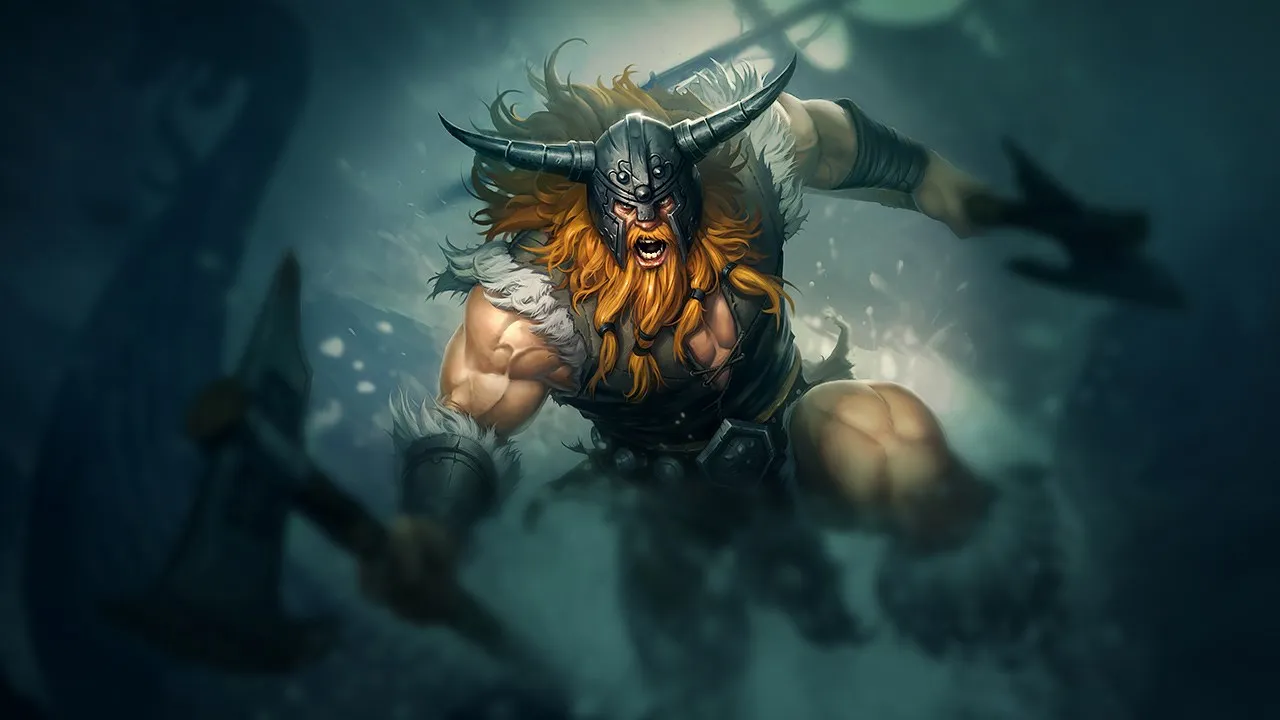
Olaf
Hard
Olaf
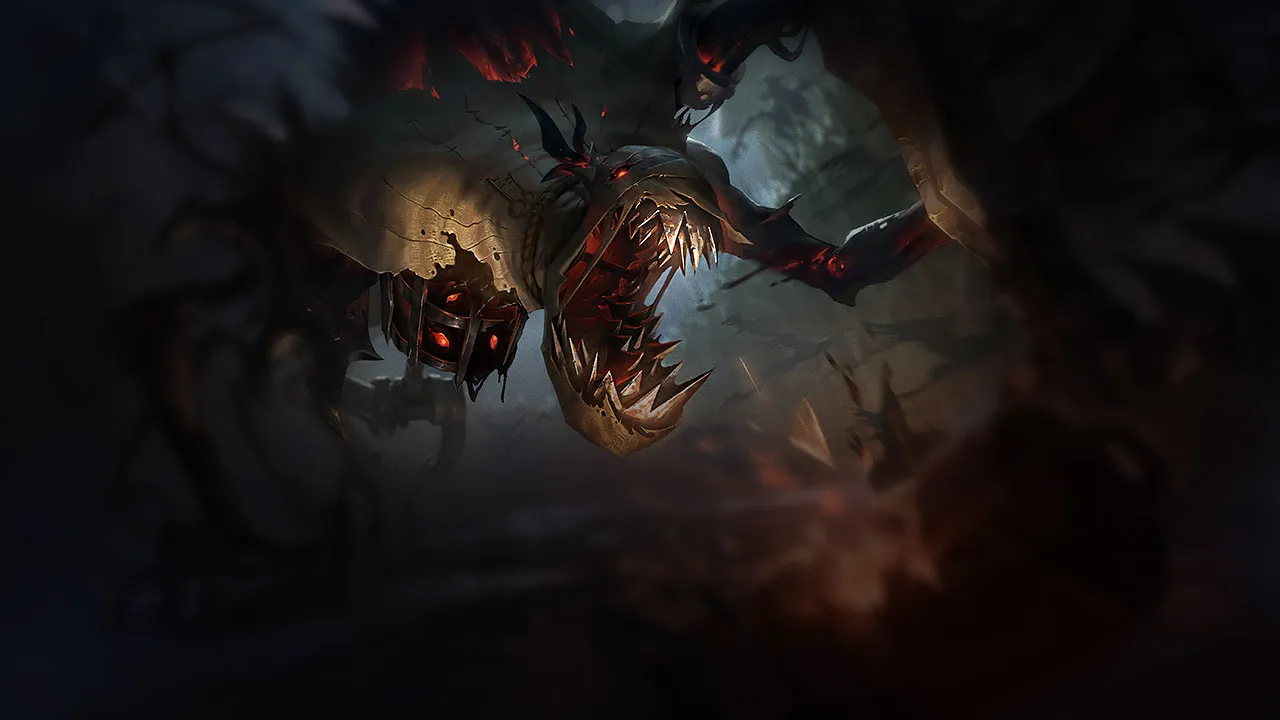
Graves
Unfav.
Graves
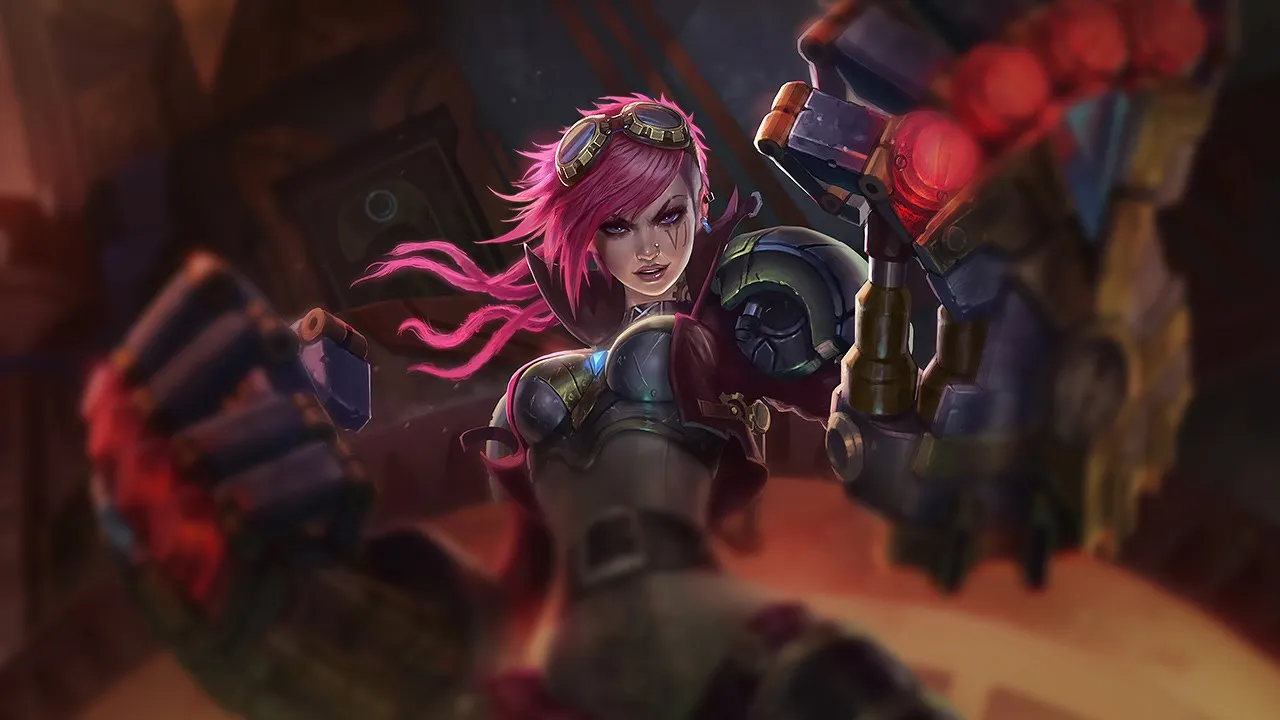
Vi
Skill
Vi
Master Yi
Fav.
Master Yi
Miss Fortune
Ideal
Miss Fortune
Amumu's Curse of the Sad Mummy immobilizes an entire team for 2 seconds — Miss Fortune can fully channel Bullet Time on targets unable to move or leave the shot axis. It's one of the most devastating AoE damage combos in the game: 2 seconds mass CC + 3 seconds Bullet Time = entire team destroyed in a single exchange. Optimal timing at Dragon or Baron: Amumu arrives from flank or bush, Curse on signal, MF repositioned at optimal angle immediately triggers Bullet Time.
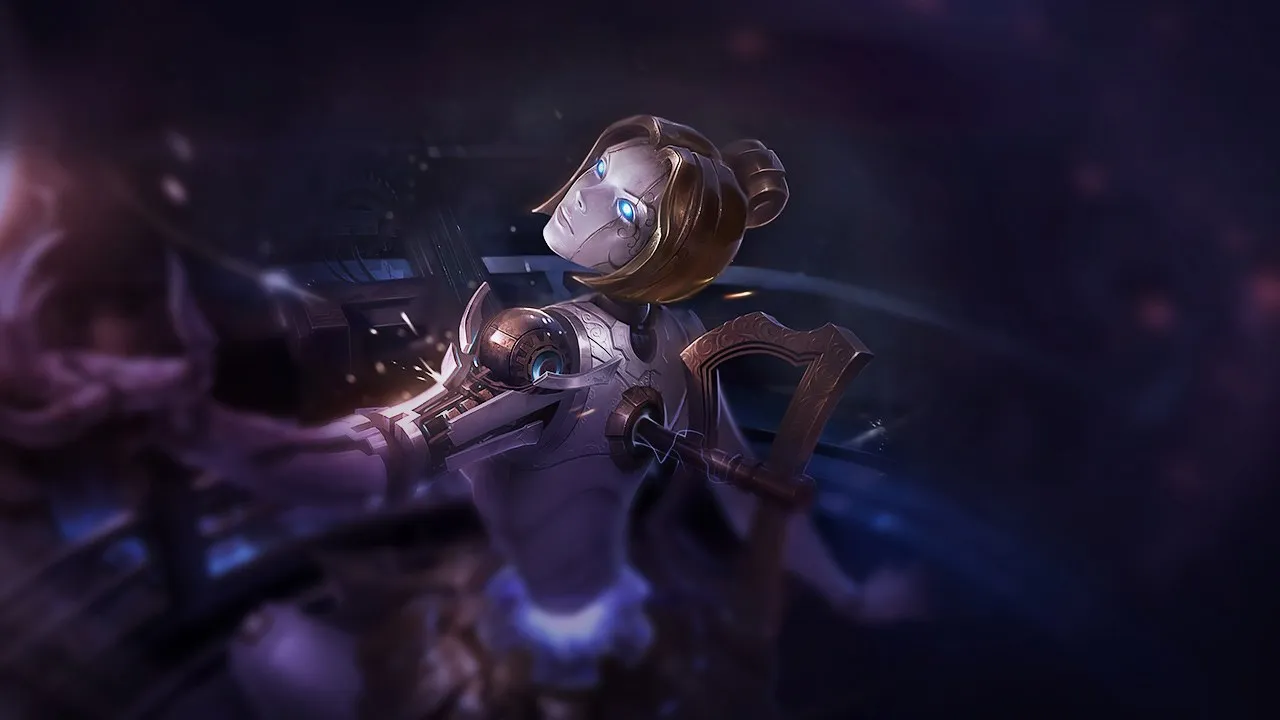
Orianna
Ideal
Orianna
Curse of the Sad Mummy clusters and immobilizes — Orianna triggers Command: Shockwave on the ball at the center of the immobilized group to maximize damage and additional CC on already-stopped targets. The combination creates a 3+ second uninterrupted CC window: Curse 2s + Shockwave 1.5s overlap. Amumu can also carry Orianna's ball (Command: Protect) during his Bandage Toss to automatically position the ball at the center of the group he engages.
Jinx
Strong
Jinx
Curse of the Sad Mummy immobilizes the entire enemy frontline — Jinx can stack AoE Fishbones autos on the entire group while nobody can move or approach her. Jinx's Get Excited triggers on each kill offered by Amumu's CC, and Amumu's tankiness protects Jinx during pre-engage poke phases. Formidable late game duo: Amumu engages, Jinx hypercarries the rest, the composition becomes practically uncontestable if it reaches 3 items.
Veigar
Strong
Veigar
Veigar's Event Horizon traps targets in a stun cage — Amumu can Bandage Toss into the cage then Curse for cumulative CC of over 4 seconds on the same target. Veigar's Primordial Burst one-shots targets stopped by Amumu, and both champions scale their damage via kills/assists (Amumu via empowered Bandage Toss, Veigar via Phenomenal Evil Power stacks). Mid+jungle combo that can end the game in 20 minutes if targets are isolated in Event Horizon.

§ 07b — 応用テクニックAmumu:コンボ & 立ち回りガイド Wild Rift

標準的なエンゲージコンボ
1 Q Q
2 R R
3 W W
4 E E

Qで敵をフックし、すぐにアルティメットを使用して範囲全体をスタンさせる。

奇襲Flashコンボ
1 Q Q
2 Flash Flash

Bandage TossとFlashを同時にキャストしてアニメーションをキャンセルする。Flash→Qよりも敵の反応時間が短くなる。上級テクニック。

Flash-Ultコンボ
1 Flash Flash
2 R R
3 Q Q

Flashで集団に飛び込み、可能な限り多くの敵をスタンさせてから、Qで敵をフックしてターゲットを固定する。

フルローテーション
1 E E
2 Q Q
3 AA
4 E E
5 R R

Tantrumを発動してクールダウンを短縮し、Qでエンゲージし、通常攻撃、Tantrumを再度発動し、Rでスタンさせる。

操作のコツ

  • Bandage Toss (Q) — ダブルチャージ: Wild Riftでは2回のチャージが利用可能。1回目はエンゲージや距離を詰めるために使用し、2回目は2回目のロックオンやエスケープのために温存する。
  • Despair (W) トグル: 戦闘に入ったらすぐにWを発動する。ダメージはティックごとに与えられ、呪いのタッチパッシブ(追加の確定ダメージ)を増幅する。
  • Curse of the Sad Mummy (R): AoEスタン — 敵の近接攻撃の真っ只中に位置取ってからキャストすることで、スタンさせるターゲットの数を最大化する。
  • Tantrum (E): ダメージを受けることでクールダウンを短縮する。エンゲージ時には、DPSとクールダウン短縮のために頻繁に使用する。
  • 呪いのタッチパッシブ: 通常攻撃とスキルは敵を呪い、味方の魔法攻撃から追加の確定ダメージを受ける。チームファイトでは、Amumuはチーム全体の魔法DPSを向上させる。

よくあるミス

  • グループ全体ではなく、単体の敵のためにRを温存する。
  • エンゲージしたらすぐにWをトグルモードで使用しない。Wがない1秒ごとにDPSとスタックを失う。
  • Qをミスしてエンゲージした場合、ロックダウンがないとAmumuはR以外では無防備になる。

注目のインタラクション

  • Q→Flashはアニメーションをキャンセルし、Flash→Qよりも反応しにくいスキルとなる。
  • アフターショックはQまたはRの直後にトリガーされる。耐性ボーナスはスタン直後に適用される。
  • AmumuはRを持つ優れたチームファイトチャンピオンである。敵が集まるまで待つ(例:オブジェクトの周り)。

§ 07 — PreceptsAmumu Wild Rift tips for ranked

Tip · 01

Always announce your R's cooldown: the team plays around this window.

Codex
Tip · 02

Look for narrow flanks and corridors to maximize the number of targets hit.

Codex

§ 08 — DialoguesAmumu Wild Rift FAQ

Q.01 Amumuでいつエンゲージすべきか? +

チームが即座に追撃できる準備ができている時だけエンゲージしよう。最良のタイミングは、敵がすでにコミットしているか、視界なく集まっている時であることが多い。最初に接触した際に、複数の重要ターゲットを確実に捉えられる場合を除き、無理なエンゲージは避けよう。

Q.02 Amumuは序盤に弱いのはなぜ? +

彼のキットは集団戦向けに設計されており、1v1には向いていません。バーストダメージと機動力が足りず、アグレッシブなジャングラーに対抗できません。序盤の戦闘は避け、レベル5までクリーンクリアに集中する必要があります。

Q.03 Amumuはフラッシュ依存? +

はい、フラッシュは彼のエンゲージの質を大幅に向上させます。フラッシュがないと、エンゲージの経路が予測可能になり、回避されやすくなります。エンゲージは可能ですが、影響力ははるかに小さくなります。

Q.04 Amumuはキャリーできる? +

はい、ただし間接的です。ダメージでキャリーするのではなく、チームのために完璧な戦闘を作り出すことでキャリーします。チームがそれに乗じることができれば、彼は決定的な要因となります。

§ 09 — EchoesAmumu Wild Rift related guides

01
Key mechanic

Wild Rift jungle pathing: how to choose your first route without playing randomly

Learn Wild Rift jungle pathing: routes, ganks, river control, objectives and the early mistakes that ruin your tempo.

Read
02
Key mechanic

Understanding Macro in Wild Rift: The Real Difference Between Playing and Winning

Understand macro in Wild Rift: objectives, rotations, tempo, vision and decisions that help you win more ranked games.

Read
03
Key mechanic

Drake and Baron Objectives in Wild Rift: how to decide fast without throwing

Learn when to contest Drake, when to start Baron, when to give an objective, and how to avoid objective throws in Wild Rift.

Read
04
Key mechanic

Understanding Tempo in Wild Rift: Why You Are Always Late

Learn how tempo works in Wild Rift: recalls, rotations, objectives, and the mistakes that make you arrive too late.

Read