












July 2026 · Patch 7.2a
Tank · Support

Rell Wild Rift Guide

Tank

Rell
★ Support Tier B July 2026 · Patch 7.2a
DMG
UTIL
TANK
DIFF
Win 50.4% #38 · ↑1pt
Pick 4.3% #20
Ban 1.1% #60
§ 01 — Editorial brief

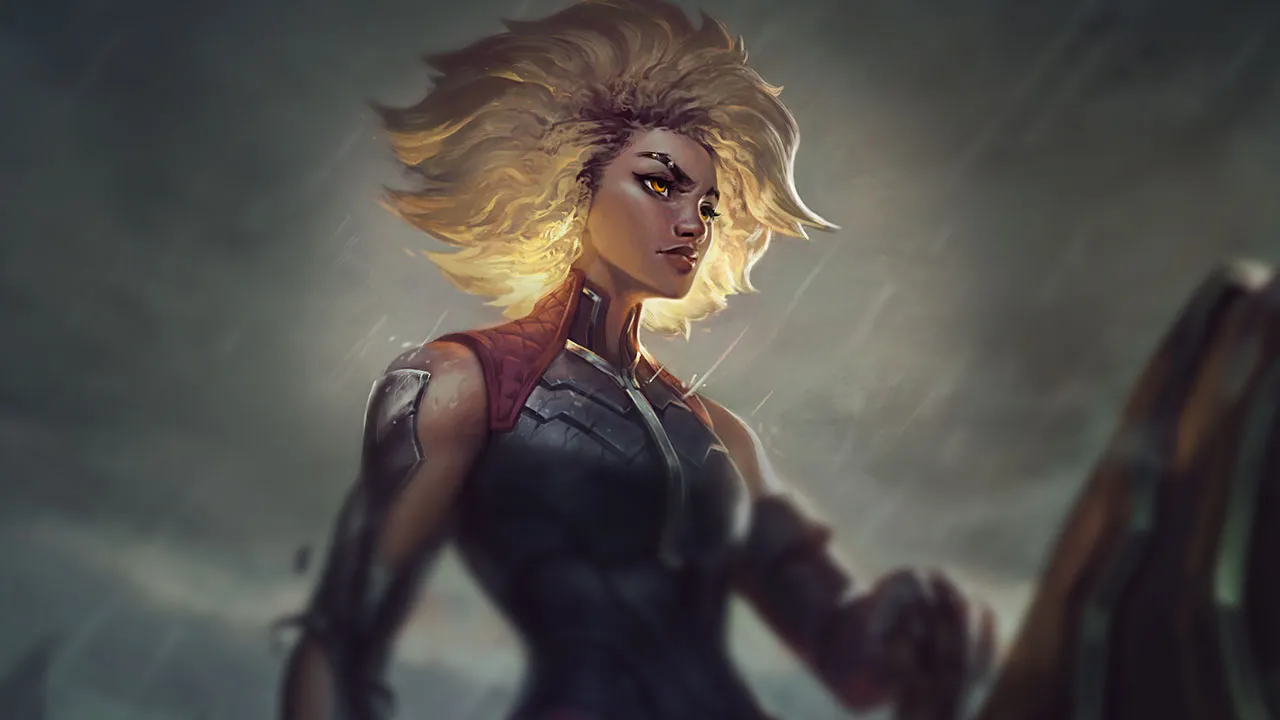
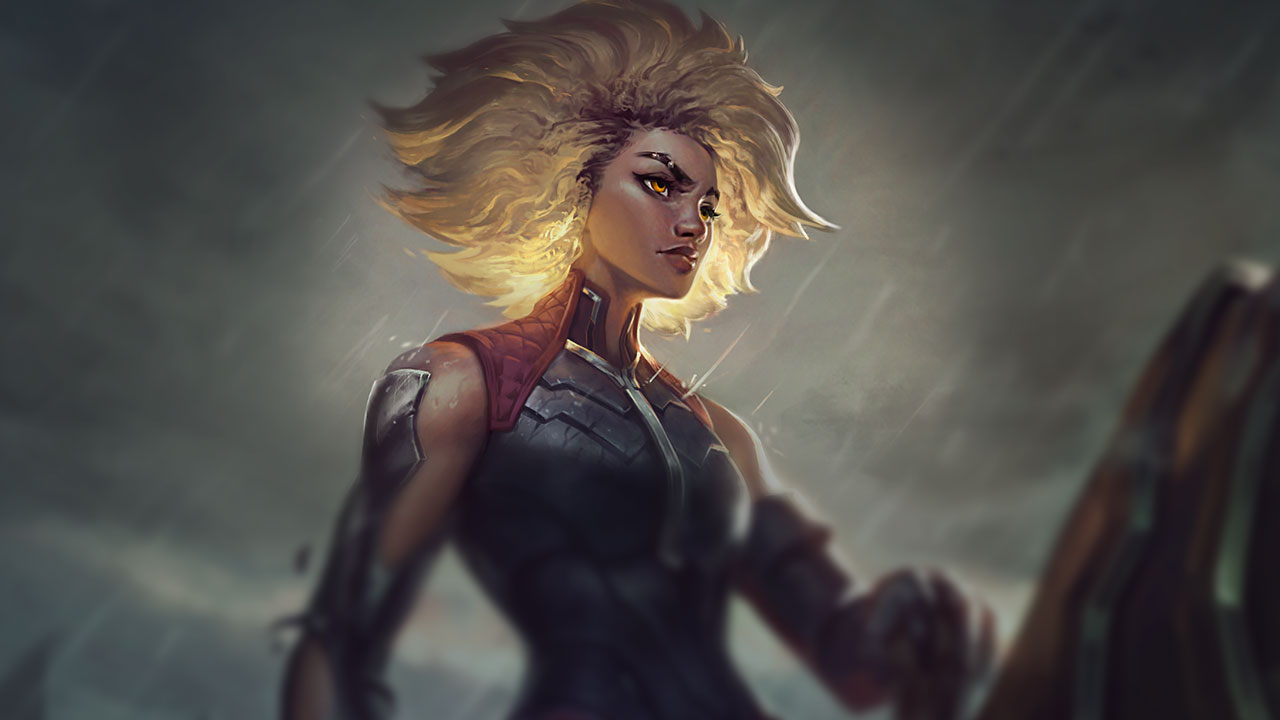
Rell has a very specific place as a support: she is not picked to slowly chip away at lane, but to violently reshape a fight.

By WRC Studio ~ 1 min read Patch 7.2a
Expert note

Expert take

Rell is an excellent support for players who like giving the game a clear direction. She is not there to stack small invisible actions: she creates moments where the whole team understands it must move forward. Her real strength is turning a neutral objective, a rotation, or a positioning error into a winnable fight. But she does not forgive autopilot. You must accept sometimes not engaging, staying threatening, protecting space, and waiting for the enemy to misposition. A good Rell is not simply the one who lands the most crowd control; it is the one who chooses the crowd control that actually changes the game.

Weak point

Hidden weakness

Rell’s hidden weakness is not only that she can be punished after a failed engage. It is that her team often loses structure if she goes in without a clear plan. When she leaves her position to force a fight, she is no longer available in the same way to block a threat on her carry, cover a retreat, or hold the frontline. A good Rell player must know when her engage creates more safety than it removes.

§ 02 — Strengths & weaknesses Rell Wild Rift strengths and weaknesses

↑ Strengths
  • She gives a very clear initiation tool to compositions lacking reliable first contact, especially around objectives where enemies must move through narrow spaces.
  • Her mounted threat forces enemies to play farther back, which can be enough to win space before Rell even commits.
  • She converts positioning mistakes very well in solo queue: a carry standing too close, a support walking too far up, or a team grouping too early can be punished immediately.
  • Her crowd control keeps value even without offensive build investment, making her useful in games where the support must operate with limited resources.
↓ Weaknesses
  • Avoid Rell if your team lacks immediate damage behind your engage: she can create the opening, but she cannot convert a controlled target alone.
  • Avoid her if your team wants to play heavily split across side lanes, because Rell loses a lot when nobody can use her point of impact.
  • Avoid her when the enemy can constantly step back, slow, or break your entry before contact, because her commit then becomes too predictable.
  • Avoid locking her if your ADC needs a very protected lane without accepting all-in timings, because Rell does not win lane through constant poke.

Data — Stats per levelRell Wild Rift base stats per level (1-15)

Movement speed 350Attack range 175Bonus attack speed / lvl +0%
Show stats per level
LvlHPADArmorMRManaHP regenRes. regen
1660624636380810
27806550.5384208.910.7
39006855404609.711.3
41,0207159.54250010.612
51,14074644454011.412.6
61,2607768.54658012.313.3
71,38080734862013.213.9
81,5008377.5506601414.6
91,62086825270014.915.2
101,7408986.55474015.715.9
111,86092915678016.616.5
121,9809595.55882017.517.2
132,100981006086018.317.8
142,220101104.56290019.218.5
152,340104109649402019.1

Base data : wiki.leagueoflegends.com (CC BY-SA 4.0) · 2026-07-09

§ 06 — The matchup wallRell Wild Rift counters and synergies

Hard Unfav. Skill Fav. Synergy

§ 07b — Mecánica avanzadaRell: combos & tips Wild Rift

Combo principal de iniciación
1 E E
2 W W
3 R R
4 Q Q

Acércate a los enemigos con la Habilidad 3, usa Crash Down para derribarlos al impactar, usa inmediatamente tu definitiva para atraer a los enemigos agrupados, luego usa la Habilidad 1 para destruir sus escudos

Flash combo de iniciación
1 Flash Flash
2 W W
3 R R
4 Q Q

Lanza un flash al centro del equipo enemigo para un Crash Down en área, luego usa tu definitiva para evitar que escapen

Combo sorpresa con HexFlash
1 HexFlash
2 W W
3 R R

Usa HexFlash desde detrás de un muro para flanquear al enemigo cuando menos lo espere

Ciclo de montura
1 Crash Down
2
3 Mount Up
4 AA
5 Crash Down

Alternar entre estados montado y desmontado para encadenar escudos y derribos

Consejos mecánicos

  • Romper el Molde (pasiva): cada enemigo golpeado tiene su armadura y resistencia mágica reducidas en un 2.5%, que se transfiere a Rell — golpear a múltiples enemigos con la Habilidad 1 o la Definitiva aumenta masivamente la resistencia de Rell
  • Shattering Strike (1) mantener: mantén presionada la Habilidad 1 para apuntar a un escudo enemigo específico en lugar de dispararlo inmediatamente — las otras habilidades proporcionan suficiente control de masas, por lo que no hay necesidad de apresurarse
  • Temporización de Magnet Storm: ten en cuenta los Destellos y saltos de los enemigos, ya que pueden liberarse de la atracción de la Definitiva — usa la Definitiva cuando los Destellos estén en enfriamiento o después de un Flash + Crash Down que haya agotado sus habilidades de escape
  • Rol de protección: no siempre inicies — Magnet Storm también se puede usar defensivamente sobre el ADC para atraer a un enemigo que se lanza y aplicar CC a cambio

Errores comunes

  • Mala selección de objetivos en teamfights: Rell debe decidir si iniciar contra los carries o proteger a sus aliados — iniciar sin un plan deja expuesto al ADC aliado
  • Perder el estado Montado: desmontarse sin haber asegurado una buena posición reduce su movilidad y sus combos — solo usa Crash Down cuando estés bien posicionado
  • Olvidar su rol defensivo: Rell puede proteger a los carries con Magnet Storm para atraer a los enemigos que se lanzan sobre ellos — no siempre busques iniciar ofensivamente

Interacciones notables

  • Shattering Strike (1) rompe escudos (Lulu, Janna, Karma) antes de que puedan proteger al enemigo — alta prioridad contra composiciones con muchos escudos
  • Full Tilt (3) activa los efectos de los objetos de velocidad (Shurelya, Medallón de Solari) mientras se carga — se sinergiza bien con objetos de soporte
  • HexFlash es una runa principal para Rell para maximizar ángulos de iniciación inesperados

§ 08 — DialoguesRell Wild Rift FAQ

Q.01 Is Rell a good blind pick as support? +

Rell can be blind picked if your team is willing to play around an engage support and if you can adapt your pace. The issue is not that she has no value without information: it is that she becomes much riskier when your allies cannot follow or when the enemy has tools to slow her entry. As a blind pick, she remains playable, but you must be ready to play more patiently, threaten without forcing, and use your crowd control as protection if frontal engage becomes too dangerous.

Q.02 When should Rell engage in teamfights? +

Rell should engage when her entry creates a real conversion, not simply when she can hit someone. The right timing often appears when the enemy crosses a narrow area, when a carry stands too close to the frontline, or when your team is already in position to deal damage. If you engage while your allies are backing away, vision is missing, or the target is too tanky to finish, you risk giving the enemy the opening instead. Her engage must be a team decision, even if you are the one pressing the button.

Q.03 Should Rell always play aggressively in lane? +

No. Rell threatens all-ins very well, but she does not need to jump on every window. In lane, her priority is creating positional pressure: stepping forward when the enemy wastes a spell, protecting her ADC when the wave is bad, and punishing overly close positioning. If you engage into a large enemy wave or without your ADC being able to move forward, you often lose more than you gain. A good Rell lane alternates intimidation, brush control, and targeted all-ins.

Q.04 What is the most common mistake with Rell? +

The most common mistake is reducing Rell to her engage. Her kit makes you want to go in, but her real value comes from choosing between several jobs: engaging, counter-engaging, zoning, protecting, or delaying the enemy entry. If you always spend your first timing to rush forward, good opponents will wait for your commit and punish your team while you are poorly positioned. Rell becomes much stronger when you sometimes keep your crowd control to answer the fight instead of always starting it.

§ 09 — EchoesRell Wild Rift related guides

01
Key mechanic

Understanding Macro in Wild Rift: The Real Difference Between Playing and Winning

Understand macro in Wild Rift: objectives, rotations, tempo, vision and decisions that help you win more ranked games.

Read
02
Key mechanic

Drake and Baron Objectives in Wild Rift: how to decide fast without throwing

Learn when to contest Drake, when to start Baron, when to give an objective, and how to avoid objective throws in Wild Rift.

Read
03
Role guide

Wild Rift Support Guide: understand your real job in bot lane

Learn how to play Support in Wild Rift: vision, roaming, peel, engage, lane phase and decisions that win games.

Read
04
Draft read

How to Win More Ranked Games in Wild Rift

A coach-style guide to win more ranked games in Wild Rift: decisions, draft, objectives, invisible mistakes, and climbing mindset.

Read





