July 2026 · Patch 7.2a
Mage · Baron Lane

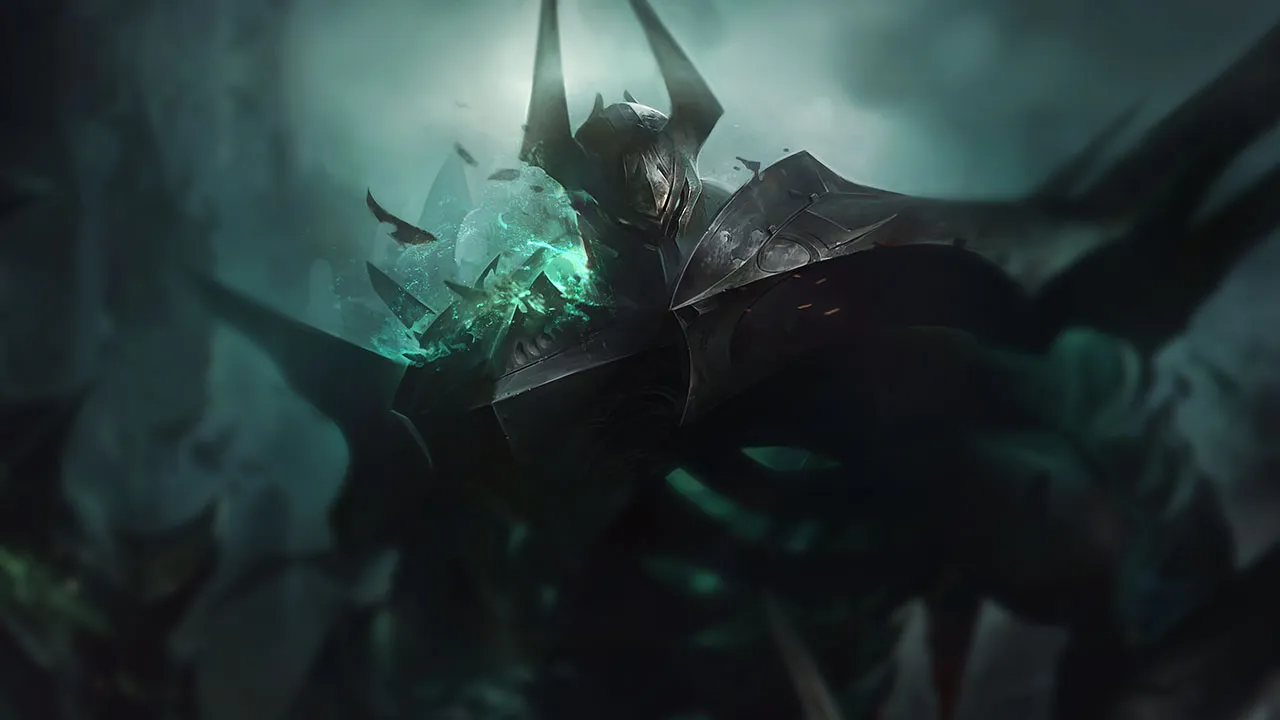
Mordekaiser Wild Rift Guide

Mage

★ Baron Lane Tier S July 2026 · Patch 7.2a
DMG
UTIL
TANK
DIFF
Win 49.1% #66 · ↑3pt
Pick 9.2% #4
Ban 7.9% #18
§ 01 — Editorial brief

Mordekaiser sigue siendo una opción muy estable en este parche, especialmente en entornos donde las peleas por objetivos son frecuentes y mal estructuradas.

By WRC Studio ~ 1 min read Patch 7.2a
Expert note

Expert take

Mordekaiser es un campeón engañosamente simple que exige una toma de decisiones sólida. Su verdadero valor no proviene del daño, sino de su capacidad para remodelar peleas con su definitiva. Usado bien, convierte un 5v5 en un 4v4 favorable. Usado mal, se convierte en un bruiser lento y predecible. Es muy gratificante para los jugadores que pueden leer las peleas e identificar los objetivos correctos a aislar.

Weak point

Hidden weakness

La verdadera debilidad de Mordekaiser no es solo el kiting, sino su dependencia de peleas prolongadas y la activación de la pasiva. Si se ve forzado a intercambios cortos o si falla la E, pierde presión inmediatamente. Adicionalmente, su definitiva a veces puede interrumpir a su propio equipo al eliminar un objetivo que habría sido mejor enfocar colectivamente.

§ 02 — Strengths & weaknesses Mordekaiser Wild Rift strengths and weaknesses

↑ Strengths
  • Muy fuerte en solo queue debido a su habilidad para castigar errores individuales.
  • Su definitiva puede neutralizar a un carry o jungla en un momento crítico.
  • Fuerte escalado con Rompecascos y Abrazos Demoníacos en peleas prolongadas.
  • Excelente presión de objetivos debido a su control de zona.
↓ Weaknesses
  • Contra composiciones altamente móviles capaces de kite constante.
  • Contra múltiples fuentes de limpieza de efectos o tenacidad.
  • Si a tu equipo le falta alguna forma de iniciación.
  • En composiciones que requieren estilos de juego de poke o asedio.
02

§ 03 — Game planMordekaiser Wild Rift game plan: early, mid and late game

I Early

Trades measured around isolated Q and your shield…

Niv. 1 → 6

Trades measured around isolated Q and your shield W; wave crash for clean recall.

II Mid

Force 4v4/5v5 in the corridors; isolate a key…

Niv. 7 → 11

Force 4v4/5v5 in the corridors; isolate a key target with R to secure Herald/Dragon.

III Late

Choose between peel (R on various hazards) or…

Niv. 12+

Choose between peel (R on various hazards) or pick (R on carry). Play around the vision.

Data — Stats per levelMordekaiser Wild Rift base stats per level (1-15)

Movement speed 340Attack range 175Bonus attack speed / lvl +1.2%
Show stats per level
LvlHPADArmorMRHP regen
16605446408
278057.550429
390061544410
41,02064.5584611
51,14068624812
61,26071.5665013
71,38075705214
81,50078.5745415
91,62082785616
101,74085.5825817
111,86089866018
121,98092.5906219
132,10096946420
142,22099.5986621
152,3401031026822

Base data : wiki.leagueoflegends.com (CC BY-SA 4.0) · 2026-07-09

§ 05 — Recommended buildBest Mordekaiser Wild Rift build for the current patch

Mordekaiser sigue siendo una opción muy estable en este parche, especialmente en entornos donde las peleas por objetivos son frecuentes y mal estructuradas. Su habilidad para forzar un 1v1 con su definitiva y convertir los errores enemigos en una ventaja numérica lo hace muy gratificante en partidas caóticas. No es una elección ciega universal, ya que algunas composiciones lo castigan duramente por su falta de movilidad, pero siempre que el solo queue enemigo dependa de carries expuestos o líneas frontales estáticas, su valor se vuelve inmediato. Prospera en peleas prolongadas donde su pasiva y objetos como el Rompecascos escalan completamente, combinando bien con el ritmo actual de draft de partida.

Core
1 Riftmaker
Riftmaker
2 Demonic Embrace
Demonic Embrace
3 Rylai's Crystal Scepter
Rylai's Crystal Scepter
Boots
Plated Steelcaps Plated Steelcaps
/
Mercury's Treads Mercury's Treads
See the full build

§ 06 — The matchup wallMordekaiser Wild Rift counters and synergies

Hard Unfav. Skill Fav. Synergy
Fiora
Hard
Fiora
Darius
Unfav.
Darius
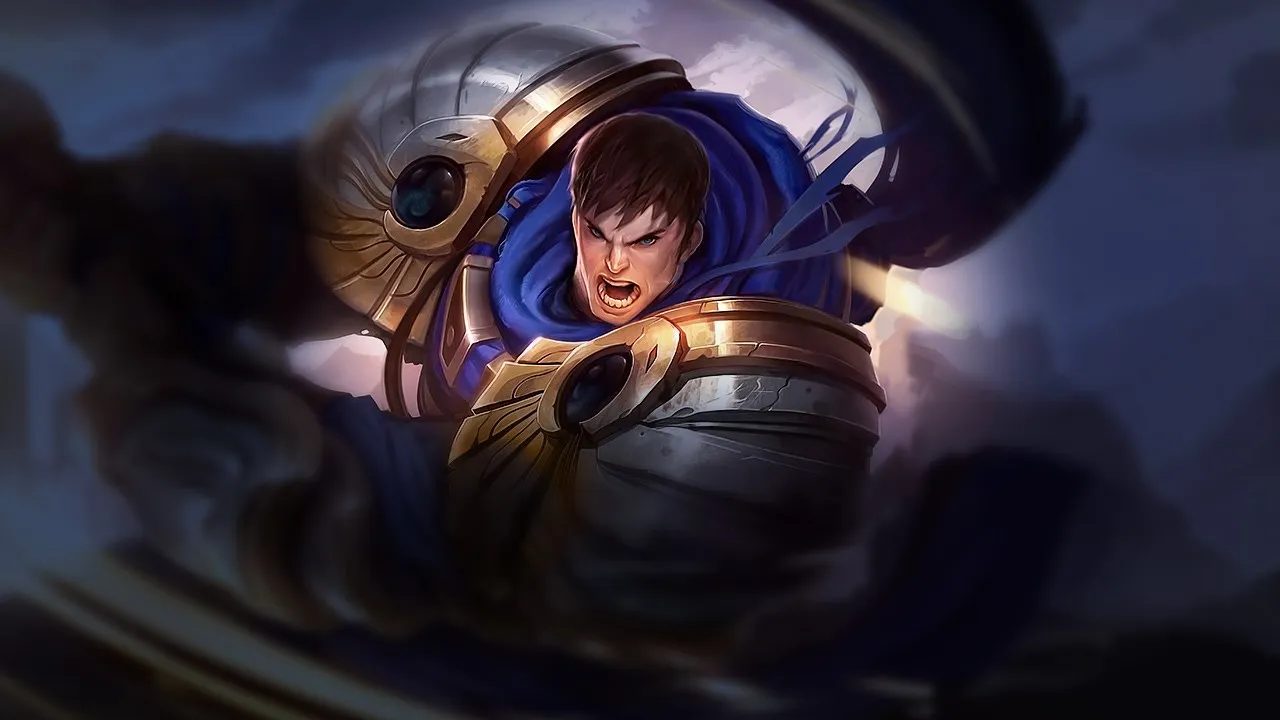
Garen
Skill
Garen
Sion
Fav.
Sion
Jarvan IV
Ideal
Jarvan IV
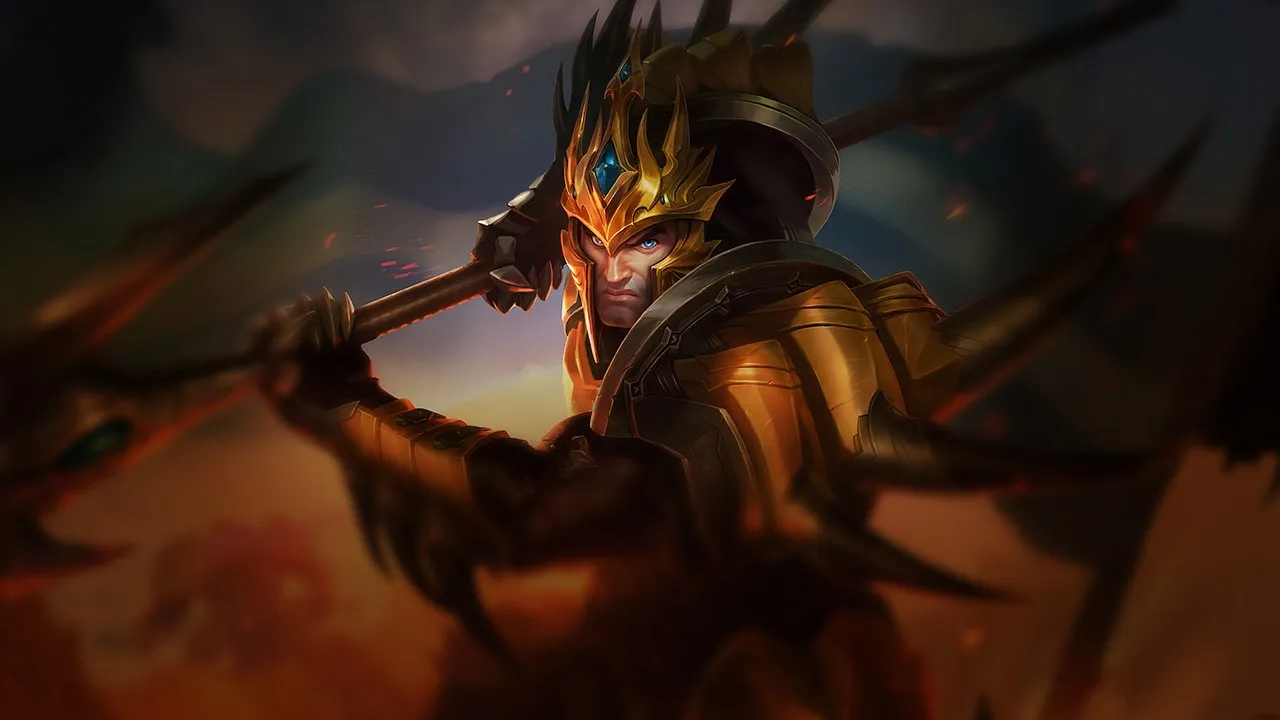
Cataclysm already traps the target in a tight zone, creating the perfect setup for Mordekaiser to walk in without getting kited and force a brutal duel onto a priority target. The execution is simple and reliable: Jarvan starts with E+Q then R, Mordekaiser follows with E to deny any exit, then saves his ultimate to remove the carry from the fight once positioning is already broken. This synergy is especially strong into immobile or semi-frontline comps because every catch becomes an asymmetrical fight the enemy team cannot rebalance.
Orianna
Ideal
Orianna
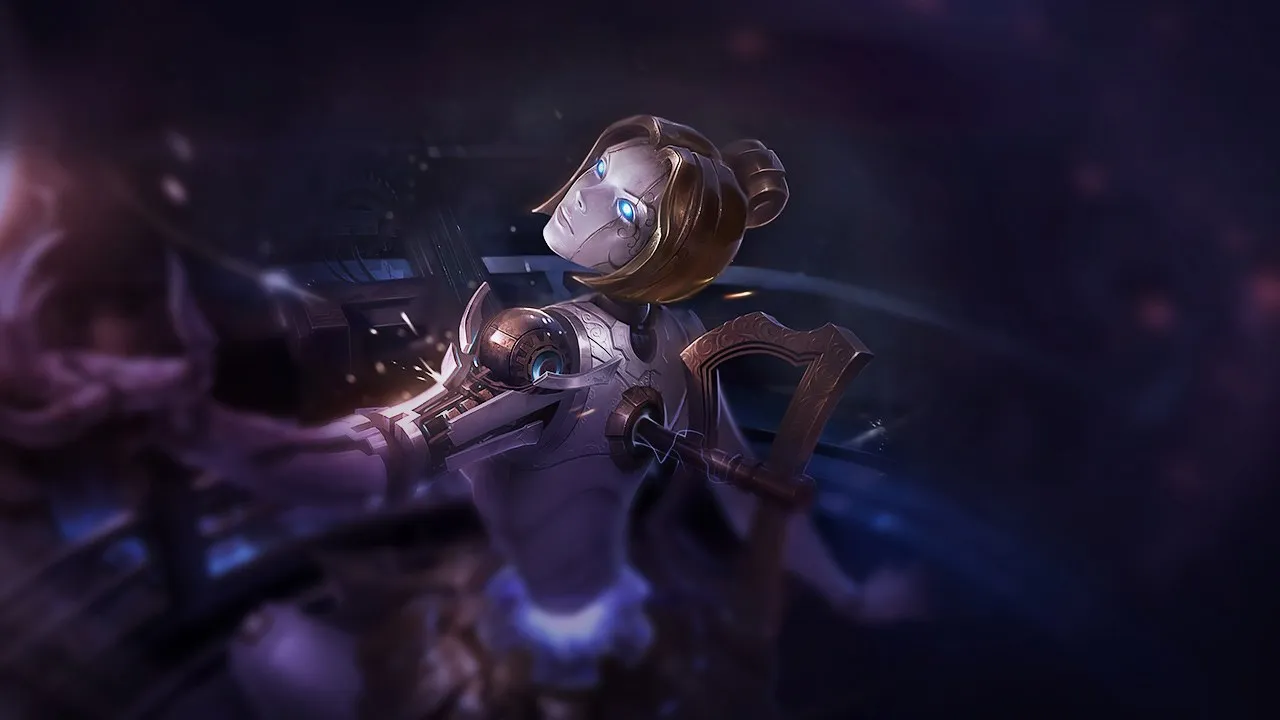
Orianna brings the kind of AoE threat Mordekaiser loves, because his forward pressure often forces enemies to clump or retreat through predictable lines. The ideal sequence is to place Command: Protect on Mordekaiser before he goes in, then trigger Shockwave once he has already forced multiple champions to play around him, opening a perfect window for his Q and empowered autos. The duo becomes even more threatening around objectives, where Mordekaiser's frontline presence gives Orianna a reliable delivery system for a decisive engage.
Nami
Strong
Nami
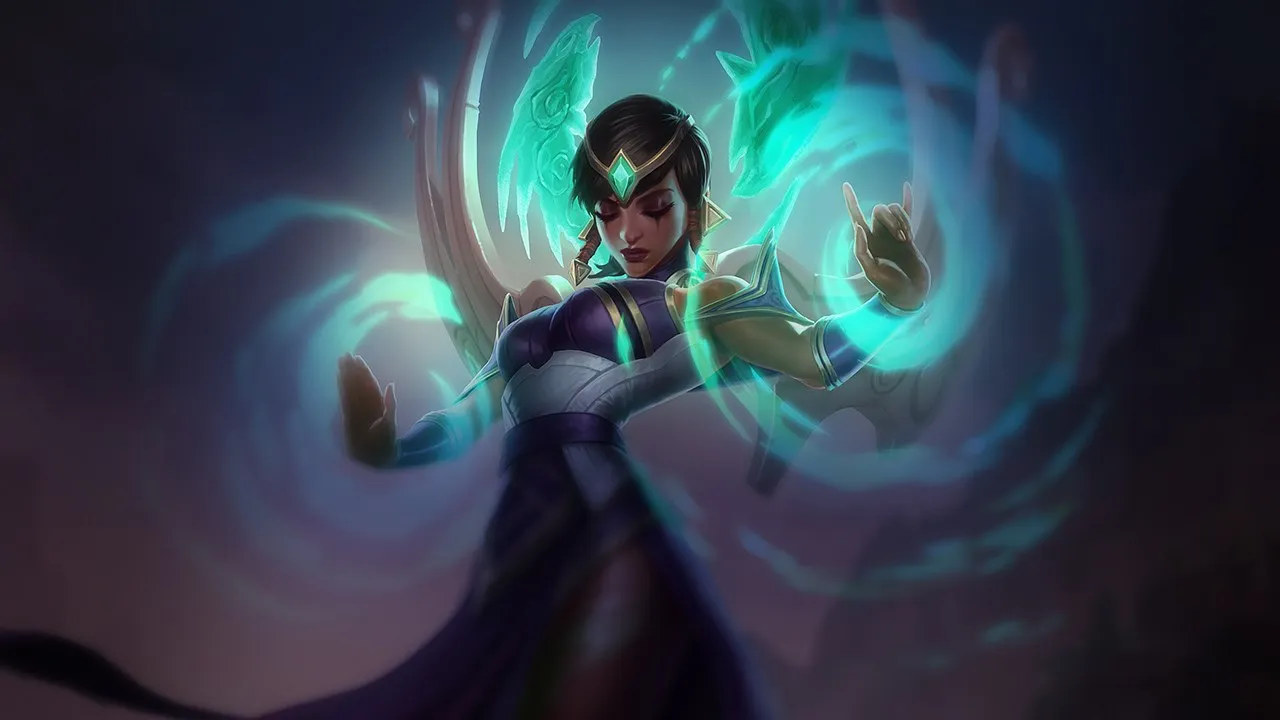
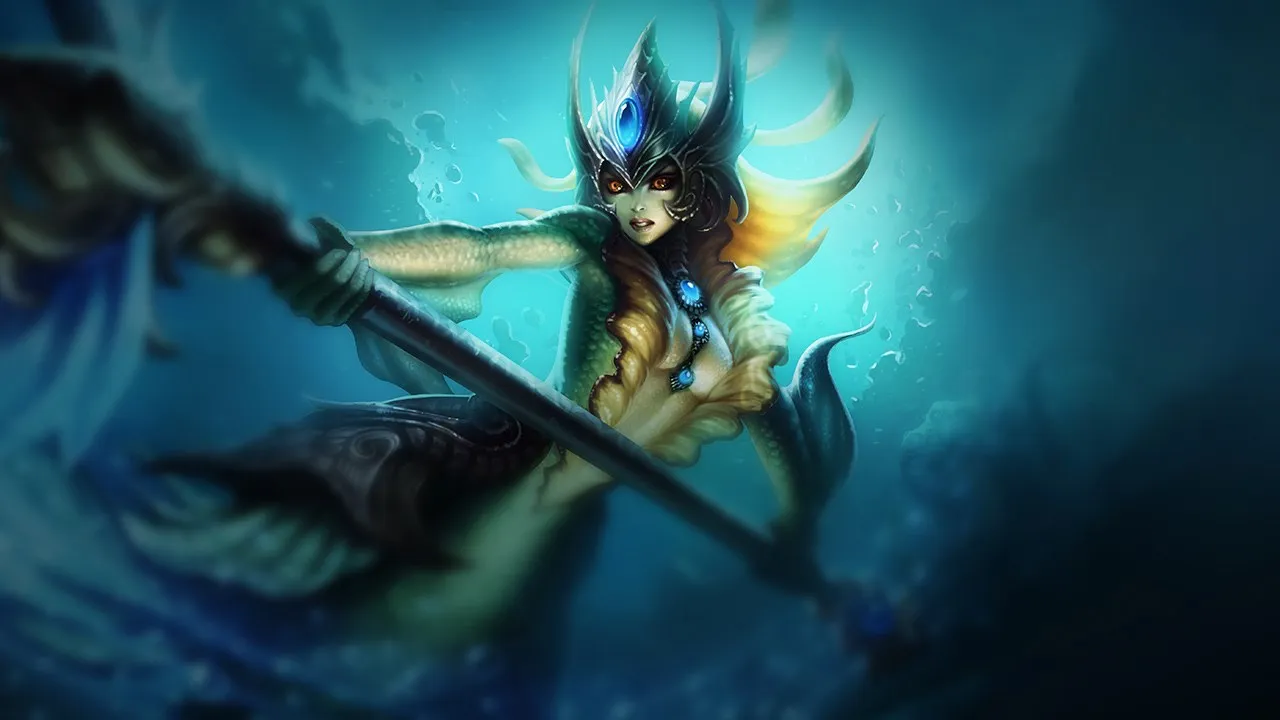
Nami covers one of Mordekaiser's natural weaknesses: reaching his target cleanly when the enemy team plays back and pokes. Her healing, movement boost and especially Tidal Wave slow the enemy tempo enough for Mordekaiser to close distance without losing too much health before the real fight starts. This synergy shines in mid game front-to-back comps where Nami stabilizes the engage while Mordekaiser threatens to isolate the enemy carry.
Rakan
Strong
Rakan
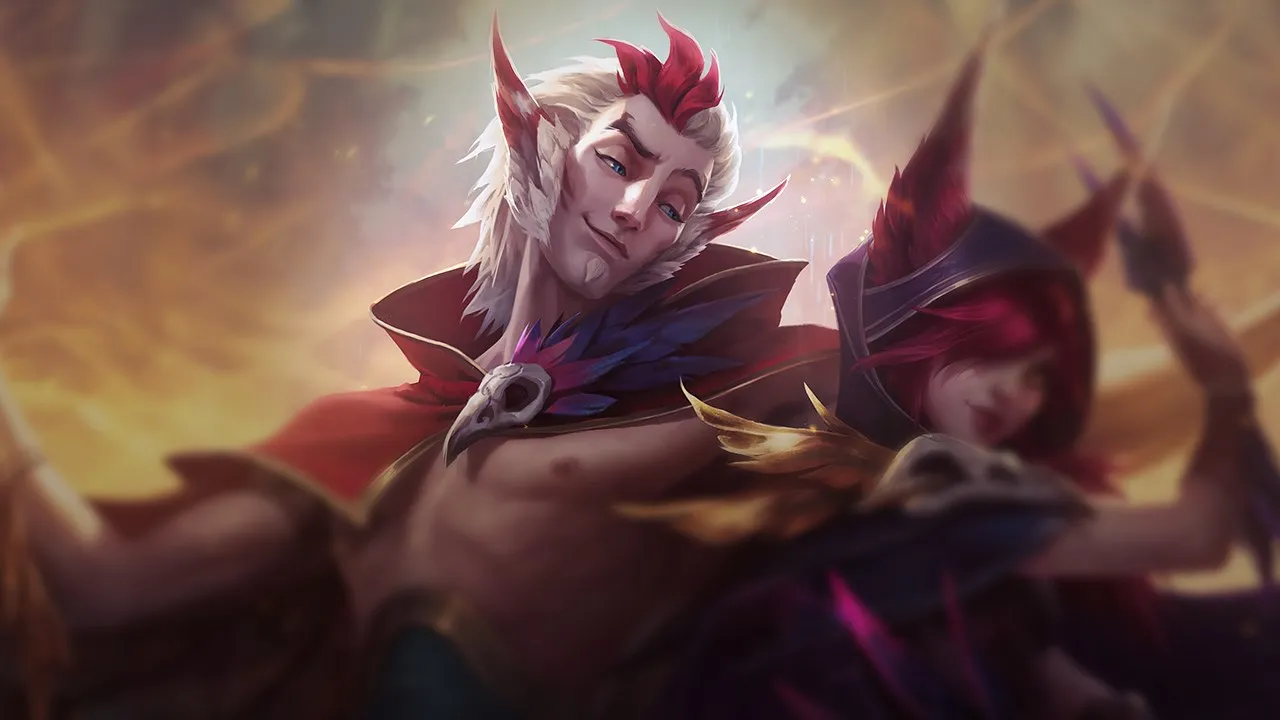
Rakan creates an extremely fast engage that forces panic movement, which helps Mordekaiser land his pull through the chaos. The proper sequence is to let Rakan force the first reaction with R+W, then Mordekaiser either secures an immediate kill on the controlled target or ults a second important champion while the enemy backline is already disorganized. The combo is very strong into fragile carry comps because it combines fast engage with isolation threat and leaves very little response time.

§ 07 — PreceptsMordekaiser Wild Rift tips for ranked

Tip · 01

Look for battles in tight corridors where your P aura stays in contact.

Codex
Tip · 02

Keep E to punish a dash or forward motion; don't throw it away to trade for free.

Codex
Tip · 03

Your R is a macro tool: deprive key engagement/peel during major objectives.

Codex

§ 08 — DialoguesMordekaiser Wild Rift FAQ

Q.01 ¿Cuándo deberías usar la definitiva de Mordekaiser? +

La definitiva debe usarse en un objetivo clave cuando una pelea está a punto de decidir un objetivo. No siempre es el carry más frágil, sino a menudo el que proporciona el mayor valor (jungla, engage, peel). El timing importa más que la selección bruta del objetivo.

Q.02 ¿Por qué Mordekaiser pierde contra ciertos campeones? +

Tiene dificultades contra campeones que pueden 'kitear' o reducir su tiempo de contacto. Sin contacto sostenido, su pasiva y objetos pierden valor significativo. Adicionalmente, algunos campeones pueden esquivar o contrarrestar su E, limitando su acceso a las peleas.

Q.03 ¿Es una buena elección a ciegas (blind pick)? +

Puede ser elegido a ciegas, pero no siempre es confiable. Ciertos enfrentamientos lo hacen muy difícil de jugar, especialmente aquellos con alta movilidad o 'sustain'. Es mejor elegirlo como respuesta o en una draft favorable.

Q.04 ¿Cuál es su rol en las peleas de equipo? +

Mordekaiser actúa como un controlador de peleas. No necesariamente inicia, sino que elige el momento adecuado para aislar a un objetivo y crear desequilibrio. También 'zonea' a los enemigos con su pasiva, impidiendo que se agrupen efectivamente.

§ 09 — EchoesMordekaiser Wild Rift related guides

01
Role guide

Solo Lane Guide Wild Rift: how to understand Baron Lane and win more games

Learn Solo Lane in Wild Rift: Baron Lane role, laning phase, split push, teamfights and common mistakes to avoid.

Read
02
Role guide

Split Push and Side Lane Pressure in Wild Rift: How to Create Real Map Threat

Learn how to split push in Wild Rift without throwing: timing, side lane pressure, vision, objectives and macro decisions.

Read
03
Key mechanic

Wave Management in Wild Rift: the expert skill that wins objectives

Master Wild Rift wave management to create tempo, secure objectives, and win more games without forcing bad fights.

Read
04
Key mechanic

Understanding Macro in Wild Rift: The Real Difference Between Playing and Winning

Understand macro in Wild Rift: objectives, rotations, tempo, vision and decisions that help you win more ranked games.

Read