July 2026 · Patch 7.2a
Mage · Mid Lane

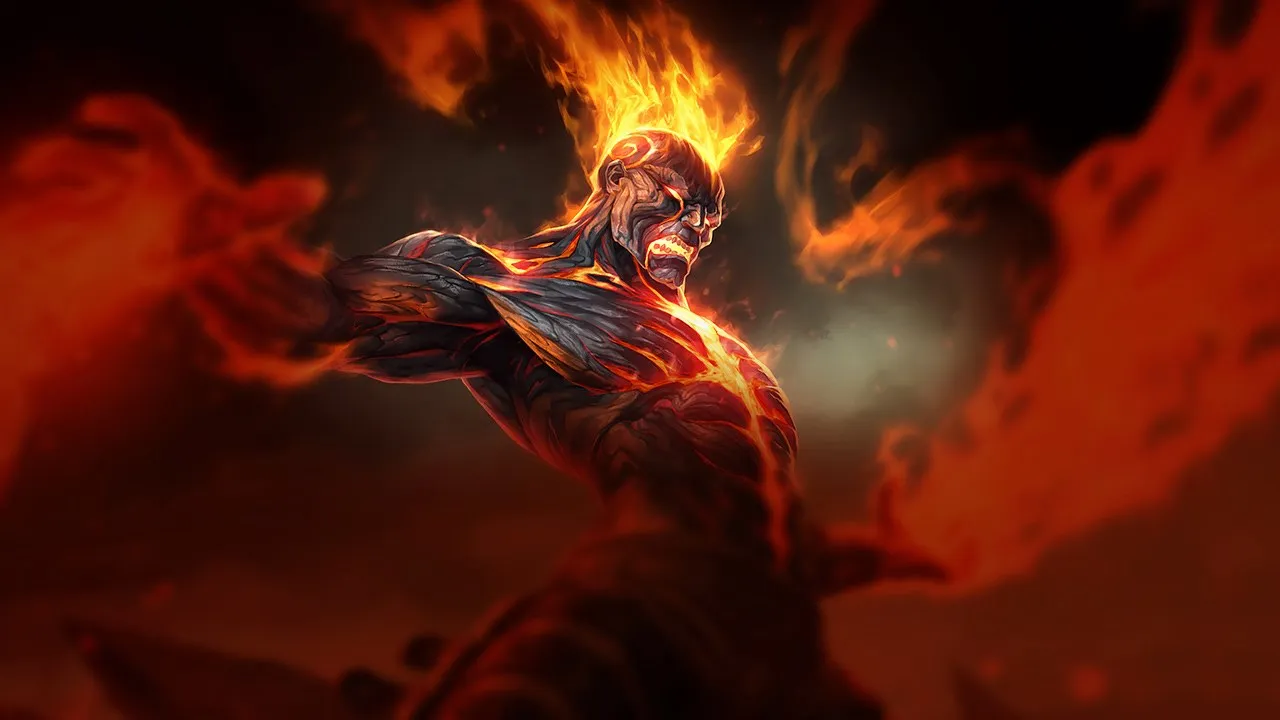
Brand Wild Rift Guide

Mage

★ Mid Lane Tier B July 2026 · Patch 7.2a
DMG
UTIL
TANK
DIFF
Win 47.7% #56 · ↓7pt
Pick 4.6% #12
Ban 0.7% #49
§ 01 — Editorial brief

Brandは現在のパッチで非常に強力なAoEメイジですが、それは特定の状況下に限られます。彼は、燃焼ダメージとアルティメットの跳弾が最大限の効果を発揮する、目標物周辺でのタイトな戦闘で真価を発揮します。しかし、機動力の高いアサシンや分散した構成の台頭により、ブラインドピックとしての信頼性は低下しています。soloQでは、ポジショニングのミスを徹底的に punish するため、プレイヤーが不適切に集まったり、早すぎたりすると、より強力になります。彼のインパクトは、スタックを適用して持続的なバーストダメージを引き出すのに十分な時間生き残れるかに直接かかっています。

By WRC Studio ~ 1 min read Patch 7.2a
Expert note

Expert take

Brandはメカニクスが複雑ではないが、優れた戦闘予測が必要だ。彼の価値は、生のメカニクスから来るのではなく、集団のミスを罰することから来る。彼は、戦闘が強制され、集団化されるドラフトでは非常に強力だが、ペースが上がったり、敵が散開したりすると脆くなる。うまく使えば、彼はオブジェクトを立ち入り禁止区域に変える。下手に使えば、彼は影響力のほとんどない簡単なターゲットになる。

Weak point

Hidden weakness

彼のポジショニングへの依存度は見た目以上に重要だ。高いダメージを持っていても、スペルの角度や距離感が悪ければ炎の拡散やアルティメットの跳弾を防げない。これにより、勝てるはずの戦いが即座に負けにつながる。これは単なる機動力ではなく、実行精度が求められる。

§ 02 — Strengths & weaknesses Brand Wild Rift strengths and weaknesses

↑ Strengths
  • 目標物周辺で集まった構成に対して非常に強力。
  • Liandry と Rylai で自然にスケールし、midゲームのインパクトを高めます。
  • soloQでのポジショニングミスを効果的に punish します。
  • AoEダメージでチームファイト全体をコントロールする能力。
↓ Weaknesses
  • 簡単に到達できる複数の機動力の高いアサシンに対して。
  • プレッシャーを吸収するフロントラインがいないチームに対して。
  • AoEダメージを回避する、非常に分散した構成に対して。
  • チームが集団目標物でプレイしない場合。
02

§ 03 — Game planBrand Wild Rift game plan: early, mid and late game

I Early

Wins the priority via E→W, constant poke and back…

Niv. 1 → 6

Wins the priority via E→W, constant poke and back on first AP/haste.

II Mid

Play objectives: forcing through corridors and…

Niv. 7 → 11

Play objectives: forcing through corridors and layering controls.

III Late

Stay behind your forehead, look for the Q stun on…

Niv. 12+

Stay behind your forehead, look for the Q stun on key targets then R.

Data — Stats per levelBrand Wild Rift base stats per level (1-15)

Movement speed 360Attack range 550Bonus attack speed / lvl +0%
Show stats per level
LvlHPADArmorMRManaHP regenRes. regen
16305834364357.512
275061.638.537.24848.112.9
387065.24338.45338.613.8
499068.847.539.65829.214.7
51,11072.45240.86319.715.6
61,2307656.54268010.316.5
71,35079.66143.272910.817.4
81,47083.265.544.477811.418.3
91,59086.87045.682711.919.2
101,71090.474.546.887612.520.1
111,8309479489251321
121,95097.683.549.297413.621.9
132,070101.28850.41,02314.122.8
142,190104.892.551.61,07214.723.7
152,310108.49752.81,12115.224.6

Base data : wiki.leagueoflegends.com (CC BY-SA 4.0) · 2026-07-09

§ 05 — Recommended buildBest Brand Wild Rift build for the current patch

Brandは現在のパッチで非常に強力なAoEメイジですが、それは特定の状況下に限られます。彼は、燃焼ダメージとアルティメットの跳弾が最大限の効果を発揮する、目標物周辺でのタイトな戦闘で真価を発揮します。しかし、機動力の高いアサシンや分散した構成の台頭により、ブラインドピックとしての信頼性は低下しています。soloQでは、ポジショニングのミスを徹底的に punish するため、プレイヤーが不適切に集まったり、早すぎたりすると、より強力になります。彼のインパクトは、スタックを適用して持続的なバーストダメージを引き出すのに十分な時間生き残れるかに直接かかっています。

Core
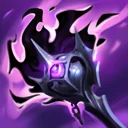
1 Yordle Liandry's Torment
Yordle Liandry's Torment
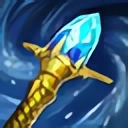
2 Rylai's Crystal Scepter
Rylai's Crystal Scepter
3 Coiffe de Rabadon
Coiffe de Rabadon
Boots
Bottes du mana Bottes du mana
/
Ionian Boots of Lucidity Ionian Boots of Lucidity
See the full build

§ 06 — The matchup wallBrand Wild Rift counters and synergies

Hard Unfav. Skill Fav. Synergy
Nautilus
Hard
Nautilus
Morgana
Unfav.
Morgana
Pyke
Skill
Pyke
Sona
Fav.
Sona
Amumu
Ideal
Amumu
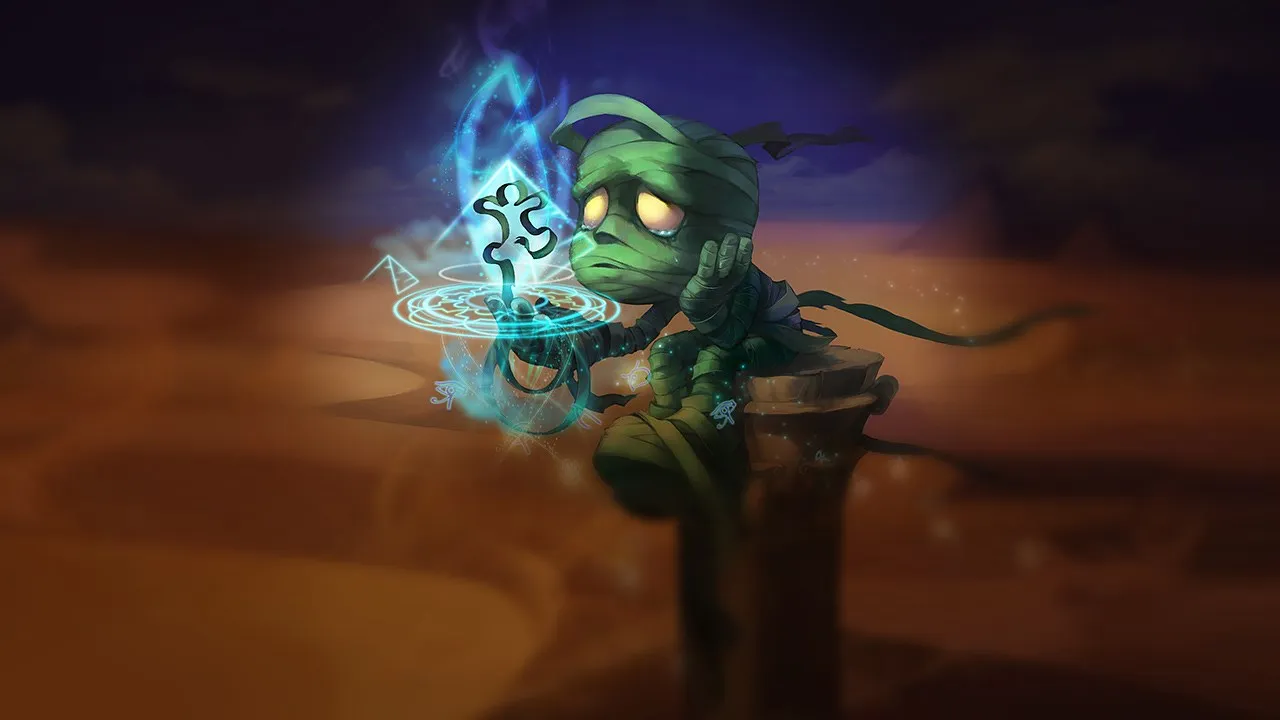
Amumu locks multiple targets with Bandage Toss and especially Curse of the Sad Mummy, giving Brand a perfect window to land Pillar of Flame, Conflagration, and Pyroclasm on enemies who cannot spread. The execution is simple and deadly: Amumu engages first, Brand waits for the enemy pack to be fixed in place, then unloads his full AoE cycle during the CC window. This synergy is brutal into grouped compositions and objective fights, where Brand's ultimate bounces instantly reach maximum value.
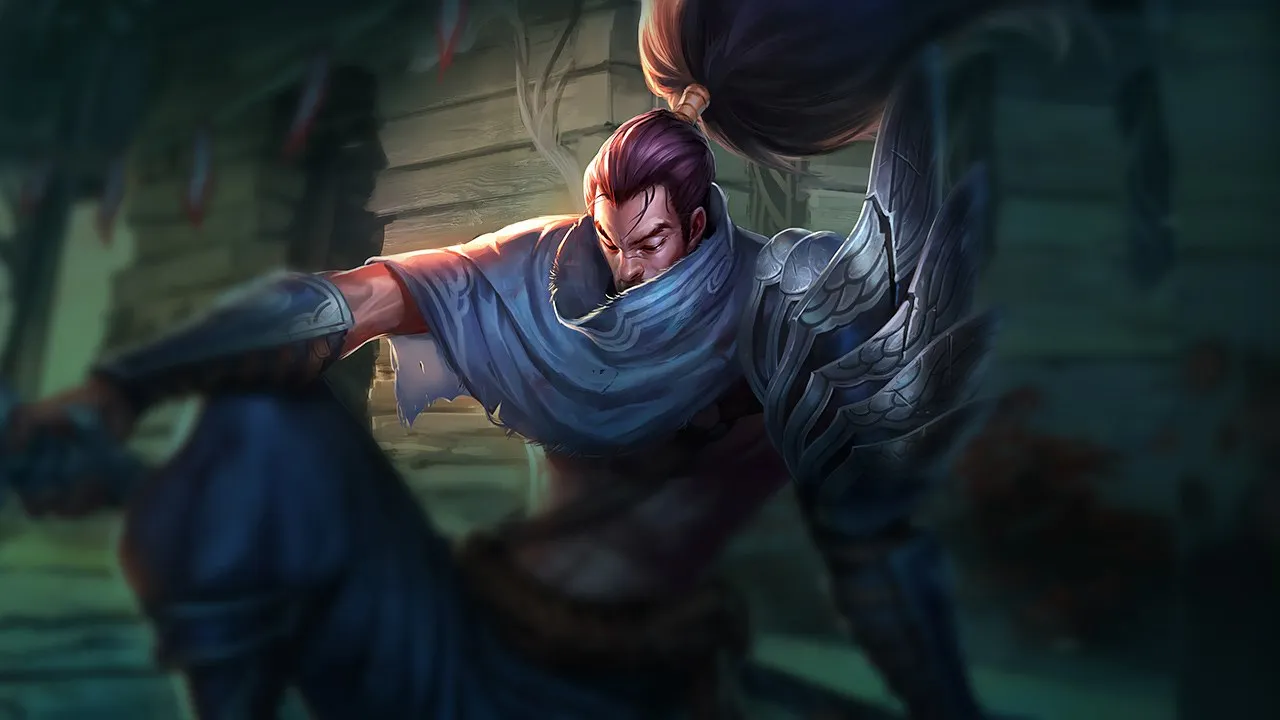
Jarvan IV
Ideal
Jarvan IV
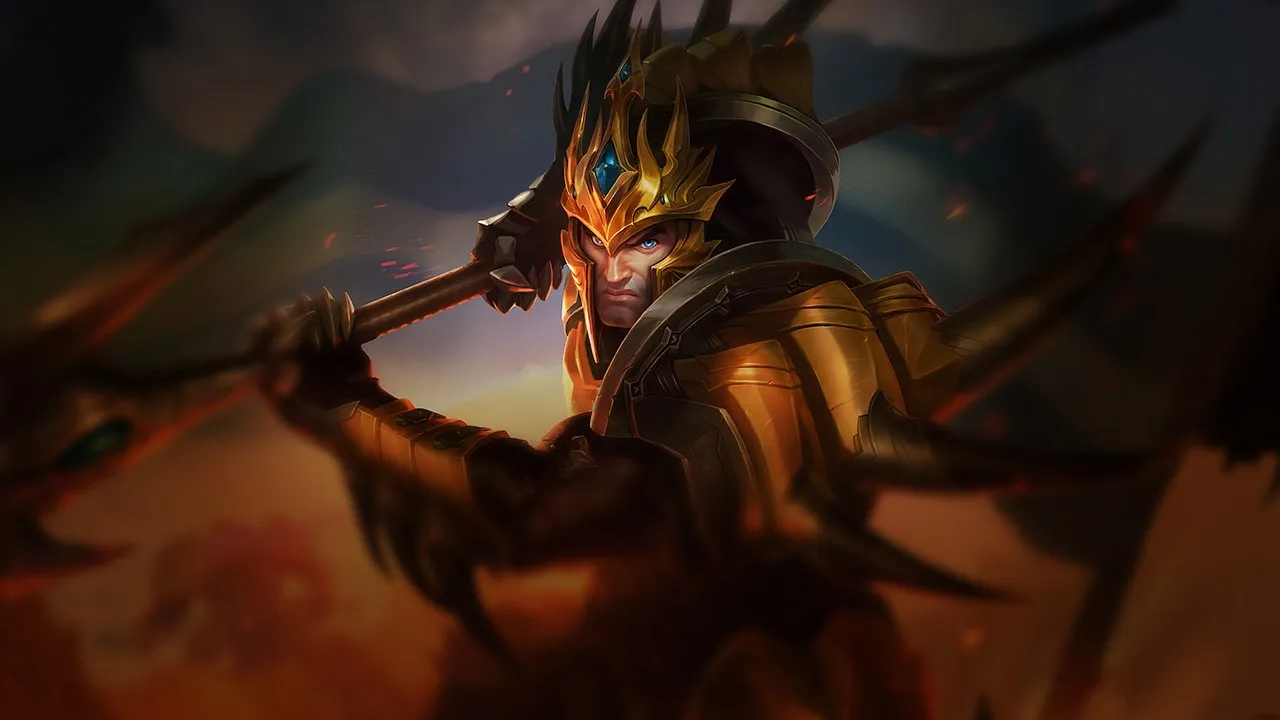
Cataclysm forces targets to stay in a tight area, instantly turning Brand's kit into an almost unavoidable threat. Jarvan IV also gives a very readable engage pattern: once the Flag-and-Drag lands, Brand can pre-cast into the impact zone and send Pyroclasm inside the arena. The duo is especially strong against immobile carries and river fights, where the confined space further amplifies Brand's zone pressure.
Leona
Strong
Leona
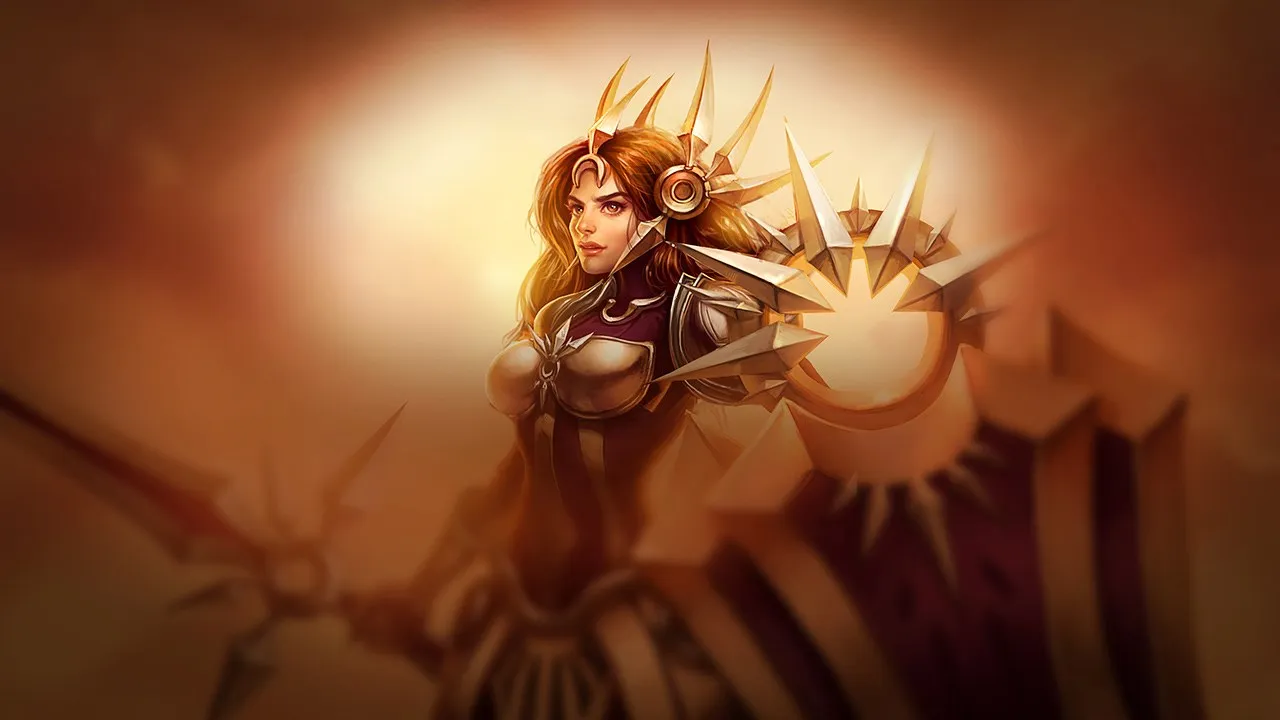
Leona gives Brand the time he needs to cash in on his spells by chaining Zenith Blade, Shield of Daybreak, and Solar Flare onto a pinned target. The execution is very stable: Leona starts the play, Brand follows from medium range with his combo without needing to force a dangerous angle. This combination thrives in front-to-back skirmishes and against lanes without reliable mobility.
Nunu & Willump
Strong
Nunu & Willump
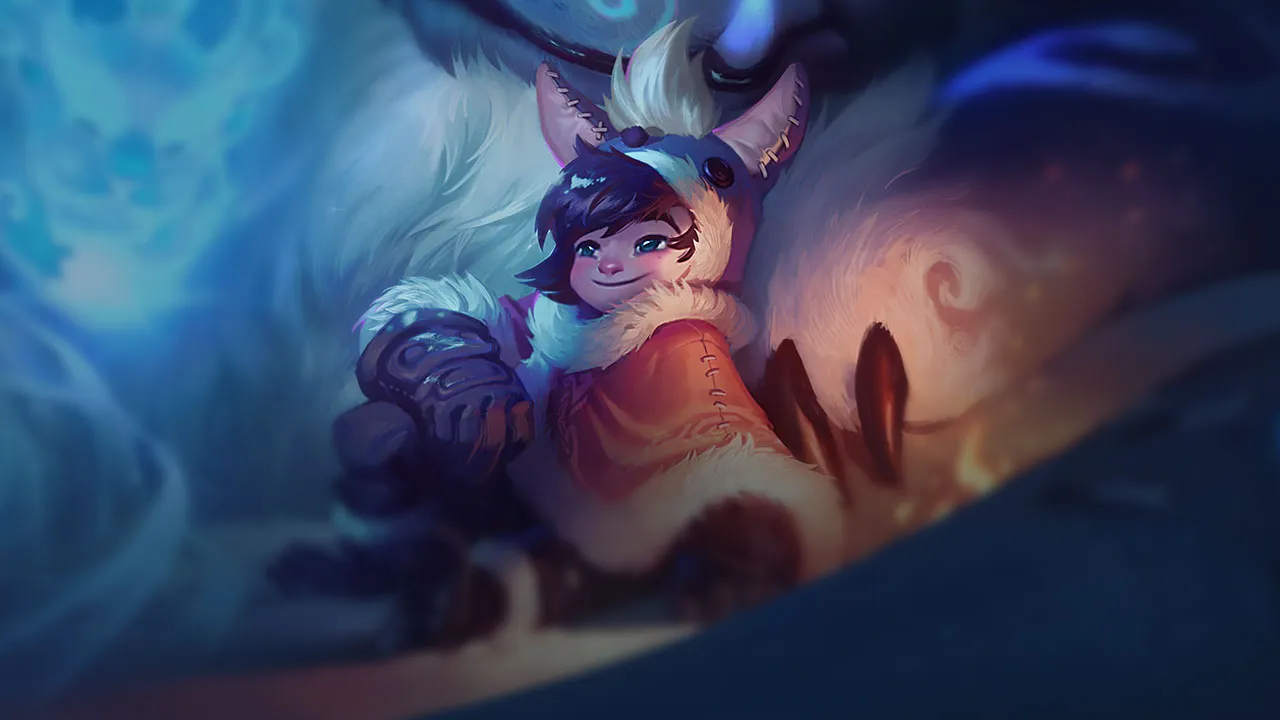
Nunu creates a very clear fight entry with Biggest Snowball Ever! and then adds more control and zoning, which greatly simplifies Brand's spell placement. Brand does not need to initiate himself: he can stay on the second line, wait for the bump or root, then punish the whole pack. The duo is excellent for snowballing neutral objectives because Nunu forces the enemy team to contest in narrow corridors where Brand thrives.

§ 07b — 応用テクニックBrand:コンボ & 立ち回りガイド Wild Rift

通常コンボ (炎上スタック2回)
1 W W
2 Q Q
3 E E

Wで炎上(ダメージ+30%)を付与し、炎上中の対象にQで確定スタン、その後Eで3スタック目と爆発を狙う。

最大バーストコンボ
1 E E
2 W W
3 Q Q

まずEでマーク(1スタック)を付与し、Wでダメージ+30%(2スタック)、Qでスタンと3スタック目 → 爆発によるダメージ。

集団戦コンボ
1 R R
2 E E
3 W W
4 Q Q

Rは敵の間を跳ね回り複数スタックを付与、その後E→W→Qでスタンと爆発を狙う。

削りコンボ
1 W W
2 Q Q

PillarのFlameをSearに当てることで、炎上中の対象にQが当たれば遠距離からでも確定スタンを狙える。

操作のコツ

  • 炎上 (パッシブ): チャンピオンに3スタック付与で2秒後に周囲の敵に最大HPの10%ダメージを与える爆発が発生。戦闘中は常に3スタック目を狙おう。
  • Sear (Q) の確定スタン: ターゲットが既に炎上状態の場合のみ確定スタンする — Qを最初のスキルとして使わず、必ずWかEの後で使用すること。
  • Pillar (W) のダメージ+30%: 炎上マークが付与された対象にボーナスが発生 — Wを使用する前にEか通常攻撃で炎上を付与すること。
  • Pyroclasm (R) の跳弾: 近くの敵の間を跳ね回る — 集団戦ではRができるだけ多くの対象に当たり、複数の炎上スタックを発生させるように位置取ろう。
  • Conflagration (E) の味方への使用: 炎上状態の敵から近くの敵へ炎上を拡散させる — 集団戦でのスタック付与に有効。

よくあるミス

  • ターゲットが炎上状態でない場合はまずQを使用 — スタンなし、低ダメージのQになる。
  • 炎上爆発を待たずに再キャストしないこと — 爆発には2秒かかるため、その場から離れないこと。
  • 孤立したターゲットにRを使用 — Rは最大効果を発揮するために跳弾させる必要があり、集団戦で使用すること。

注目のインタラクション

  • Pyroclasmは炎上状態の対象に当たるとスロウ効果を付与する。
  • Conflagrationは対象周囲の敵に炎上を拡散させる — 集団戦で複数のスタンを狙うのに役立つ。
  • ブランドはCCキットとAoEダメージにより、キャリーから敵を遠ざけることができるため、サポートとしてよくプレイされる。

§ 07 — PreceptsBrand Wild Rift tips for ranked

Tip · 01

Look for the 3 Blaze stacks to secure the Q stun.

Codex
Tip · 02

Position yourself in the second line; your role is to zonk and punish the corridors.

Codex

§ 08 — DialoguesBrand Wild Rift FAQ

Q.01 Brandはいつ最も強い? +

Brandは、最初のコアアイテムを2つ完成させた後の終盤にピークを迎える。この段階では、彼の燃焼ダメージは定常的になり、対処が困難になる。特に、敵が集団化せざるを得ないオブジェクト周りで強力であり、彼のAoEとアルティメットの跳弾を最大化する。

Q.02 Brandはなぜアサシンに弱いのか? +

Brandは機動力がなく、ポジショニングに大きく依存する。アサシンは素早く距離を詰め、セットアップする前にバーストダメージを与えることができる。ピールや保護がなければ、スタックを適用したり、持続的なDPSを発揮したりする時間がない。

Q.03 Brandでレーン戦は積極的にプレイすべき? +

必ずしもそうとは限らない。Brandは効果的にポークできるが、オールインに対して脆弱なままだ。目標は、波をコントロールし、オーバーエクステンドせずに徐々にプレッシャーをかけることだ。一つのミスは、機動力の高いチャンピオンに重く罰せられる可能性がある。

Q.04 チームファイトにおけるBrandの主な役割は? +

Brandはゾーンコントローラーであり、持続的なDPSを発揮するメイジだ。単一のターゲットをワンショットすることを狙うのではなく、複数の敵に継続的なダメージを与えることを目指す。彼のインパクトは、複数のターゲットにヒットし、アルティメットの跳ね返りを最大化することにかかっている。

§ 09 — EchoesBrand Wild Rift related guides

01
Key mechanic

Wave Management in Wild Rift: the expert skill that wins objectives

Master Wild Rift wave management to create tempo, secure objectives, and win more games without forcing bad fights.

Read
02
Key mechanic

Understanding Tempo in Wild Rift: Why You Are Always Late

Learn how tempo works in Wild Rift: recalls, rotations, objectives, and the mistakes that make you arrive too late.

Read
03
Key mechanic

Rotations

Learn how to manage rotations in Wild Rift: wave state, tempo, objectives, vision, and macro decisions so you stop moving randomly.

Read
04
Role guide

Wild Rift MID Lane Guide: lane control, rotations and real map impact

Complete Wild Rift MID guide: lane control, rotations, vision, objectives and common mistakes to avoid when playing mid.

Read