July 2026 · Patch 7.2a
Assassin · Mid Lane

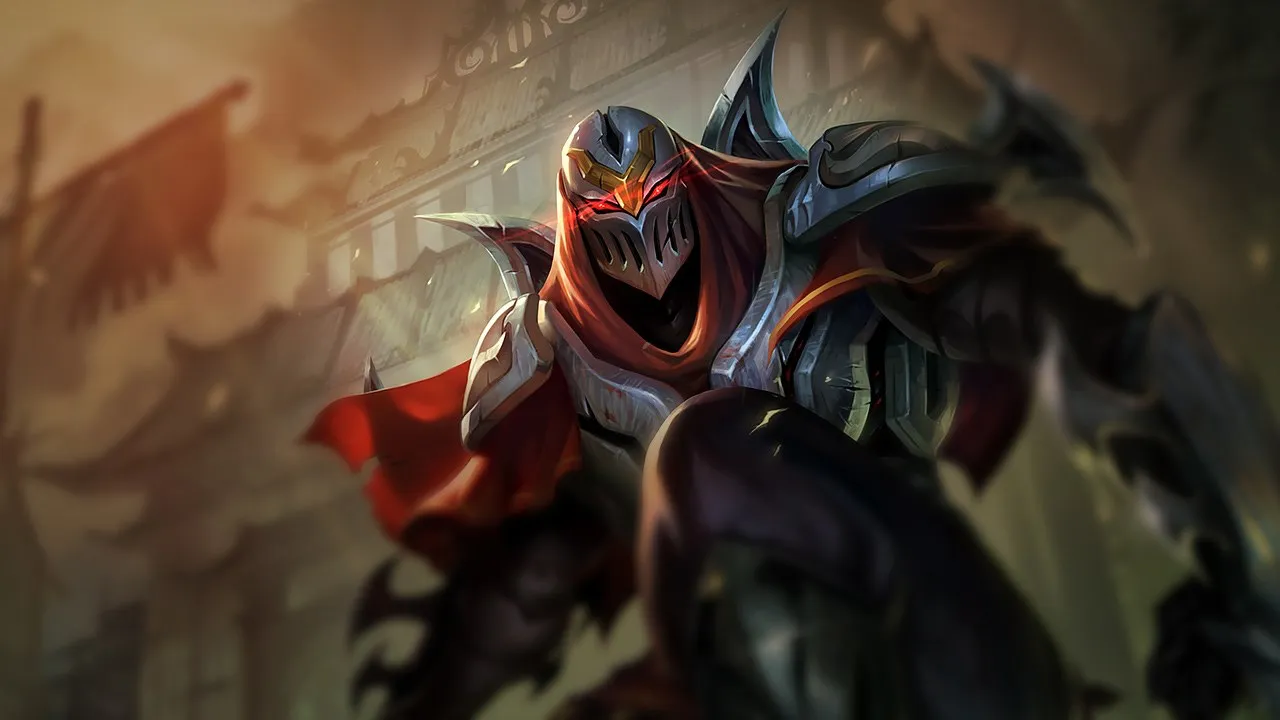
Zed Wild Rift Guide

Assassin

★ Mid Lane Tier S+ July 2026 · Patch 7.2a
DMG
UTIL
TANK
DIFF
Win 46.4% #63 · ↓19pt
Pick 4.5% #13
Ban 1.5% #36
§ 01 — Editorial brief

Zedは、mid laneにおいて非常に特別な位置を占めています。レーンに勝つためだけでなく、敵のあらゆるポジショニングミスをキルに変え、さらにマップテンポへと繋げるためにピックされます。多くのゲームが序盤のローテーション、中立オブジェクト、そして守りの薄いキャリーによって決まる環境において、彼の価値は影からの即時的な脅威、単体へのバーストダメージ、そしてバックラインへのアクセスから生まれます。しかし、敵のdraftが過剰なピール、スタシスエンチャント、序盤のアーマー、またはターゲット指定可能なクラウドコントロールを持っている場合、コントロールメイジやユーティリティmidレーナーよりも信頼性は低くなります。したがって、ゲームが角度を提供してくれる場合はZedは非常に報われますが、敵が全てのエンゲージを遅延させ、構造を失うことなくデス・マークを吸収できる場合は危険です。

By WRC Studio ~ 1 min read Patch 7.2a
Expert note

Expert take

Zedは規律の優れたテストだ。彼はクールダウン、視界、角度、ウェーブテンポを読めるプレイヤーに報酬を与えるが、コンボしか見ないプレイヤーをすぐに露呈させる。彼の真の強みは、キャリーを一度殺すことではなく、敵チーム全体が毎回のローテーションでそのキルが起こりうるかのようにプレーさせることだ。マップのリズムをコントロールし、サイドレーンを脅かし、ウィンドウをオブジェクトに変換できるときにZedを選べ。クラウドコントロール、ゾーンコントロール、または持続的なフロントツーバックの存在をもたらす安定したmidが必要なチームの場合は彼を避けろ。

Weak point

Hidden weakness

Zedの隠れた弱点は、クールダウンに依存していることだけではない。それは、最初から最後まで脅威であり続けなければならない完全なシーケンスに依存していることだ。もし彼がシャドウをポークに使い、アルティメットで突入し、ターゲットがスタシスエンチャント、準備されたクラウドコントロール、または味方のペールを持っていることに気づいた場合、彼はクリーンな離脱角度を持たないことが多い。したがって、優れたZedはキルを探すだけでなく、まずどの防御的な回答がすでに使われたかを探す。

§ 02 — Strengths & weaknesses Zed Wild Rift strengths and weaknesses

↑ Strengths
  • 彼は、生き残るためにバックラインのポジショニングに依存する、動きの遅いミッドやキャリーを激しく罰します。
  • 彼の最初のアイテムは明確なスノーボールウィンドウを作成します。プッシュし、レーンから姿を消し、サイドレーンを脅かし、そしてオブジェクトに変換します。
  • 彼は早期のスタシスエンチャントまたは防御的な購入を強いるため、敵キャリーの攻撃的なスパイクを遅らせることがよくあります。
  • 彼は、視界がうまく管理されていないゲームで非常に強力です。なぜなら、壁ベースのシャドウアングルは予測がはるかに困難になるからです。
↓ Weaknesses
  • 敵チームにデス・マークの後に彼を待つことができるターゲット指定可能なクラウドコントロールがいくつかある場合は、Zedを避けてください。
  • あなたの構成にすでにAP、フロントライン、または信頼できるクラウドコントロールが不足しており、戦闘を開始できない場合は、彼を避けてください。
  • ゲームプランを犠牲にすることなく早期にアーマーを購入できるドラフトに対しては、彼を避けてください。
  • ゲームが永続的なmidレーンARAMになりそうな場合は、彼を避けてください。なぜなら、Zedは側面からの圧力やフォグ・オブ・ウォーなしでは価値を大きく失うからです。
02

§ 03 — Game planZed Wild Rift game plan: early, mid and late game

I Early

Safe farm, short poke trades (W→E→Q) and priority…

Niv. 1 → 6

Safe farm, short poke trades (W→E→Q) and priority to prepare the first roam.

II Mid

Spike 2 items: play flank/pick before each…

Niv. 7 → 11

Spike 2 items: play flank/pick before each target, reset after execution.

III Late

Split short/side then join in R; look for…

Niv. 12+

Split short/side then join in R; look for isolated backline, GA if necessary.

Data — Stats per levelZed Wild Rift base stats per level (1-15)

Movement speed 355Attack range 175Bonus attack speed / lvl +2.2%
Show stats per level
LvlHPADArmorMREnergyHP regen
16906440402009
281068.645422009.7
393073.1504420010.4
41,05077.7554620011
51,17082.2604820011.7
61,29086.8655020012.4
71,41091.3705220013.1
81,53095.9755420013.8
91,650100.4805620014.4
101,770105855820015.1
111,890109.5906020015.8
122,010114.1956220016.5
132,130118.61006420017.2
142,250123.21056620017.8
152,370127.71106820018.5

Base data : wiki.leagueoflegends.com (CC BY-SA 4.0) · 2026-07-09

§ 05 — Recommended buildBest Zed Wild Rift build for the current patch

Zedは、mid laneにおいて非常に特別な位置を占めています。レーンに勝つためだけでなく、敵のあらゆるポジショニングミスをキルに変え、さらにマップテンポへと繋げるためにピックされます。多くのゲームが序盤のローテーション、中立オブジェクト、そして守りの薄いキャリーによって決まる環境において、彼の価値は影からの即時的な脅威、単体へのバーストダメージ、そしてバックラインへのアクセスから生まれます。しかし、敵のdraftが過剰なピール、スタシスエンチャント、序盤のアーマー、またはターゲット指定可能なクラウドコントロールを持っている場合、コントロールメイジやユーティリティmidレーナーよりも信頼性は低くなります。したがって、ゲームが角度を提供してくれる場合はZedは非常に報われますが、敵が全てのエンゲージを遅延させ、構造を失うことなくデス・マークを吸収できる場合は危険です。

Core
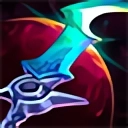
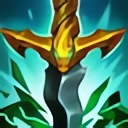
1 Youmuu's Ghostblade
Youmuu's Ghostblade
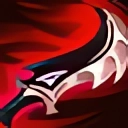
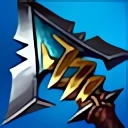
2 Duskblade of Draktharr
Duskblade of Draktharr
3 Serylda's Grudge
Serylda's Grudge
Boots
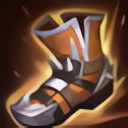
Gluttonous Greaves Gluttonous Greaves
/
Plated Steelcaps Plated Steelcaps
See the full build

§ 06 — The matchup wallZed Wild Rift counters and synergies

Hard Unfav. Skill Fav. Synergy
Lissandra
Hard
Lissandra
Orianna
Unfav.
Orianna
Ahri
Skill
Ahri
Veigar
Fav.
Veigar
Jarvan IV
Ideal
Jarvan IV
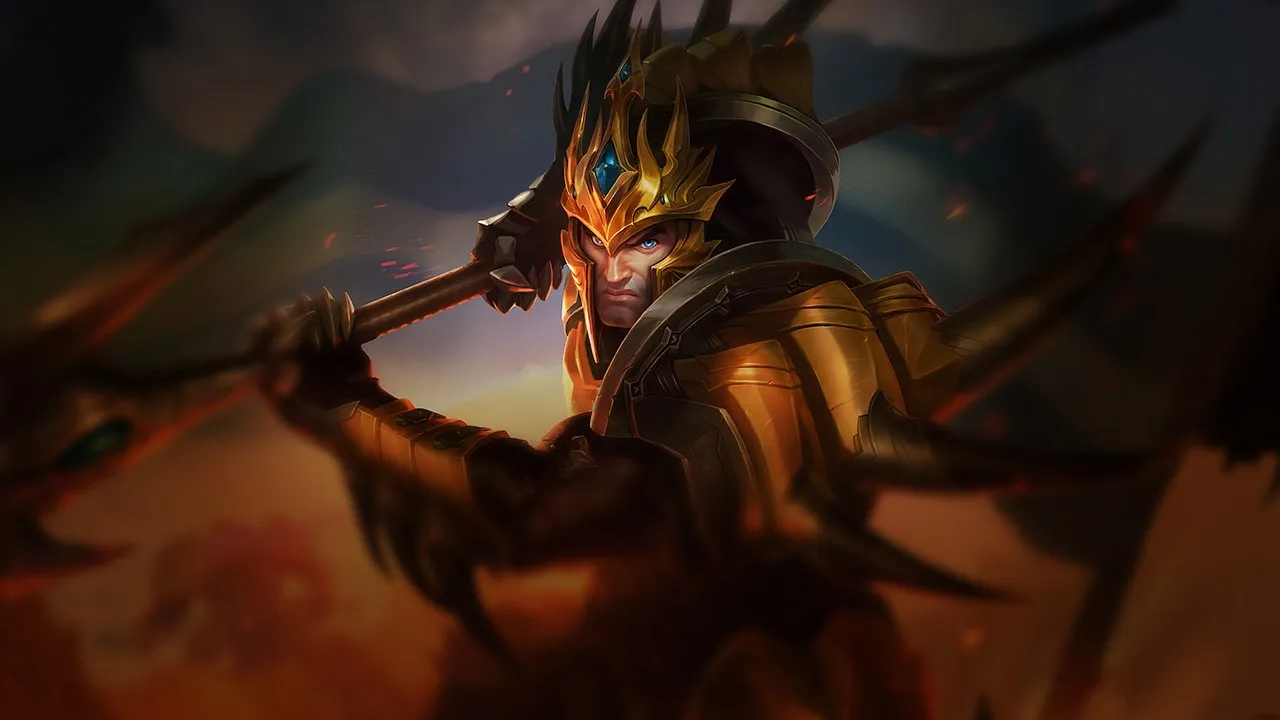
Cataclysm prevents the target from Flashing while Death Mark is active — this is Zed's main vulnerability (the carry Flashing during Death Mark's 3-second delay) that J4 completely neutralizes. The sequence is clean: J4 engages on the priority carry, Cataclysm, Zed Death Mark from shadow, blades orbit for 3 seconds on a trapped target, then Death Mark triggers for a guaranteed one-shot. In mid-game, J4 can ult to Zed's midlane for a double dive on targets without dashes, and Zed can follow any J4 gank via Shadow Slash repositioning.
Hecarim
Ideal
Hecarim
Onslaught of Shadows makes the enemy backline flee directly toward Zed waiting on the flank — feared targets run toward death rather than away from Zed. The fear lasts 1 second, enough for Zed to place Death Mark on a target that can't Flash to escape, and the fear's implicit slow extends Death Mark's execution window. Extremely hard-to-anticipate double flanker: Hecarim arrives from jungle in front, Zed arrives from the opposite flank, and both dive simultaneously from different angles.
Malphite
Strong
Malphite
Unstoppable Force groups 3 targets with guaranteed knockup — Zed can W+R into the grouped cluster to apply Death Mark on the priority carry while other targets are knocked up and can't interrupt the execution. Timing is simple: Malphite ults, knockup begins, Zed ults into the group, Death Mark on the carry, shadow blades proc for the one-shot before the knockup ends. Teamfight synergy with global range similar to J4 but simpler to execute as Malphite's knockup is wider and slower to counter.
Yasuo
Strong
Yasuo
Zed has no natural knockup but Shadow Slash (E) applies a slow sufficient for Yasuo to chain his Sweeping Blade E then create a Steel Tempest tornado for knockup — Yasuo triggers Last Breath, and Zed ults onto the suspended target for a simultaneous combo. Both are melee carries who dominate mid 1v1: Zed clears waves, Yasuo fights, and together they exert extreme mid pressure forcing responses from multiple enemy team members. Risky synergy as both are fragile and depend on clean execution — but explosive in the hands of a coordinated duo.

§ 07 — PreceptsZed Wild Rift tips for ranked

Tip · 01

Think angles/vision: Zed wins by pick, not by ARAM mid.

Codex
Tip · 02

Always keep an exit shadow (W or R) before committing.

Codex
Tip · 03

Feint Stasis Enchant: forces the opponent's defensive item, then re-engages in the next cycle.

Codex

§ 08 — DialoguesZed Wild Rift FAQ

Q.01 Zedはmid laneでブラインドピックしても良いか? +

Zedは、チームにAPダメージ、クラウドコントロール、そして何らかのエンゲージ手段があればブラインドピックできるが、自動的に信頼できるわけではない。重いアーマー、スタシスエンチャント、ペール、またはターゲット指定型クラウドコントロールを持つ構成は、彼のミス許容範囲を大幅に狭める。もし彼をブラインドピックするなら、常にmidのデュエルを強制するのではなく、主にマッププレッシャーとローテーションのためにプレーしろ。

Q.02 Zedはいつレーンに残るのではなく、ロームすべきかmid? +

Zedは、ウェーブがプッシュされており、視界が短い角度を許し、味方が実際にピックについてこれる場合にロームすべきだ。アルティメットが使用可能だからといって単純にロームするのはよくある間違いだ。もしmidのウェーブが失われたり、サイドレーンが助けられない場合、テンポを無駄に失うことになる。良いZedのロームは、キルとそれに続くコンバージョン(オブジェクトの確保など)の両方を脅かすべきだ。

Q.03 Zedはスタシスエンチャントに対してどうプレイすべきか? +

スタシスエンチャントに対して、Zedは瞬間キルだけを考えるのをやめなければならない。最初のスキルコンボは、エンチャントを強制したり、サモナースペルを使わせたり、オブジェクト前にキャリーを遠ざけたりするために使用できる。その防御が使われたら、次のサイクルははるかに危険になる。罠は、相手がバーストをキャンセルするためにそのタイミングを正確に待っているときに、デスマークにすべてを投資することだ。

Q.04 Zedは集団戦とサイドレーン、どちらが得意か? +

Zedは、集団戦の前にサイドレーンを使ってプレッシャーをかける方が得意な場合が多い。彼はプッシュし、姿を消し、誰かに対応を強制し、より危険な角度でオブジェクトに参加できる。純粋な集団戦では、エントリーが準備されていれば強力なままだが、視界や味方の妨害なしに正面から前線を横切らなければならない場合、信頼性ははるかに低下する。

§ 09 — EchoesZed Wild Rift related guides

01
Role guide

Taliyah Wild Rift Guide: Master the Stoneweaver in Mid Lane

Taliyah Wild Rift guide: build, counters, skill order, mid gameplay and practical tips to control lane, roams and objective fights.

Read
02
Key mechanic

Rotations

Learn how to manage rotations in Wild Rift: wave state, tempo, objectives, vision, and macro decisions so you stop moving randomly.

Read
03
Key mechanic

Wave Management in Wild Rift: the expert skill that wins objectives

Master Wild Rift wave management to create tempo, secure objectives, and win more games without forcing bad fights.

Read
04
Draft read

Wild Rift Patch 7.2: Understanding the New Meta (Boots, Bounties, Yunara)

Boot enchants removed, gold-based bounties, Yunara as a hybrid ADC: full analysis of the Wild Rift 7.2 meta and what it changes in your games.

Read